Looking to improve your voice quality in Audacity on your upcoming audio project? Odds are, you’ve explored online resources and come across a handy audio software known as Audacity.
Audacity is an easy-to-use and completely free multi-track audio editor and recorder for Windows, macOS, GNU/Linux and other operating systems. It’s great for audio recording and podcasting.
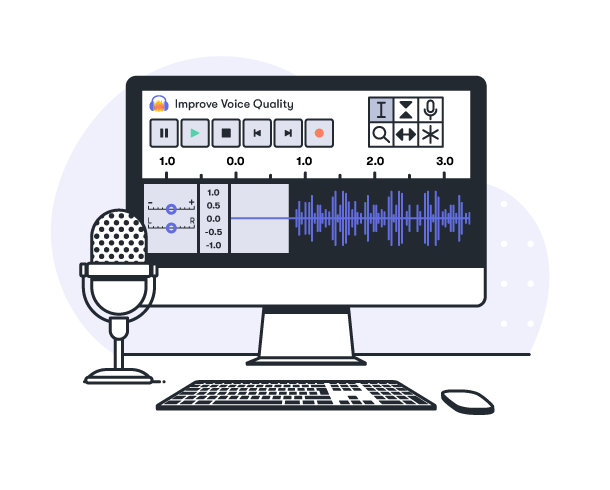
If you’re overwhelmed at what this audio software can do, don’t be! We’ve compiled a handy list on how to improve your audio projects using Audacity.
Whether you’re a podcaster, a sound recordist, or simply someone who wants to sharpen up some audio you have, look no further than this guide on mastering Audacity for voice quality to achieve professional results.
#1 Use the Noise Profile
Firstly, it’s important to clear any background noise. To do that, you just need to understand what frequencies you want to remove. Audacity’s Noise Profile will do just that. Click Effect> Noise Production, and then select Noise Profile. This means you can analyse the audio section and see exactly which frequencies you need removing.
#2 Use Noise Remover Next, it’s time to remove the noise – but hopefully you won’t have much. Select the entire section of waveform from which you want to reduce the noise, then set the Noise Reduction parameters. Use trial and error, adjusting the sliders and listening as you go along.
You can also use Krisp to remove noise, a simple and easy tool that seamlessly works with Audacity to remove background noise. What’s more, it works in real-time, meaning the noises are removed during your audio recording.
So there’s no need to go back and delete the noise when you use noiseless recordings using Krisp with Audacity. After you download and install Krisp, configuring with Audacity is a piece of cake.
Hover over the audio settings in Audacity and select Krisp microphone. Then let it perform its noise cancelling magic. Simple!
To listen while Audacity is recording, enable what is known as software or hardware play-through. If you use software play-through and want to listen to the input without recording it, you need to also left-click in the Recording Meter Toolbar to turn on monitoring.
#3 Use the Normalizer
The Normalizer feature in Audacity is the next best shout for improving voice quality on your audio recordings. Immediately after recording capture (or import) of your audio, this effect should be used solely to remove any DC offset that may be present with no amplitude adjustment applied at this stage.
Use the Normalize effect to set the peak amplitude of a single track, make multiple tracks have the same peak amplitude and equalize the balance of left and right channels of stereo tracks.
This will ensure your podcast or audio recording has that all-round audio goodness when listened to through headphones.
#4 Use the Compressor
Compressing the audio is used for increasing the volume of your vocals so that if you are talking too quiet, it will make you louder. As you can imagine, this is particularly helpful for podcasters with low quality microphones.
Here’s how to do it:
Click on Effects: Compressor and keep the settings on the following levels:
Threshold = -18db
Noise Floor = -40db
Ratio = 2.5:1
Attack Time = 1.81 secs
Release Time = 11.1 secs
Don’t be afraid to play around with these settings to get the volume just right. If you move the cursor to the left, you’ll hear more background noise.
It’s important to keep the audio level out of the red (below 0db), as this can cause distortion. Use the level control to turn it down if this occurs.
#5 Use the Equalizer
So, another cool Audacity setting is the Equalizer. It’s a tool for manipulating the frequency content of sounds, it allows you to set the
balance between the low, mid, and high frequencies. Understanding how these work will make a huge difference to your audio quality.
In women, the frequency range is about 165 Hz to 255 Hz. In men it is a bit lower, 85 Hz to 155 Hz usually. This gives you a more specific range to tinker with it so you don’t put a ton of time and effort into ranges that really don’t affect voice quality.
Use the preview button to monitor the settings and tweak until your Audacity fle sounds clear. Usually a slight dip to the low end or a slight boost will make the world of difference. Once you’re happy with the sound, click “OK” to save changes.
#6 Use Spectrogram
When evaluating your audio quality, it’s important to use the Spectrogram view for voice quality in Audacity.
The Spectrogram view of your audio track provides a visual indication of how the energy in different frequency bands changes over time. That means it can show sudden onset of a sound – making it easier to see clicks and other glitches. It’s also better to use this view for lining up beats in this view rather than in one of the waveform views.
#7 Use The AutoDuck Effect
Have a podcast and you find that sometimes your background music or jingle can drown out your voice? Yeah, you don’t want that.
Try using the AutoDuck to improve the voice quality of your audio project. This Auto-Duck effect is inbuilt into voice quality in Audacity.
It uses a ‘control’ track to lower the level of the ducked track. That means that when the music is playing at full volume, it will detect when the narrator starts speaking. Clever, right?
This then lowers the level of the music track so it is quieter than the narrator. When the narrator finishes, the music returns, or releases to its original level.
#8 Use Bass And Treble Boost
When refining Audacity for voice quality, remember to utilize the bass and treble boost functions with caution, as they can alter the overall frequency balance and potentially affect the final audio level. The Bass and Treble functions increase or decrease the lower frequencies and higher frequencies of your audio independently. They operate just like the bass, treble and volume controls on a domestic stereo system.
Things to remember when using this function:
- Applying a boost to the bass or treble will tend to increase the overall level.
- Reducing the bass or treble may make the final level too quiet.
- If both the treble and bass frequencies are increased and the overall volume lowered, the overall effect means there’s a reduction in the middle frequencies. Similarly, reducing both the bass and treble and increasing the volume has an overall effect of boosting the middle frequencies.
Combine Audacity and Krisp for the perfect audio production
Audacity is an ideal program for achieving a better professional audio recording of your voice, especially if you’re a podcaster.
Try Audacity for your next project, but be sure to install Krisp so you don’t spend many hours going back and removing all the background noise!
Used Audacity and Krisp together to improve your voice in Audacity? We’d love to hear your finished results!
Read next: 15 Best Voice Recording Software in 2021