Recording an interview via a video call or face-to-face from a buzzing venue both require extra flexibility from the interviewer’s side. Whether that means getting an app to block out background noises or carrying extra mic covers with you, every interview recording situation requires slightly different measures.
In this guide, we’re having a look at what tools you need to maintain studio-like audio quality and which techniques will improve your process of recording interviews.
First though…
There are three core techniques you can turn to when recording an interview:
Face-to-face on a set or pre-established location
Remotely through video conferencing tools
Via a phone call
Note before getting started: There are different types of interviews you can record and each one of them is suited for a separate recording technique. A journalistic interview, for instance, often happens with no prior planning at an event or just on the street. Meanwhile, job or research interviews are best held over a video call as the guest doesn’t need to be present in person.
Let’s get to the interview recording best practices!
Recording on-location
Despite being the most straightforward method to record an interview, it often requires advanced equipment and preparation.
On one hand, you want your tech stack to be light and portable as you’ll be carrying them around the entire day. This doesn’t mean you can skimp on their quality though. On-location recordings often happen in noisy environments so you’ll need to invest in a microphone with good noise-cancelling capabilities to block out the chatter and surrounding wind.
Here are some of the best interview microphones you can get started with:
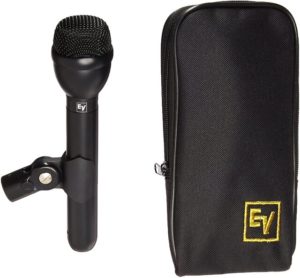
Electro-Voice RE50/B Omnidirectional Dynamic Microphone – easy to carry around
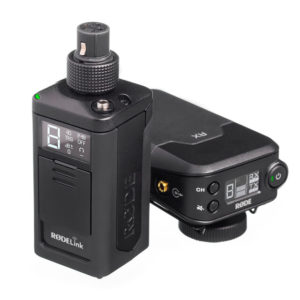
RØDELink Newsshooter Kit – what the pros are using
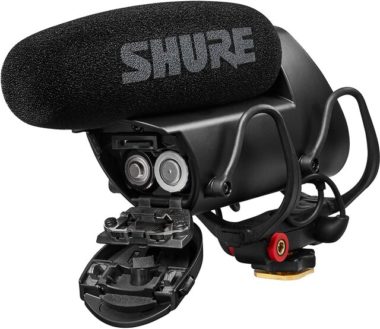
Shure VP83F Condenser Shotgun Microphone – to ditch the handheld mics and connect directly to your DSLR camera
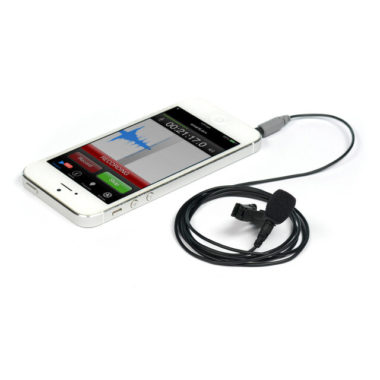
smartLav+ by RØDE – discreet lavalier
Choosing a lavalier like the one above gives you the option to record via a phone in an unexpected situation or when you simply can’t carry everything. Of course you could also do this through your phone, but a lavalier provides an opportunity to record clear songs without the extra weight.
Straightforward audio recording solutions for your phone include Audio Memos and Cogi. For a tool that’s prepared for field recording, the Hindenburg Field Recorder app is a popular choice. Besides recording, the tool lets you edit and share your audio snippets even when on the go.
Remote video interviews through tape sync
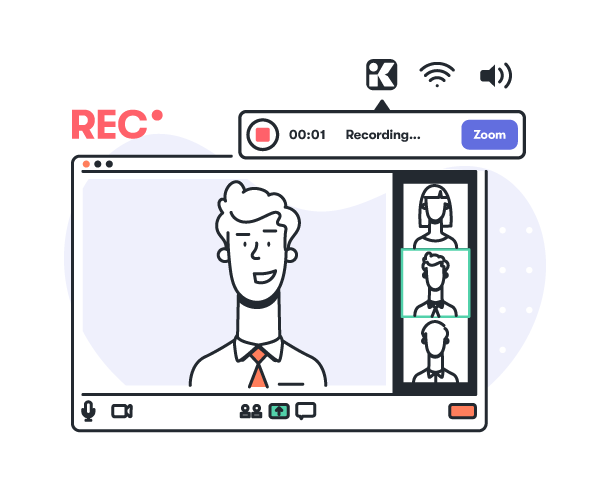
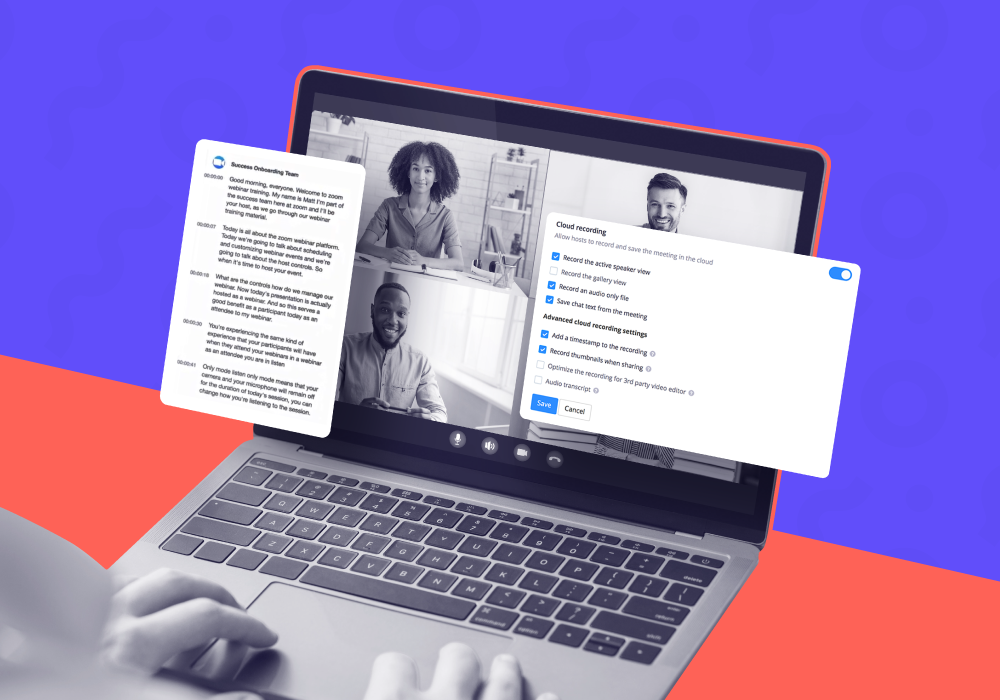
You might be familiar with Zoom’s recording option by now. But the truth is, its quality always lacks. So the tape sync process comes to the rescue for a professional interview recording session.
The process is quite simple: every participant records themselves locally using the best gear they have. The audio files will then be synced through an audio editor to ensure a perfect session for recording interviews.
Here’s the steps to take when doing a tape sync:
All interview participants enter the call and plug in their headsets. This allows participants to hear each other without their mics picking up another person’s voice.
Participants will then use their built-in laptop microphone or connect a separate mic to a digital recorder. Most guests won’t have professional gear prepared so they can use a voice recording app on their phones instead.
Instruct the guests to hold the microphone/phone appropriately and avoid making huge changes throughout the conversation. The right positioning will ensure you won’t lose any part of the conversation because the audio is unclear or isn’t loud enough. Same applies for setting up the camera’s position and fixing any lighting or background problems.
Record the video for the interview separately. Note that through these and if you record via your video conference tool you’ll have a backup of the audio.
At the end, get the interviewees to send their recording files via the cloud. Dropbox, WeTransfer, or the classic Google Drive are common choices.
Send these audio files to an audio editor like Audacity or Adobe Audition to sync all local interview recordings. Adobe Audition is a good pick if you need to perfectly sync your audio interviews with video.
If you’re recording short interview snippets, you can simply send the questions in a written form and have the guest record a video/audio of themselves on their device of choice.
Note on alternatives: Using a tool like Riverside.fm, Zencastr, or Squadcast will let you invite guests within a virtual studio. This lets you control everything so no issues like a guest forgetting to turn on their camera or mic can happen.
Don’t forget to always communicate your recording intentions with the guests. If someone in a group is not ok with being on camera, maintain their audio file and have them turn off their camera altogether. Not getting consent to record and republish recordings can incur unexpected penalties depending on your country’s law.
How to record an interview via a phone call
The tech-heavy way of recording a phone call is by connecting a digital recorder to your phone via an AUX cable. You can simply plug in an AUX cable into your phone and laptop and record via a classic tool like Audacity.
Besides your laptop, you can also plug your phone directly into a digital voice recorder so you won’t need the recording software at this stage. There’s some recorders like the PR200 Bluetooth Cell Phone & Audio Recorder that wirelessly record your phone conversation.
In these situations, however, you’re only recording the call without the interviewer’s input. You can record yourself as usual if you get a pair of headphone splitters so you’ll hear your guest only through your headphones.
But you might not always have the time and resources to set up all this before a call.
That’s when you turn to apps.
Google Voice – only works within the U.S. but allows interviewers to take calls at a custom Google Voice number and start recording by simply tapping 4.
TapeACall – for high-quality recordings
Call Recording by NoNotes – automatically transcribes your calls too
IntCall – perfect for international calls, but can be costly
Automatic Call Recorder – popular phone call interview recording solution for easy recording and file transfer
Best practices and tricks for recording interviews
Regardless of your recording medium or environment, here are some interview techniques and tips to keep in mind at all times.
Maintain clear audio recordings through a noise-cancelling app
The general tip that applies to recording any interview is to hold it from a quiet environment. This is not always possible so you’ll need a tool like Krisp to cancel all noises as your record.
The app works with any audio recording tool that accepts Krisp as the audio input. Start the app at the beginning of your interview recording session and you won’t need post-production editing to get that studio-like sound quality.
The result is HD audio that blocks all echoes and background sounds. Also, get your guests to start this app so you can maintain the HD quality on both ends of the conversation.
Here’s Krisp in action:
Discuss the interview’s main topics with your guest prior to the actual recording
Start the call with a warm-up session. 10 minutes usually does it.
This is your last chance to get more insight into an interviewee’s experience and knowledge. It helps you set the mood for the interview and check the tech so the recording will go smoothly and require minimal editing. Give tips for the lighting, camera position, and staging if possible as well.
Extra tip: Clarify your expectations before you hit the Record button. Tell your interviewee what you want them to develop upon, if there’s something they should mention, or if there’s any topic they should avoid.
Take breaks or record across multiple days
For long-length interview recording, give your guests time to think about their answers. Make a point from the beginning if it’s ok for them to pause before sharing a reply. You’ll edit these breaks or repetitions out anyway.
Alternatively, don’t let an interview go on for hours within a day. Break it into larger points of discussion and have another call on a separate day. Then piece together the best parts and you’ve got your final recording!
Capture video even for audio-only interviews
It’s a good idea to share some face-to-face time with the person you’re interviewing. This allows you to establish a better connection with them and get an idea of their real feelings or thoughts from their body language and facial expressions as well. After all, 55% of a message is conveyed through body language alone.
While you’re at it, why not record the video too? You can reuse the video snippets to promote your podcast on social media or through your YouTube channel. Remember to always get permission both for recording and distributing the footage.
Bonus: Record the room’s ambient
After editing out any distracting background noises you can add in ambient noises to recreate the atmosphere of a meeting room, coffee shop, or any environment that suits your interview’s theme. You can record these snippets as you’re waiting for a guest or separately and reuse them as needed.
Ready to start recording your first HD interview?
Here’s some extra best practices on how to record an interview for the first time:
You can have your guest record their screen briefly to better highlight a process or case study they’re explaining.
Don’t rush the interview by scheduling more time than you’re estimating.
Most often, you’ll be interviewing someone who’s extra busy and you won’t be able to get them down for another interview any time soon. Same goes for on-the-spot interviews. This means you’ll need to prepare backups to your recording tools so you won’t have to postpone the meeting indefinitely. This is why a video and mic check is a must before you start recording. If you’re recording a video call, for instance, you can opt for the tape sync method but turn on your video conferencing software’s recording option just to be sure.
Heavy focus on video? Dress appropriately and clean up your background. You can use your background [virtual ones included] strategically to display your branding or make an announcement.
If you’re not going to edit the interview yourself, label the audio and video files — this is particularly handy if you’ve recorded multiple interview snippets and need to clearly mention what their order is.
Recording via Zoom or another video call tool will provide a classic split-screen frame. When you have each participant record themselves separately, you’ll end up with footage you can later edit for a picture-in-picture look or to cut back-and-forth between the screens.
Finally, don’t worry too much. You can do wonders during the editing process even when you end up with medium-quality audio recordings.
And you can always rely on noise-cancelling through Krisp. Even if you’re just recording your interviewee. Removing the background noises on your end will ensure that your guests hear you correctly and are not distracted by what’s going on in your house or on the street. Not to mention this will save you hours of editing work.