In an ideal world, you’d have a fancy recording studio to which you could invite every podcast guest. But in reality, most podcasters operate out of their own homes, and whether it’s social distancing or just plain distance—it’s not always possible to record in person.
The good news is once you learn how to record a podcast remotely the right way, the audio can sound almost as good as in-person. I’ve been surprised by how many podcasts I’ve listened to, thinking they were in the same room, only to find that the host interviewed the guest remotely.
So if you’re struggling to get quality audio doing remote podcast interviews, I’m going to show you some options and share tips for podcasting success.
How to Record a Podcast Remotely: 3 Recording Options
1. Phone call: Easiest to do but lowest audio quality
Using your smartphone to call a podcast guest is the easiest way to record a podcast remotely, but it comes with the risk of poor audio quality.
Here are two ways I’ve successfully recorded phone interviews:
- Google Voice – It’s free and comes with built-in audio recording. The catch is you can only record incoming calls, which means your guest must call you. Once you answer the call, tap “4.” Google Voice will then play an announcement that the call is being recorded. Once the call ends, you can find an mp3 file of the recording in your Google Voice app.
Google Voice also lets you choose a phone number, which is useful if you don’t want to give your personal phone number to all of your podcast guests.
- TapeACall – This is a paid app. TapeACall is my preferred method of recording phone interviews lately because it allows me to call the interview subject (instead of making them call me, like Google Voice does).
Always ask for the guest’s permission before you start recording. There are many laws around recording phone interviews (check with your local government). It’s a safe bet to go ahead and get the consent of everyone on the call.
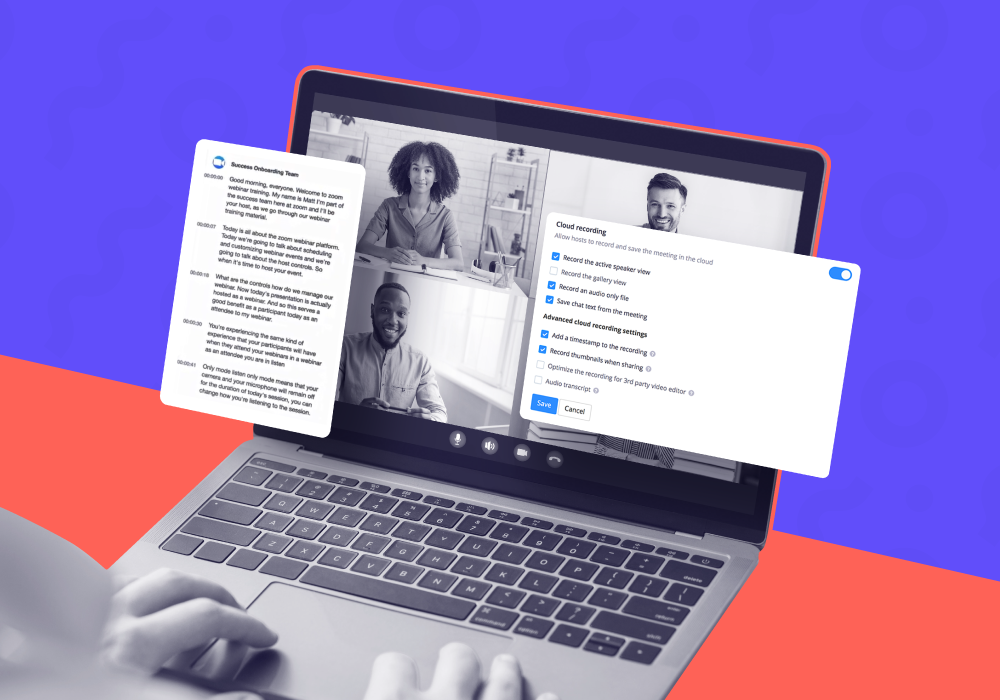
2. Video conferencing software (Zoom, Skype, etc.): Easy to do and has decent audio quality
By now, most people are familiar with some video conferencing tool, so this option provides them with the comfort of knowing they won’t have to figure out new software. Plus, it’s easy to record because these tools come with built-in recording. They can also provide decent audio quality, especially if you and your guest are using external mics.
Just call your guest on Zoom, Skype, GoToMeeting, or your favorite video conferencing tool, and hit “record.” Then, you’ll get a file of the audio when the call is over.
3. Double-ender recording: Takes the most effort but gets you the best audio quality
A “double-ender” is when you record audio on a microphone on your end, and the guest records audio on a microphone on their end. It mimics what would happen if you were both recording in-person. This results in the best possible audio quality, since both files will be recorded locally.
You do have to get your guest to send you their audio file, though, and then you’ll have to use editing software like Audacity to merge both audio files and line them up.
To record a double-ender:
- Make sure you have a microphone and headphones.
- Make sure your guest has a microphone and headphones.
- Call your guest, either on your phone or using a web conferencing tool.
- Make sure you both hit record on your respective recording setups.
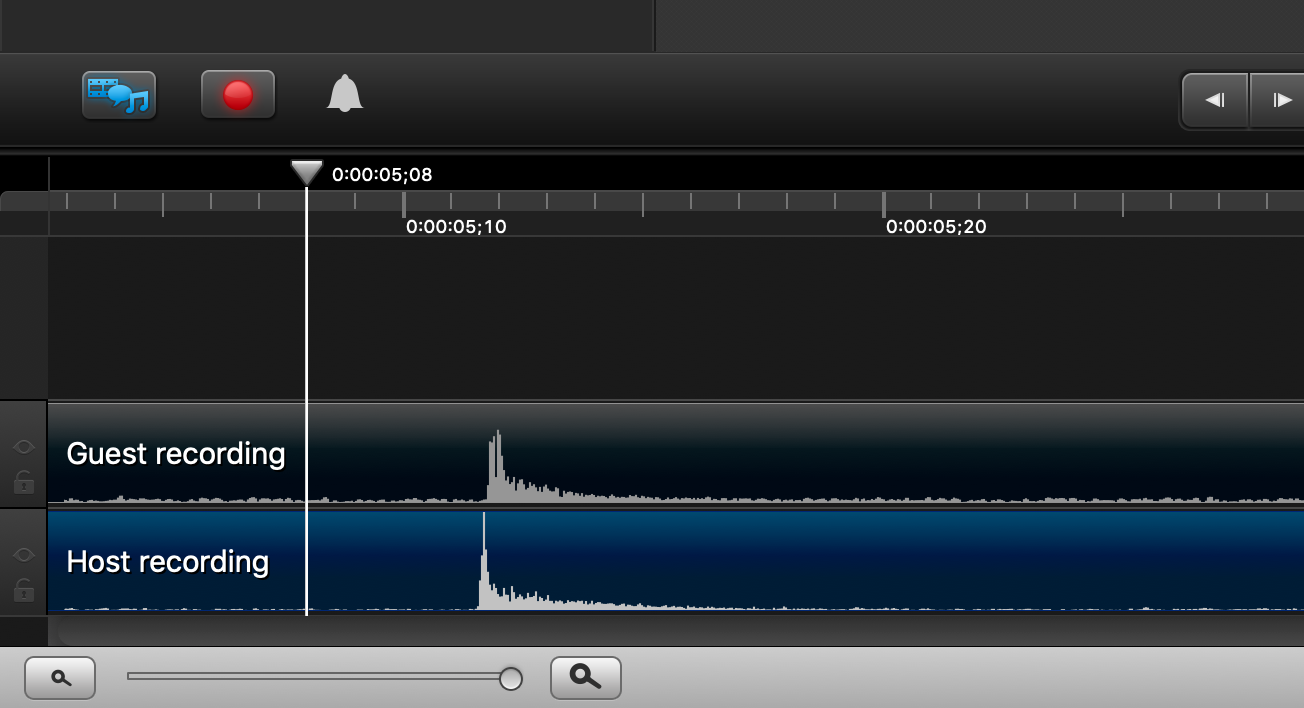
- Both of you need to clap at the same time.
Yep, this sounds weird. But you know how movie directors snap together that board before they record a scene? It’s called a clapperboard, and they use it to cause a sudden, loud sound that will show up clearly in the audio recording as a spike in wavelengths. That helps them visually line up the audio spike with the video of the clapperboard.
It’s the same concept with clapping when you start recording a double-ender. You and your guest clap at the same time so that when you’re comparing both audio files later, you can more easily line them up based on where they both spike. Below, you can see an example of what it’ll look like.
- Have your guest send you their file.
- Upload the two audio files into editing software.
- Line up the recordings.
The best app I’ve found that streamlines this entire process is ClearCast. It was founded by Brett McKay, who uses it for his own podcast, “The Art of Manliness.” I tested it out, and it was impressively easy to use.
Step 1: Schedule the interview within ClearCast.
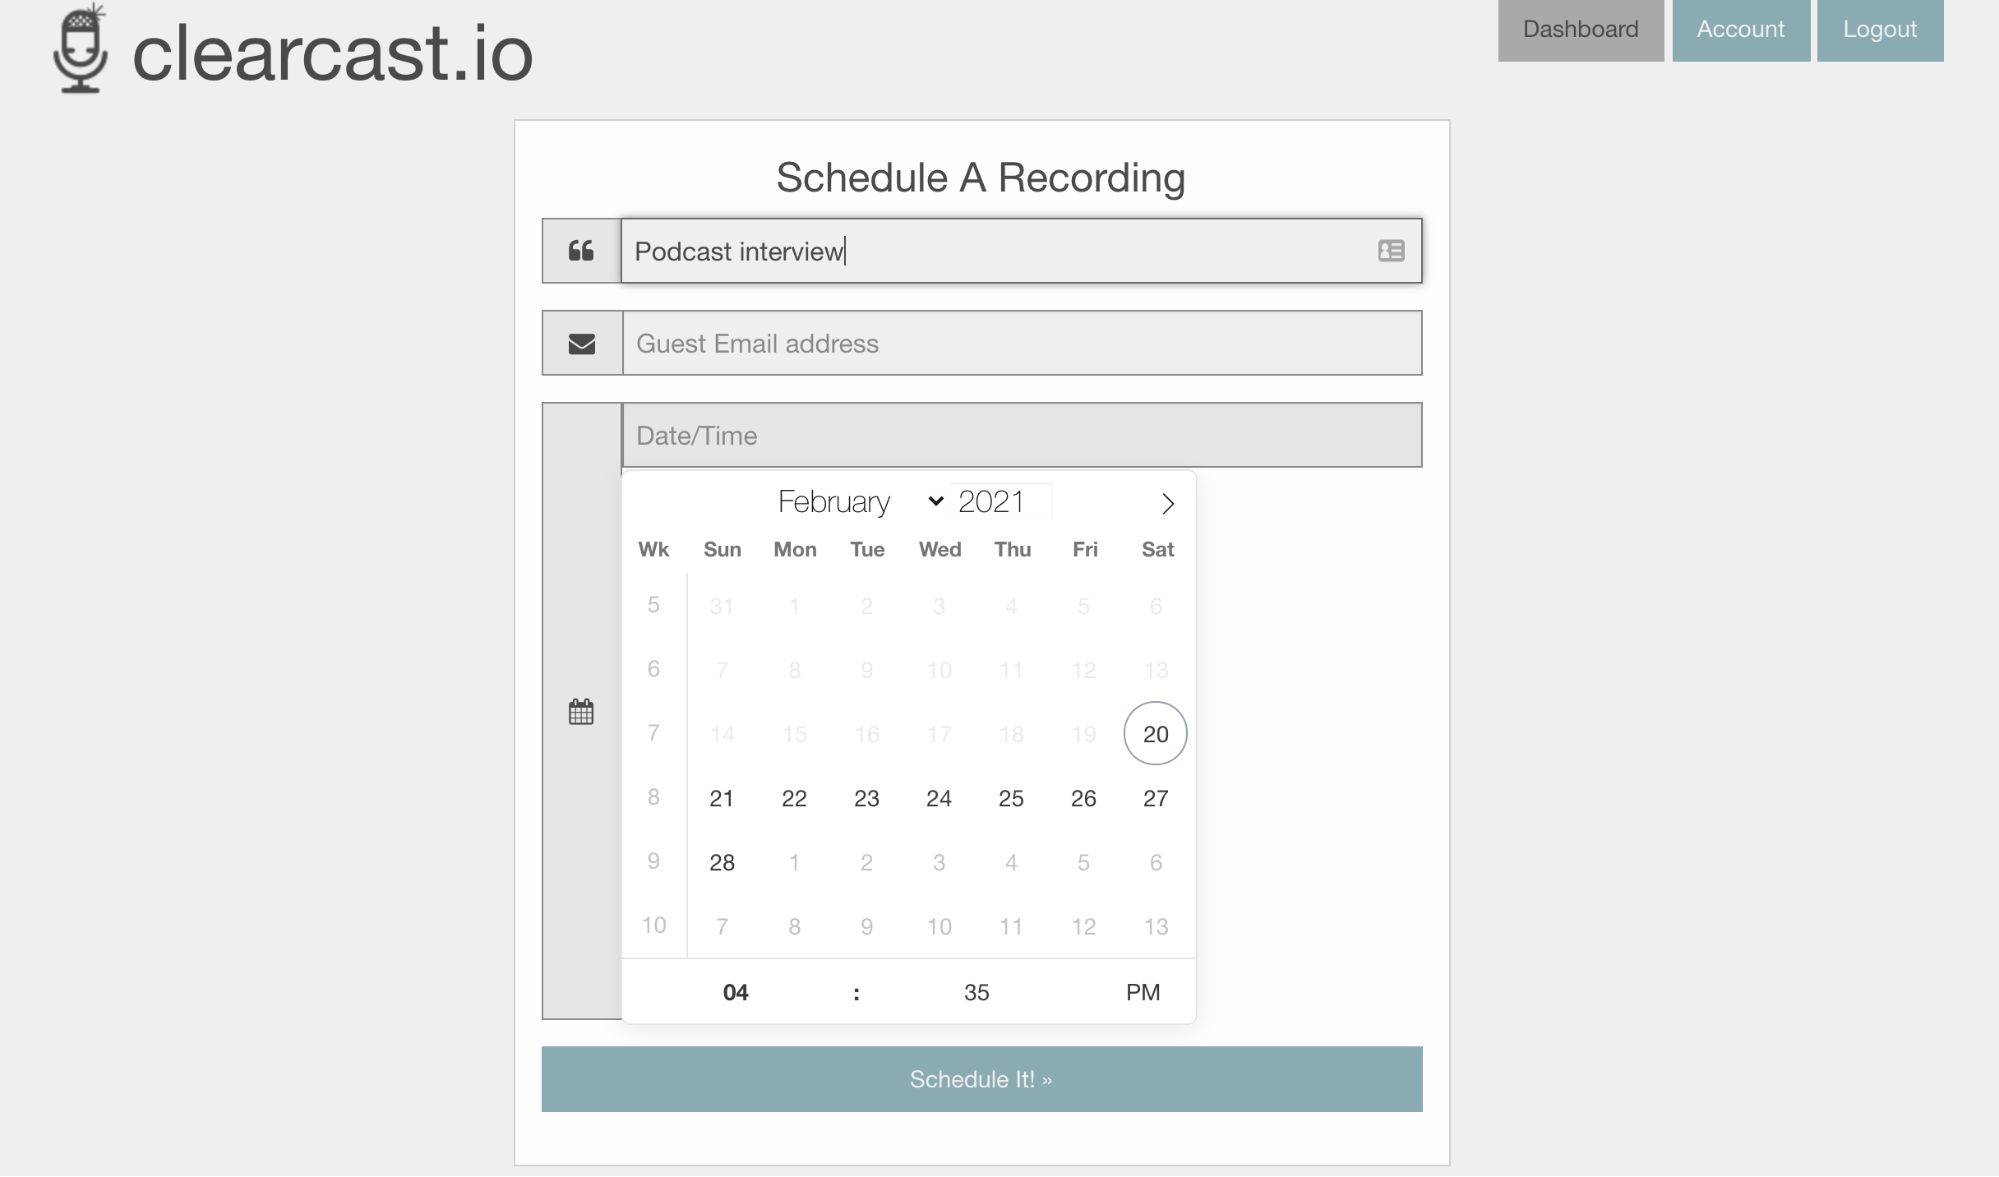 Pick a date and time, and enter the email address of your podcast guest. ClearCast will automatically email your guest a link to the virtual room where you will record.
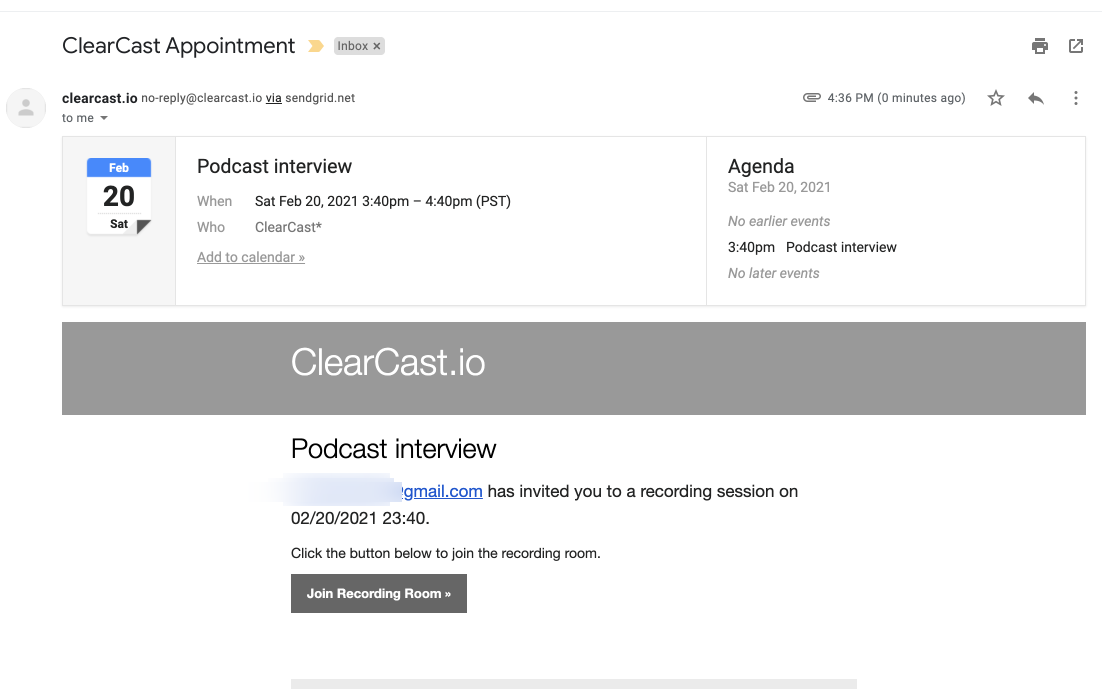 Step 2: Enter the virtual recording room. Then, wait for your guests to click the link in their email to join you.
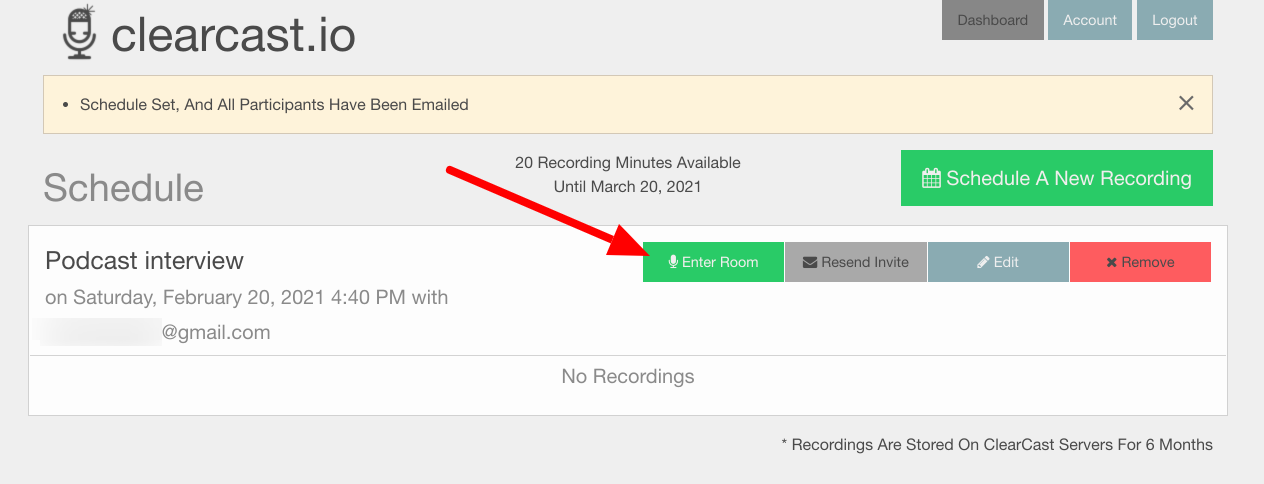
Step 3: Click “start” to begin recording. When everyone is present, you’ll be able to record.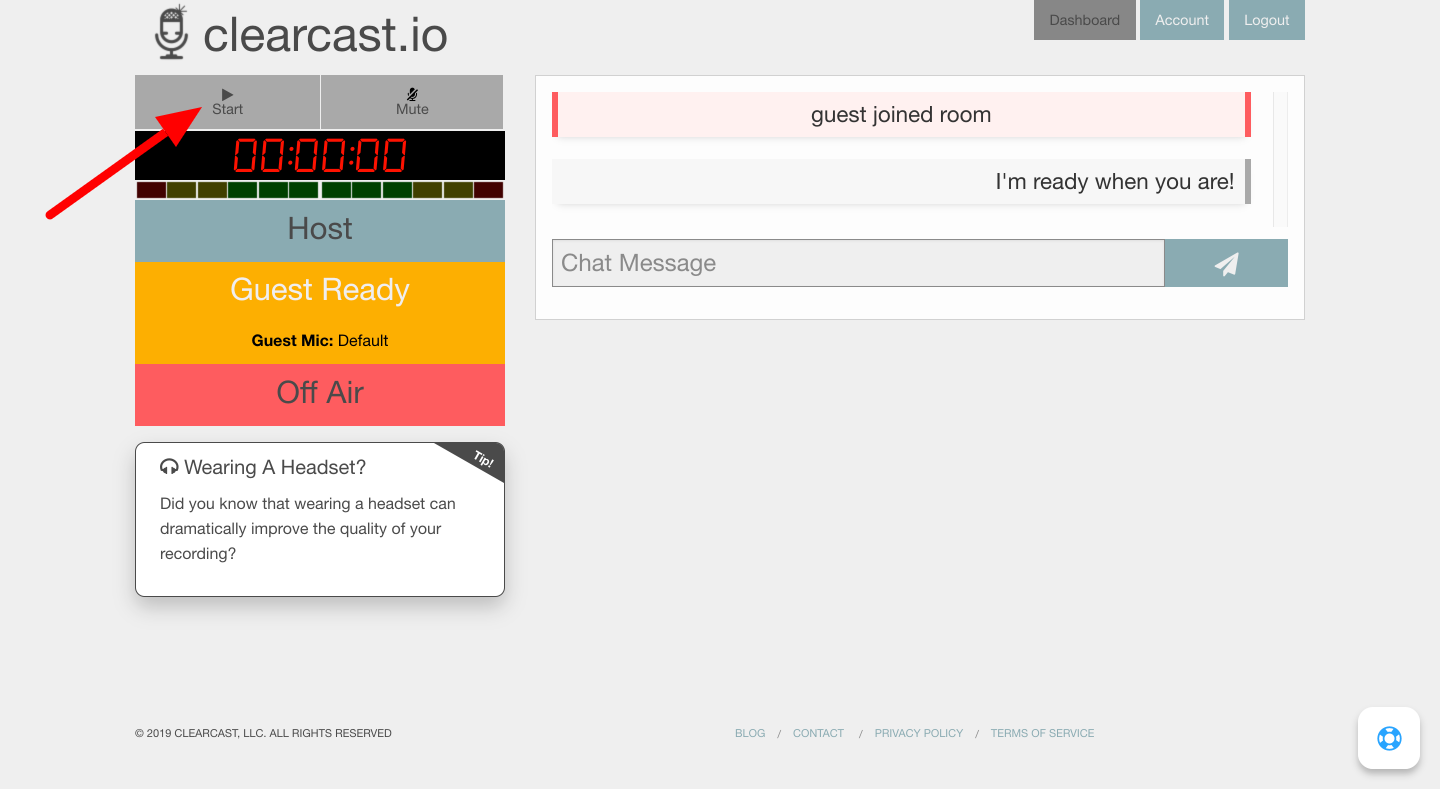
Step 4: Download the merged audio file. When the call is over, you can find your recording, your guest’s recording, and (this is the best part) the merged recording all in your dashboard. That way, you don’t have to go through the hassle of making your guest upload their audio file and having to sync up both audio files on your own. 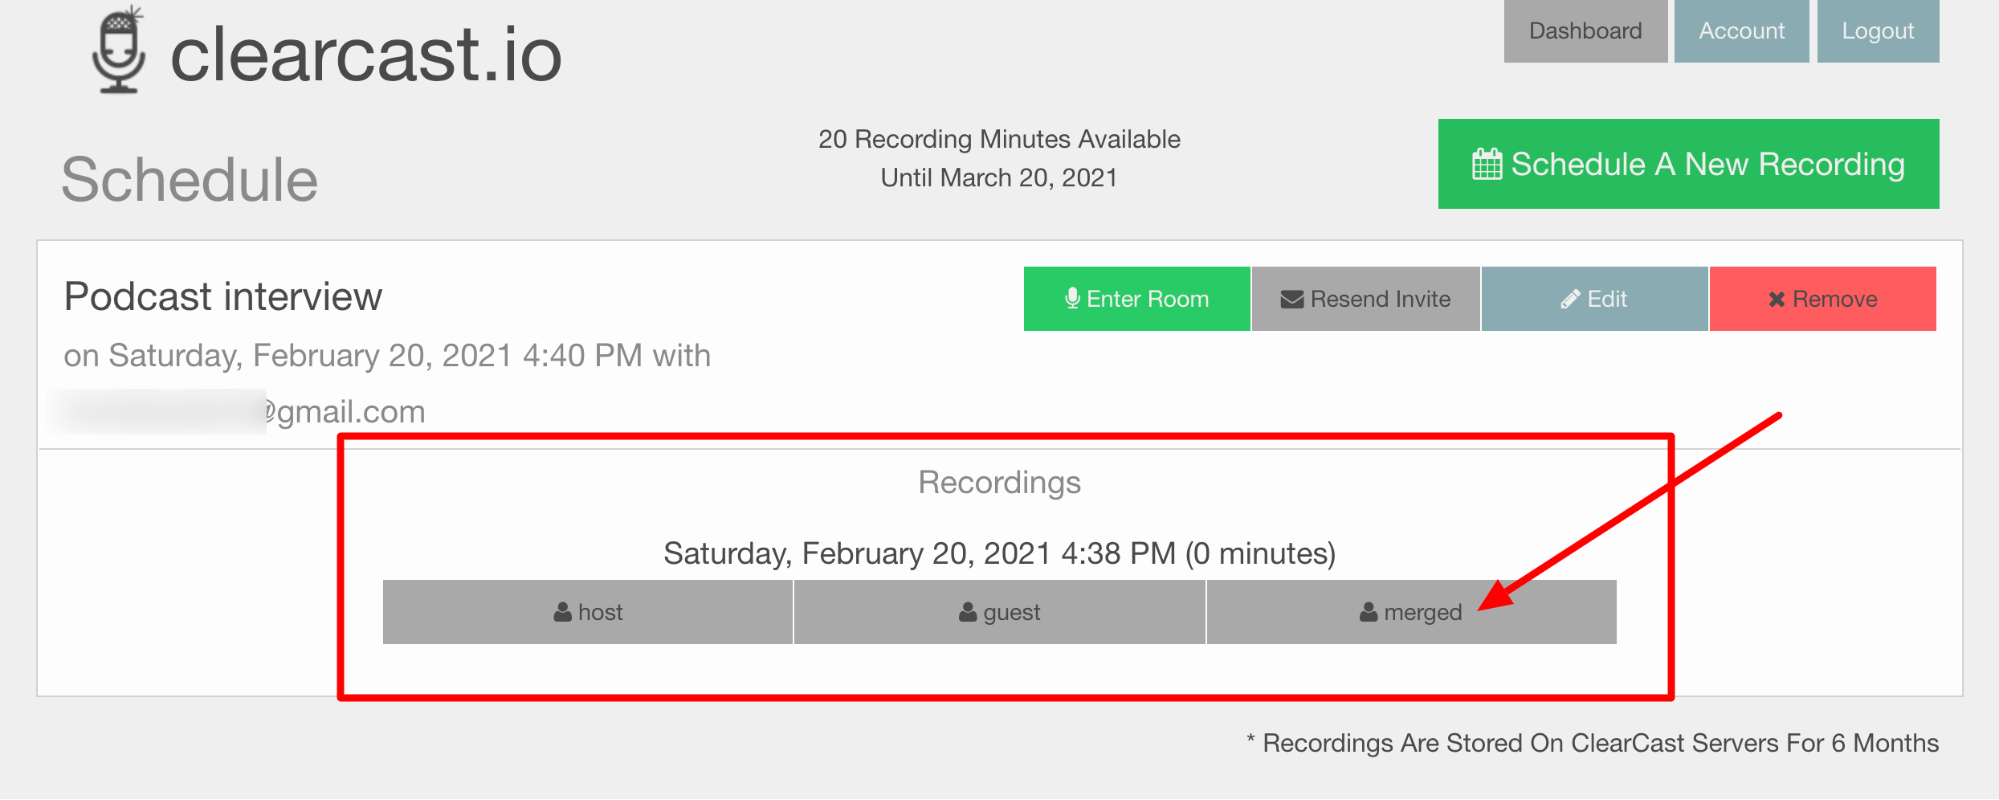
ClearCast is a no-frills solution, which is probably why I found it so easy to use. It gets the job done without confusion, so I’m a fan. But if you want something with a sleeker interface and more features (such as HD video recording and automatic post-production), Zencastr is a very popular choice.
10 Tips for Recording a Podcast Remotely
1. Invest in equipment.
Yes, it’s worth it. If you’re committed to having a professional-sounding podcast, invest, at minimum, in the following equipment:
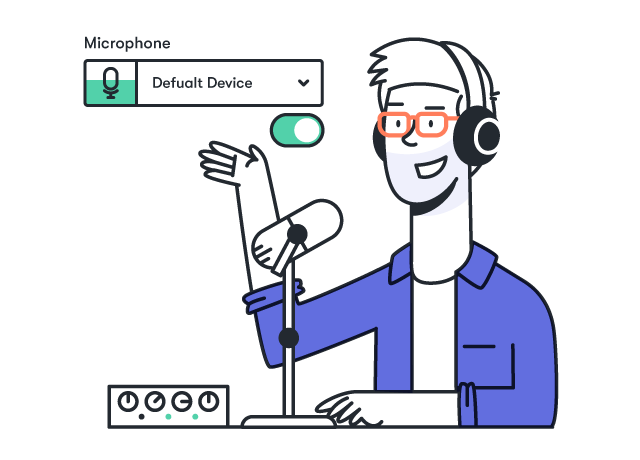
A) Microphone
Pretty much any sort of external microphone will sound better than the onboard mic on your laptop or cell phone. The headphones that came with your iPhone or a headset with an attached mic will provide at least a small improvement.
If you’re serious about podcasting, invest in a quality microphone. Try to buy a USB mic that hooks up to your laptop so you can record straight to your computer.
Even if you don’t host your own podcast, having an external mic on hand is a great idea if you plan to grow your brand and image as an expert by being a guest on podcasts. This is what many authors, entrepreneurs, and researchers do. They’re often interviewed by podcasters, so they have their own equipment ready to go. This will impress your podcast hosts, too, increasing your chances of being interviewed again.
B) Pop filter
The pop filter is an inexpensive piece of equipment that does wonders for your audio. It prevents “pops” (explosive sounds produced when you say words with “p” or “b” in them) from ruining your audio.
C) Headphones
Wear headphones while you record and when you edit. A set of headphones will isolate the sound so you hear only what your microphone is hearing. This helps you determine if there are any distracting sounds you need to eliminate.
2. Soundproof your “recording studio.”
Okay, so I don’t expect you to have an actual recording studio (though, if you do, right on!). But you do need to set up a space where you can place your laptop and recording equipment and conduct your remote interviews.
A) Designate a space to record your podcast.
This space doesn’t have to be fancy. It can be the corner of your bedroom, the kitchen table, or your living room couch. But the best place to record your podcast? Your closet.
I cannot tell you how many podcasters you listen to every day are recording from their closet. Why? The closet is likely the quietest place in your house. It’s probably an interior room, meaning it doesn’t share an outside wall, and it doesn’t have a window. This decreases the chances of external noise getting in.
Further, the closet is typically the smallest room you have in your house, and it has natural sound-dampening thanks to your clothes filling it. This is advantageous when recording audio because the fabric from your hanging clothes absorbs sound and reduces echoes.
B) Turn off or block out any noise sources.
You’d be surprised by what noise a mic picks up on that you’ve never even noticed—things like air purifiers or air conditioning. Even a fluorescent light bulb can cause buzzing sounds you’ll only notice when you’re playing back your audio. Turn off these sources when you’re recording.
Want an easy way to find these hard-to-notice sources of noise? Set up your mic, press record, and sit quietly for 20 seconds. Then, play the audio back. What sounds do you pick up on in what was supposed to be a silent recording? Track down the sources and turn them off or block them out if you can.
C) Consider acoustic treatment.
In addition to blocking outside noise, you want to make sure that the room you record in doesn’t produce an echoey sound when you speak. Professional recording studios have foam panels on the walls to absorb sound, and you can probably find cheap alternatives on Amazon.
To DIY this, again, choose a small room (like a closet) and fill it with sound-dampening, soft materials, such as rugs, blankets, or clothes. It’s empty spaces with high ceilings and lots of hard surfaces that tend to create the most echoes.
3. Install a noise-cancelling app.
No place in your home is going to be 100% soundproof, but thankfully, there’s technology that can cancel out background noise for you. Before you hit record, install the Krisp app on your laptop, and while you’re at it, ask your podcast guest to do it too. Krisp uses AI to identify and eliminate distracting background noise coming from your end and the guest’s end, helping you hear each other clearly and capture crystal clear audio.
4. Find out about your guest’s podcasting experience and home setup.
Email your podcast guest to find out their podcasting experience and their setup at home. You might be pleasantly surprised to find that the guest has done dozens of interviews and has their own microphone. On the other hand, you might find out that this is their first time doing an interview remotely, and they may need some pointers.
Here are some questions to ask your guest well ahead of the interview:
- Have you done any podcast interviews before? How about remotely?
- Do you have your own external microphone or at least a pair of headphones with a built-in mic?
- Do you have a quiet place to take the call on interview day?
- Do you have any questions about how this interview will work?
5. Send your guest tips/instructions well ahead of time.
Even if your guest is a seasoned interviewee, it’s still a good idea to send a list of podcast tips to prep them ahead of the call.
Some things to include:
- Remind them of the date and time that they are scheduled to be interviewed.
- Tell them how you will contact them.
- Send them a link to download noise-cancelling software.
- Give them pointers on how to set up their space for optimal audio quality.
- Ask them if they have any questions.
6. Conduct interviews via video where possible, even if you’re only going to use the audio.
Many podcasters choose to record video interviews, even if they only end up using the audio portion. Being able to see each other’s expressions and gestures can make the conversation feel more natural than if you could only hear each other’s voices.
Plus, if you capture video, you can repurpose the interview beyond just your podcast. Some podcasters choose to upload the video to YouTube in addition to publishing the audio on a podcasting platform.
After the interview, you can use editing software to remove the video portion and use only the audio for your podcast.
7. Do a soundcheck with your interviewee.
Whenever you’re recording a guest, don’t just hit record and jump straight into the interview. Start with some friendly small talk. This helps your guest feel comfortable and gives you a chance to make sure mics are working and sound is recording.
8. Have a backup plan.
Technical difficulties can strike even the most experienced professionals. Plan for it. For instance, what would you do if your microphone stopped working? What would you do if your guest couldn’t get their video to work? Think ahead and decide what you would do to adapt quickly.
A phone call is always a good backup plan. It’s easy, and the guest doesn’t need any special software (only you do). So make sure you’ve installed Google Voice, TapeACall, or another call recording app on your cell phone before you do the interview, just in case you end up needing to use it.
9. Reschedule if needed.
Finally, if you do run into problems, you can always ask to reschedule. I know this is far from ideal, especially if you worked hard to get a big-name guest on your show. But if you truly feel that not having top-notch audio quality will be detrimental to your show, then go ahead and ask your guest if there’s another time that you can schedule the interview.
Be sure to frame it in a way that is appealing to your guest. For example, “I want to reschedule so I can make sure you sound as good as possible.”
10. Bonus: Mail your podcast guest recording equipment to borrow.
Now, this is for serious podcasters who have the budget for it. You can actually mail microphones and other recording equipment to your guests to borrow for the interview.
That’s exactly what Saron Yitbarek, host of the “CodeNewbie” podcast, does for her guests. She bought five mics and windscreens for her podcast interviews, and she ships a set to each guest along with a return envelope that’s prepaid and addressed. Great idea!
Ready to Become a Podcasting Pro?
Podcasting has changed the media landscape forever. By handing the mic over to regular people like you and me, it’s allowed a more diverse range of topics and people to emerge.
The possibilities are limitless. As long as you know how to record a podcast remotely, you can interview anyone anywhere in the world.