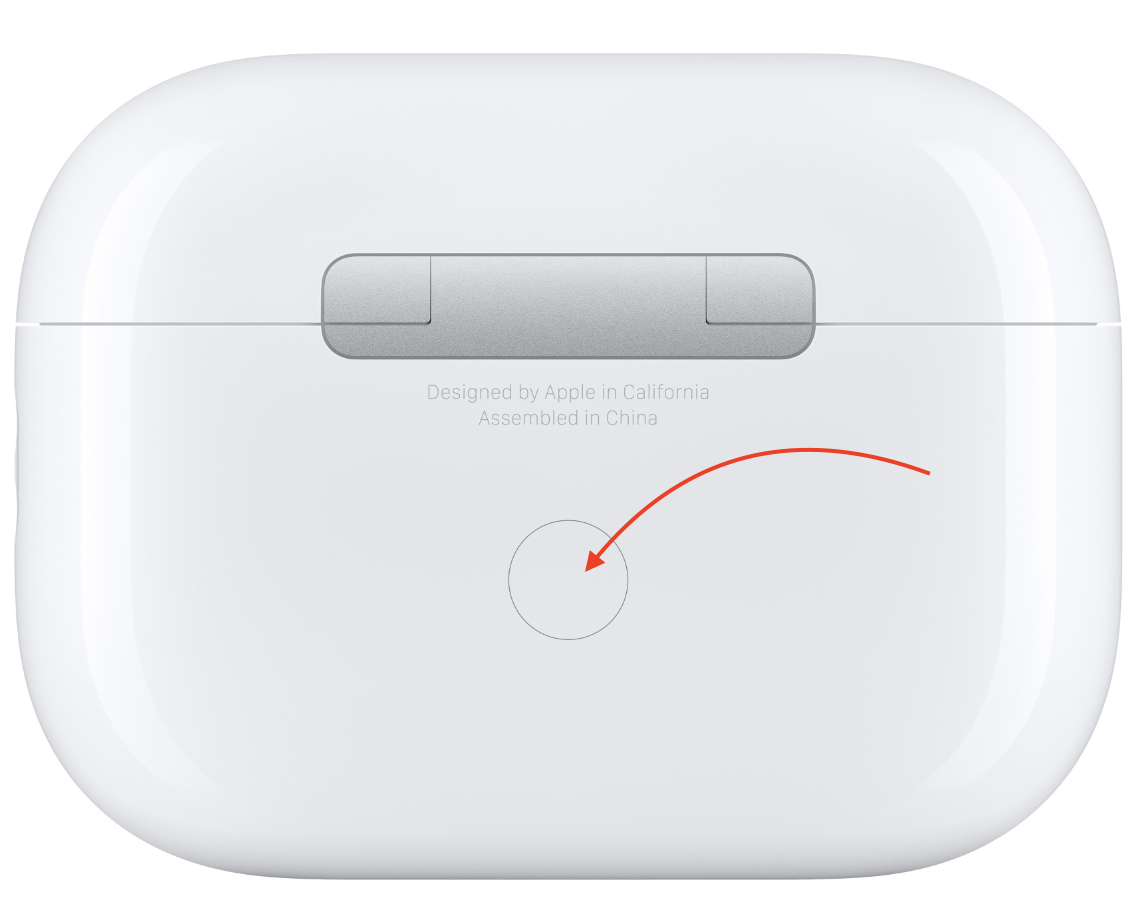
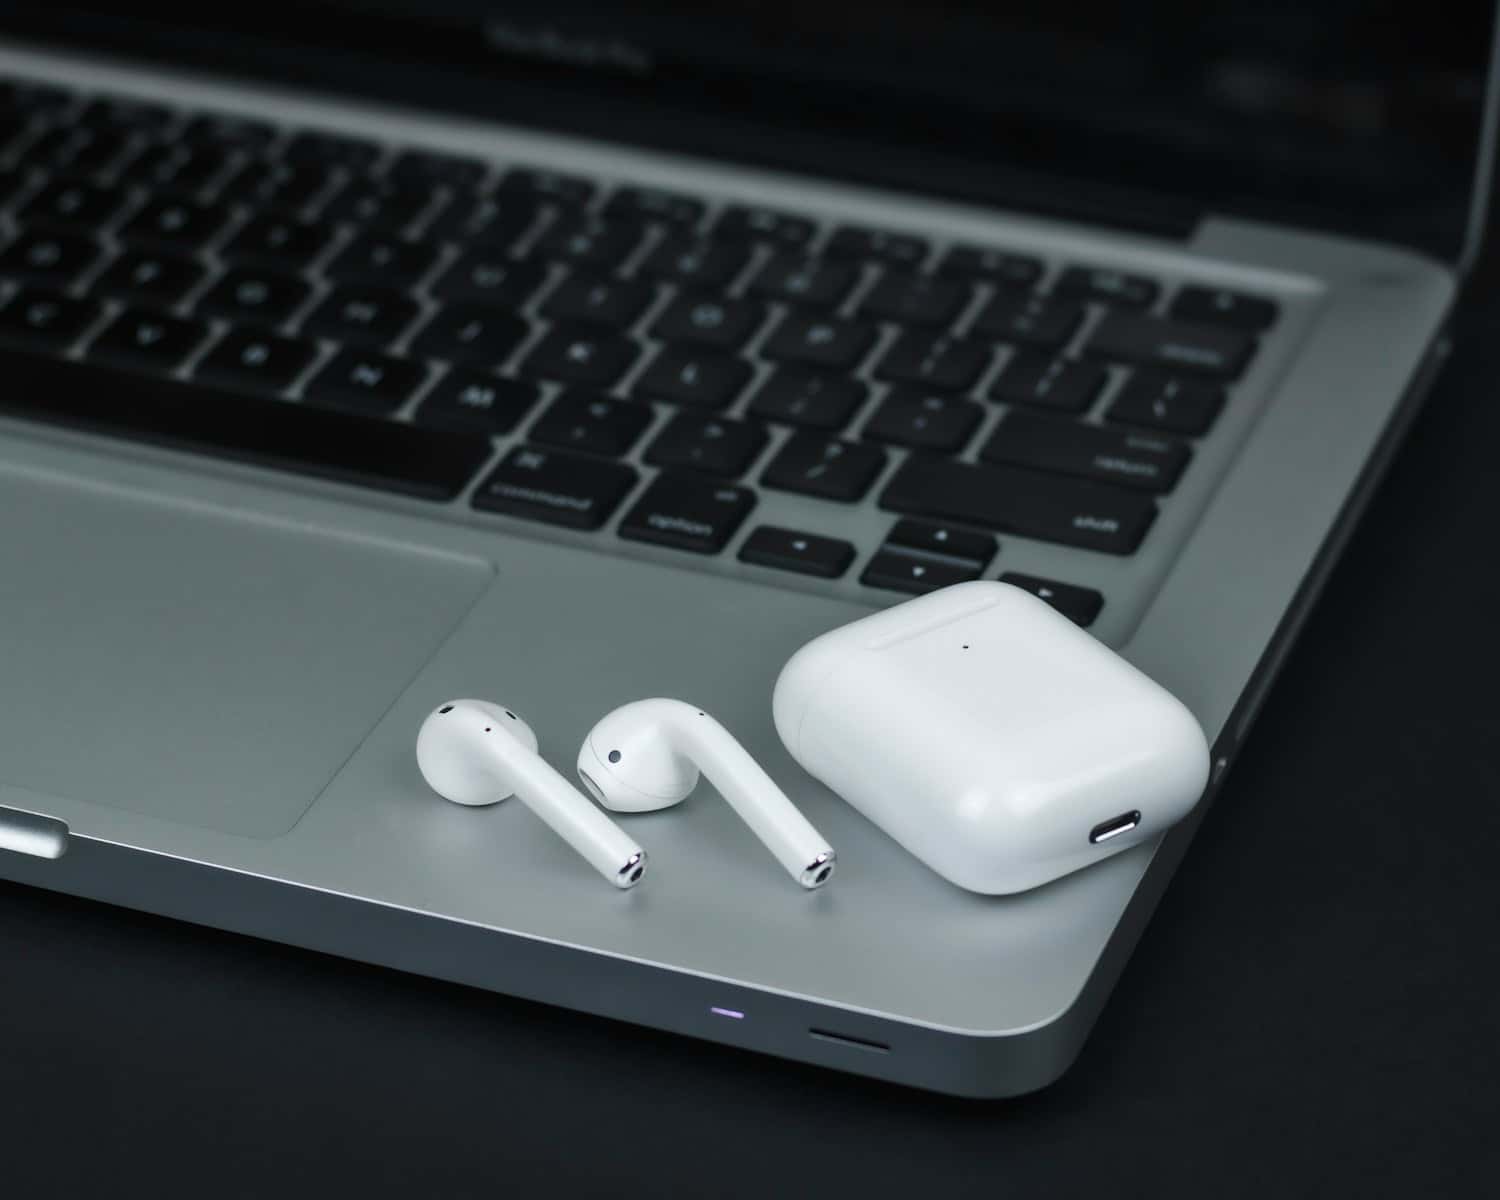
Place your AirPods in their case and keep the lid open.
Press and hold the setup button on the back of the case until the status light flashes amber, then white.
Release the button, and your AirPods will be reset to factory settings.
After resetting, you’ll need to reconnect them to your devices. Read on, if you need more details and step-by-step guidance.
When You Might Need to Reset Your AirPods
Here are some situations when a reset might be just what your AirPods need:
Connection issues: If your AirPods keep disconnecting or don’t pair smoothly with your devices.
Audio quality problems: When sound is cutting out, your AirPods are quiet, and the quality isn’t as clear as it used to be.
Battery issues: If the battery drains faster than expected or isn’t charging properly.
Preparing for a new user: When you’re selling or giving away your AirPods, a reset clears your settings for a fresh start.
Step-by-Step Guide: How to Factory Reset AirPods
Here’s a more detailed guide to factory reset your AirPods, including tips for each step:
Step 1: Prepare Your AirPods and Charging Case
Place both AirPods in their charging case, making sure they’re correctly seated and charging.
Open the lid but keep the AirPods inside the case throughout the reset process.
Step 2: Check Battery Level
It’s best to reset your AirPods when they’re sufficiently charged. If possible, make sure both the AirPods and the case have at least a 50% charge to avoid interruptions.
Step 3: Find the Setup Button on the Case
Look for the small, circular setup button on the back of your AirPods case. You’ll use this button to initiate the reset.
Step 4: Hold the Setup Button
With the case lid open, press and hold the setup button. Keep holding it for about 15 seconds until you see the status light flash amber (orange) and then white.
For AirPods Pro and AirPods (2nd gen and above): The status light is on the front of the case.
For AirPods (1st gen): The status light is inside the case, between the AirPods.
Step 5: Release the Button
Once the status light turns white, release the setup button. Your AirPods have now been fully reset to factory settings, which removes any paired devices and restores original configurations.
Step 6: Reconnect Your AirPods to Your Device
For iPhone or iPad: With the case open, hold your AirPods close to your device. You should see a pairing prompt on your screen; follow the instructions to reconnect.
For Android or other Bluetooth devices: Go to the Bluetooth settings on your device, select your AirPods from the list, and complete the pairing process.
Step 7: Test the Connection and Sound Quality
After reconnecting, try playing audio or making a call to ensure everything’s working smoothly. This reset should resolve most connectivity or sound quality issues.
If a factory reset didn’t resolve your AirPods issues, here are some additional troubleshooting steps to try:
1. Check Your Device’s Bluetooth Settings
Go to the Bluetooth settings on your device and “Forget” the AirPods.
Restart your device, then attempt to pair the AirPods again.
2. Restart Your Device
Sometimes the issue might be with your device rather than the AirPods. Turn off your iPhone, iPad, or other device, wait a few seconds, then power it back on and try reconnecting.
3. Charge the AirPods and Case Fully
Ensure both the AirPods and charging case are fully charged. Connect the case to a power source and let it charge for at least 15 minutes before trying the reset again.
4. Clean the AirPods and Charging Case
Dirt or debris in the charging connectors can sometimes prevent a proper reset. Carefully clean the contacts on both the AirPods and inside the case with a soft, dry cloth.
5. Try Resetting One More Time
If the first reset didn’t take, try holding the setup button a bit longer (around 20 seconds) until the status light flashes amber and white. Sometimes a second attempt does the trick.
6. Update Your Device’s Software
AirPods work best with the latest software. Check if your iOS or Android device has any pending updates, as software updates can solve compatibility or connectivity issues.
7. Contact Apple Support
If nothing works, there may be a hardware issue. Reach out to Apple Support for further help, as they can diagnose more specific issues and may offer a replacement if your AirPods are still under warranty.
Enhance Your Audio Quality with Krisp’s Noise Cancellation
To get the best audio experience on your AirPods, especially during calls or virtual meetings, consider using Krisp’s noise cancellation feature. Here’s how it enhances your audio quality:
1.Block Background Noise
Krisp uses AI to eliminate unwanted background sounds on both ends of a call, so you can hear and be heard clearly, even in noisy environments. It’s perfect for enhancing your AirPods’ performance in busy places like coffee shops or shared workspaces.
2. Improve Focus During Calls
By cutting out distractions, Krisp helps you stay focused on the conversation. Whether you’re attending meetings, taking notes, or just catching up with friends, Krisp ensures that your audio is crisp and clear, making communication more effective.
3. Easy Integration with AirPods
Krisp works seamlessly with AirPods, adding an extra layer of clarity for professionals and remote workers who rely on Bluetooth earbuds. Just enable Krisp during your call, and enjoy high-quality audio with noise-free clarity.
To hard reset your AirPods, place them in the case with the lid open, then press and hold the setup button on the back of the case until the status light flashes amber, then white. This will restore them to factory settings.
If your AirPods are still linked to a previous owner’s Apple ID, you’ll need to remove them through the Find My app on their device. They should select the AirPods under “Devices” and choose Remove This Device to unlink them.
No, once AirPods are reset to factory settings, they are no longer linked to any Apple ID, and tracking through Find My will no longer work.
To wipe your AirPods, do a factory reset by pressing and holding the setup button on the case until the status light flashes white. Additionally, remove them from your Apple ID in the Find My app by selecting – Remove This Device.