Get Slack for Mac – it’s a great collaboration hub for work, no matter what work it is that you do. It allows you to streamline all discussions and decisions regarding your work projects into one space.
It also makes it very easy to share information your team needs, and depending on your plan, will save it all for you (a bit more on that later). Basically, the Slack app for Mac is designed to keep your team better connected.
Here’s a little tutorial on how to quickly get Slack for Mac and set it up to boost your (and your team’s) productivity.
1. Get Slack for Mac on the website
There are two ways to do this. You can go to the Slack website, and click on Download Slack, via the Resources section, or you can download the app via the Mac App Store. This tutorial will be looking at getting the Slack app for Mac to work via download from their website.

2. Install the Slack app for Mac
After the application is downloaded, next you will need to launch the installer.
Later, drag and drop the Slack icon into Applications to ensure that it works properly. You can do this right on the screen or separately from the menu on the left side.

3. Launch the app
Once you get Slack for Mac, locate it in your Applications folder, or use Finder to open it. Once the app is launched another popup window will show on the screen warning you about the app. Click Open and the application will launch.
4. Create a workspace
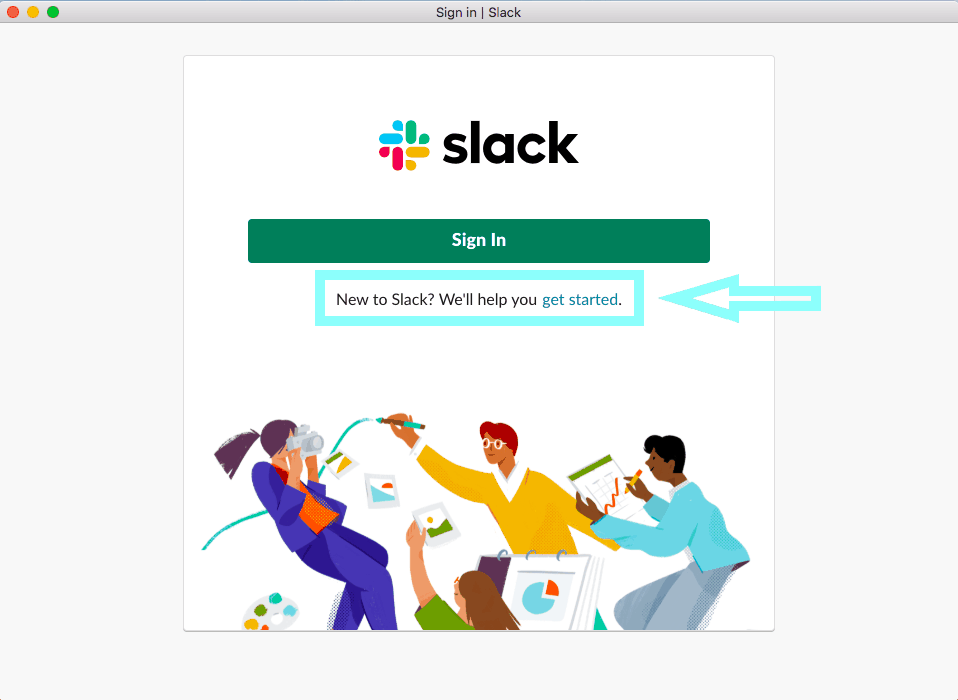
If you have an existing workspace or have been invited to one, you can simply enter the workspace URL and sign in with your email and password.
If you want to create a workspace of your own, click on Get Started as shown in the picture above.
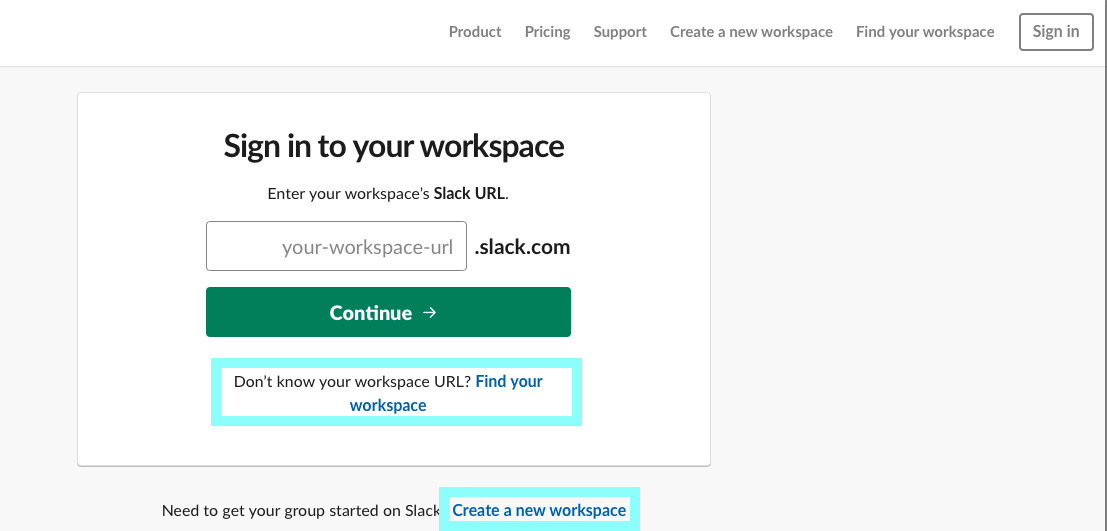
You will be redirected to the Slack website where you can sign in to your workspace or create a new one by clicking either Find your workspace or Create a new workspace.
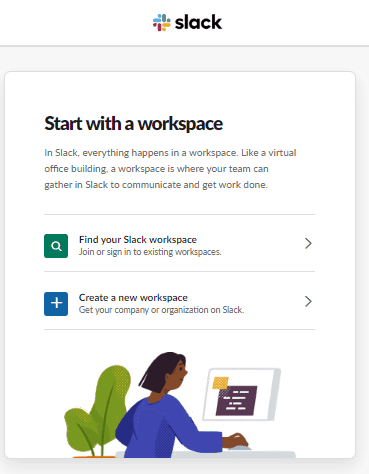
Once you do this, you will be able to choose from Find your workspace and Create your workspace, as shown in the picture below.
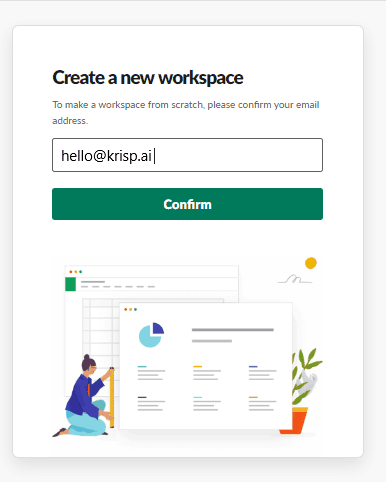
If you choose to create, type in your email address in the designated field and click on Confirm.
Mention the company name, which will be the name of your workspace and have its own workspace URL as you move on to creating your team.
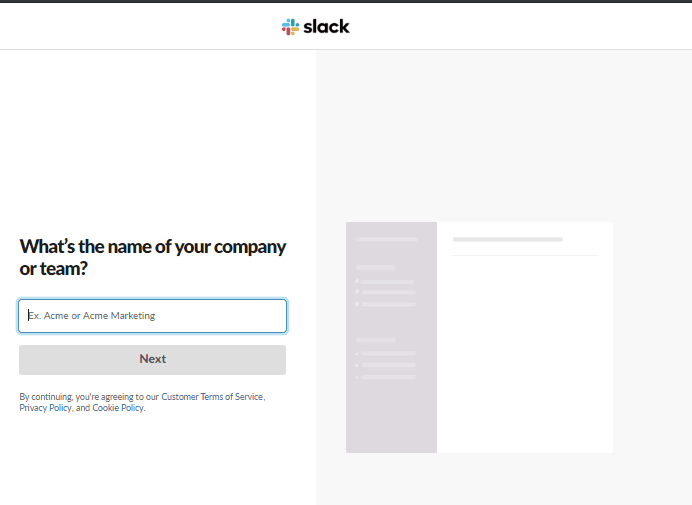
Once you’re done with the company name, click Next.
5. Invite your team to your workspace
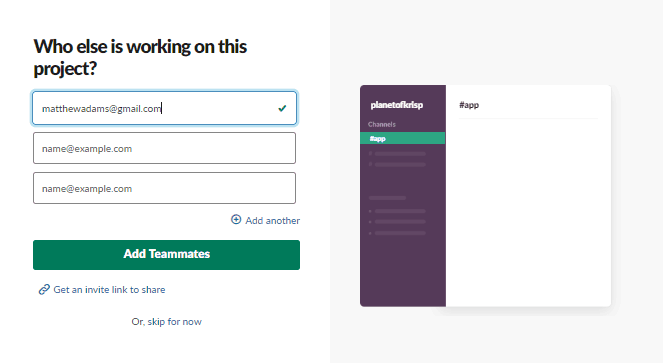
Creating a Slack team is really straightforward – Choose a unique name and password for your workspace, and then you will be able to invite other coworkers and collaborators. You can invite others through their email addresses to be members of your channel.
Digital nomads and freelancers will find it easy to become members of multiple teams, and some groups of friends and families have begun to use Slack as a way to keep everyone in touch, and all their documents in one place – it’s not just for businesses!
Moving on, fill in the email addresses and click Add teammates. If you wish to postpone this for later, then you can skip the step to be redirected to your workspace.
6. Get Familiar with your workspace
Your workspace consists of channels, the channel members and apps that you can integrate with Slack. The communication is handled through the corresponding channels, which can be created by you and other workspace members. You can join or leave channels that are relevant to you at anytime, and you can view the history of all the messages in every channel.
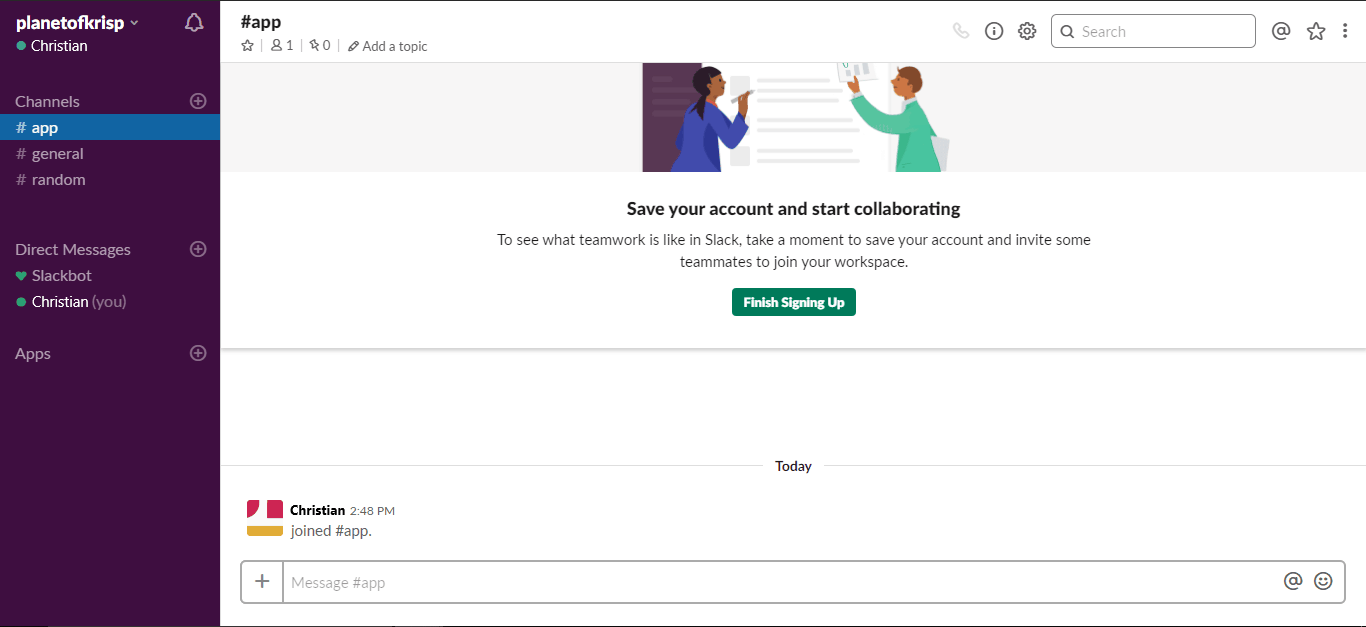
To create a channel click on the + icon right next to Channels if you would like to separate all the projects your team is working on and invite the members who are involved.
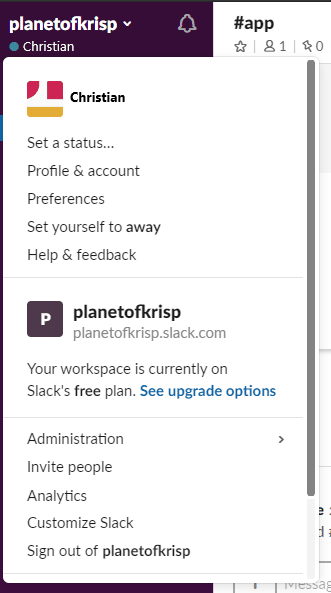
You can also customize your Slack workspace through the Slack settings, which can be accessed through your workspace name on the top left corner of the app window.
You can upgrade from your Slack free plan for more advanced features in your workspace. To do so, click on the See upgrade options, which will redirect you to Slack website.
7. Pick a level of membership
Depending on the type of account you decide on, there will be additional levels of access to your teams for freelancers or other outside contributors/contractors who aren’t on your payroll. Slack says the free level will always be free, without any sort of time limit to convert to a paid plan.
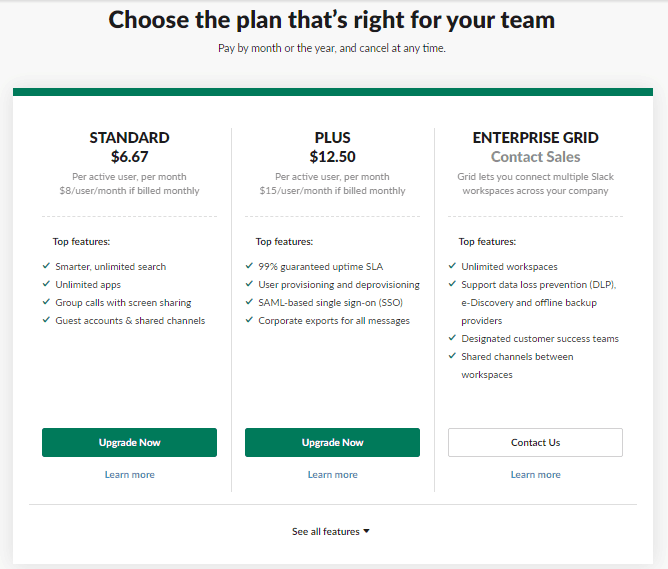
The free Slack option gives you limited app integration and only allows you to search your last 10,000 messages. If you only run a small business that doesn’t need extensive records, this should be more than enough (just remember to backup the really important stuff!). Larger businesses will want to opt for the standard or plus plans, that’s a decision that we’ll leave with you.
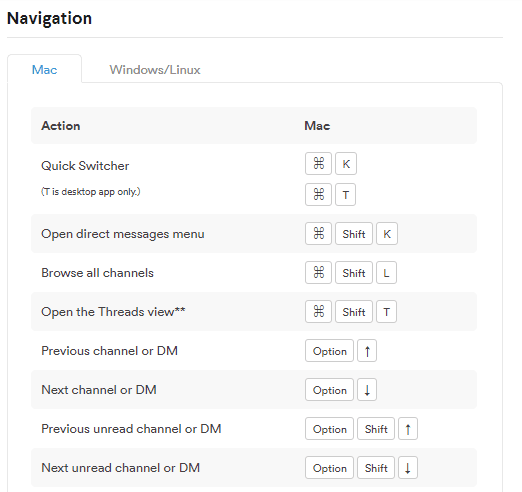
8. Learn the shortcuts
Working in Slack is much faster if you are able to learn the hotkeys/shortcuts for the commands that you use the most. The company keeps a handy list of all of the Slack app for Mac’s keyboard shortcuts on its blog.
Now that you know how it’s done, off you go! Download, and install the Slack app for Mac and watch your team’s productivity levels soar!
In addition, consider Krisp’s Slack transcription tool, which streamlines the process of converting important discussions and decisions within your workspace into easily accessible text records, enhancing collaboration and productivity.
BONUS TIP:
Noise can have a drastic impact on productivity and concentration, as we covered earlier in this post. If you regularly use (or plan on using) Slack to make calls with your team over the Internet, then you should definitely check out Krisp.
This nifty noise cancelling app filters out pesky background noise at both ends, leading to a significant boost in the quality of your conference calls. Try it for yourself, and let us know how you get on in the comments!
Did we miss anything? How did you discover Slack? For which purposes do you use it for most? Let us know in the comments section below…