Are you about to join an important meeting on Microsoft Teams? The last thing you want is an audio or video issue. Whether using Microsoft Teams for work, remote learning, or catching up with friends, knowing how to test audio in Microsoft Teams is vital.
From how to test audio and video in Microsoft Teams to troubleshooting common issues, we’ll cover everything in this guide. Also, we’ll introduce how you can use the Krisp AI Meeting Assistant to enhance your Teams experience.
So, let’s move on.
How to Test Audio in Microsoft Teams Before Meeting

Testing your audio setup before jumping into a call is always a good idea. Knowing how to test the audio in Microsoft Teams before a meeting can help you avoid awkward situations like speaking without being heard or struggling to hear others.
Here’s how you can quickly check your audio:
- Open Microsoft Teams:
- First, launch Microsoft Teams on your desktop or web browser.
- Go to Settings:
- Navigate to the top-right corner of Teams to tap your profile picture.
- In the dropdown menu, select “Settings.”
- Access Devices:
- In the “Settings” menu, navigate to “Devices” on the left panel.
- Here, you’ll see options for audio devices, speakers, and microphones.
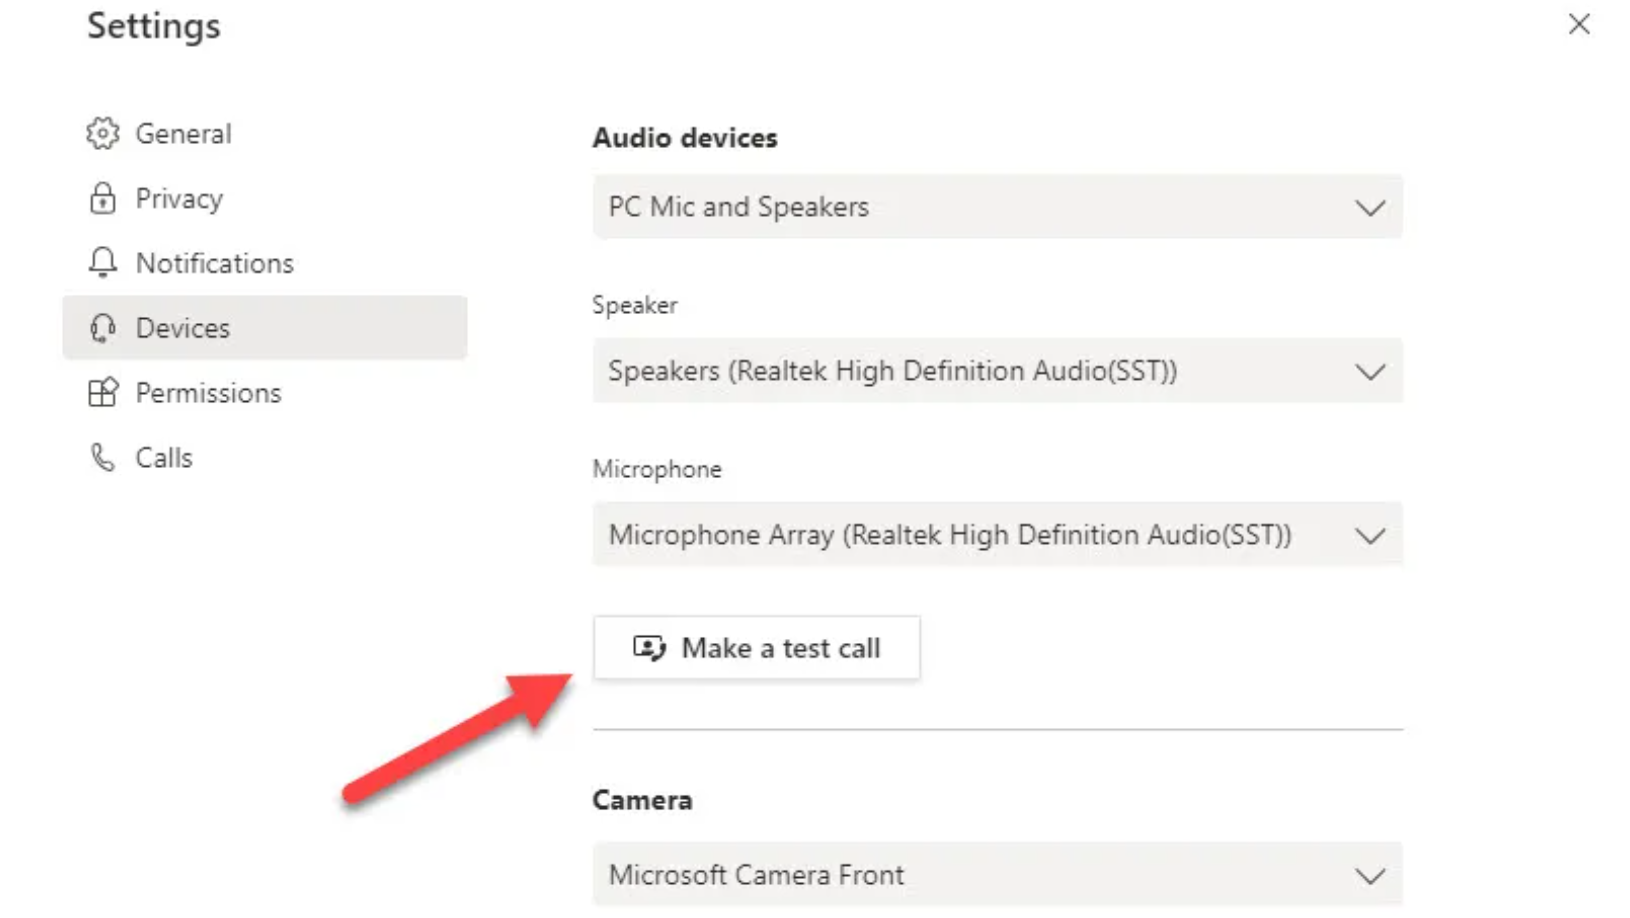
- Make a Test Call:
- Scroll down to the section labeled “Audio Devices.”
- Click “Make a test call” to test your microphone and speakers.
- Teams will call a virtual assistant that will prompt you to speak. Afterward, it’ll play back your recorded audio so you can ensure everything sounds right.
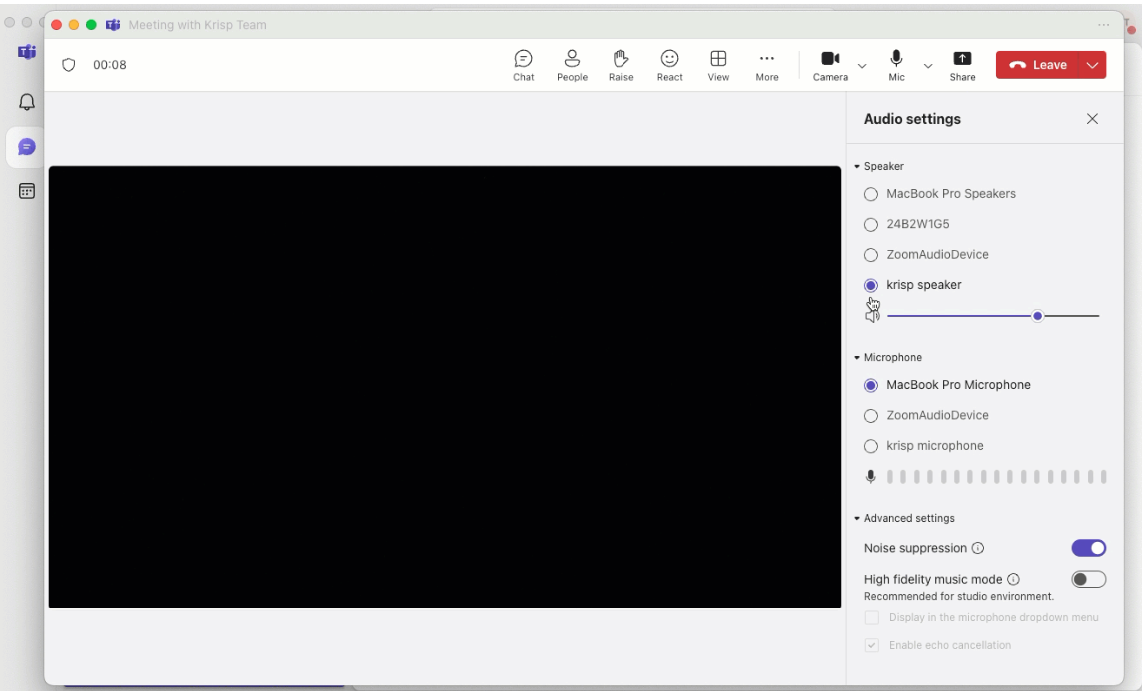
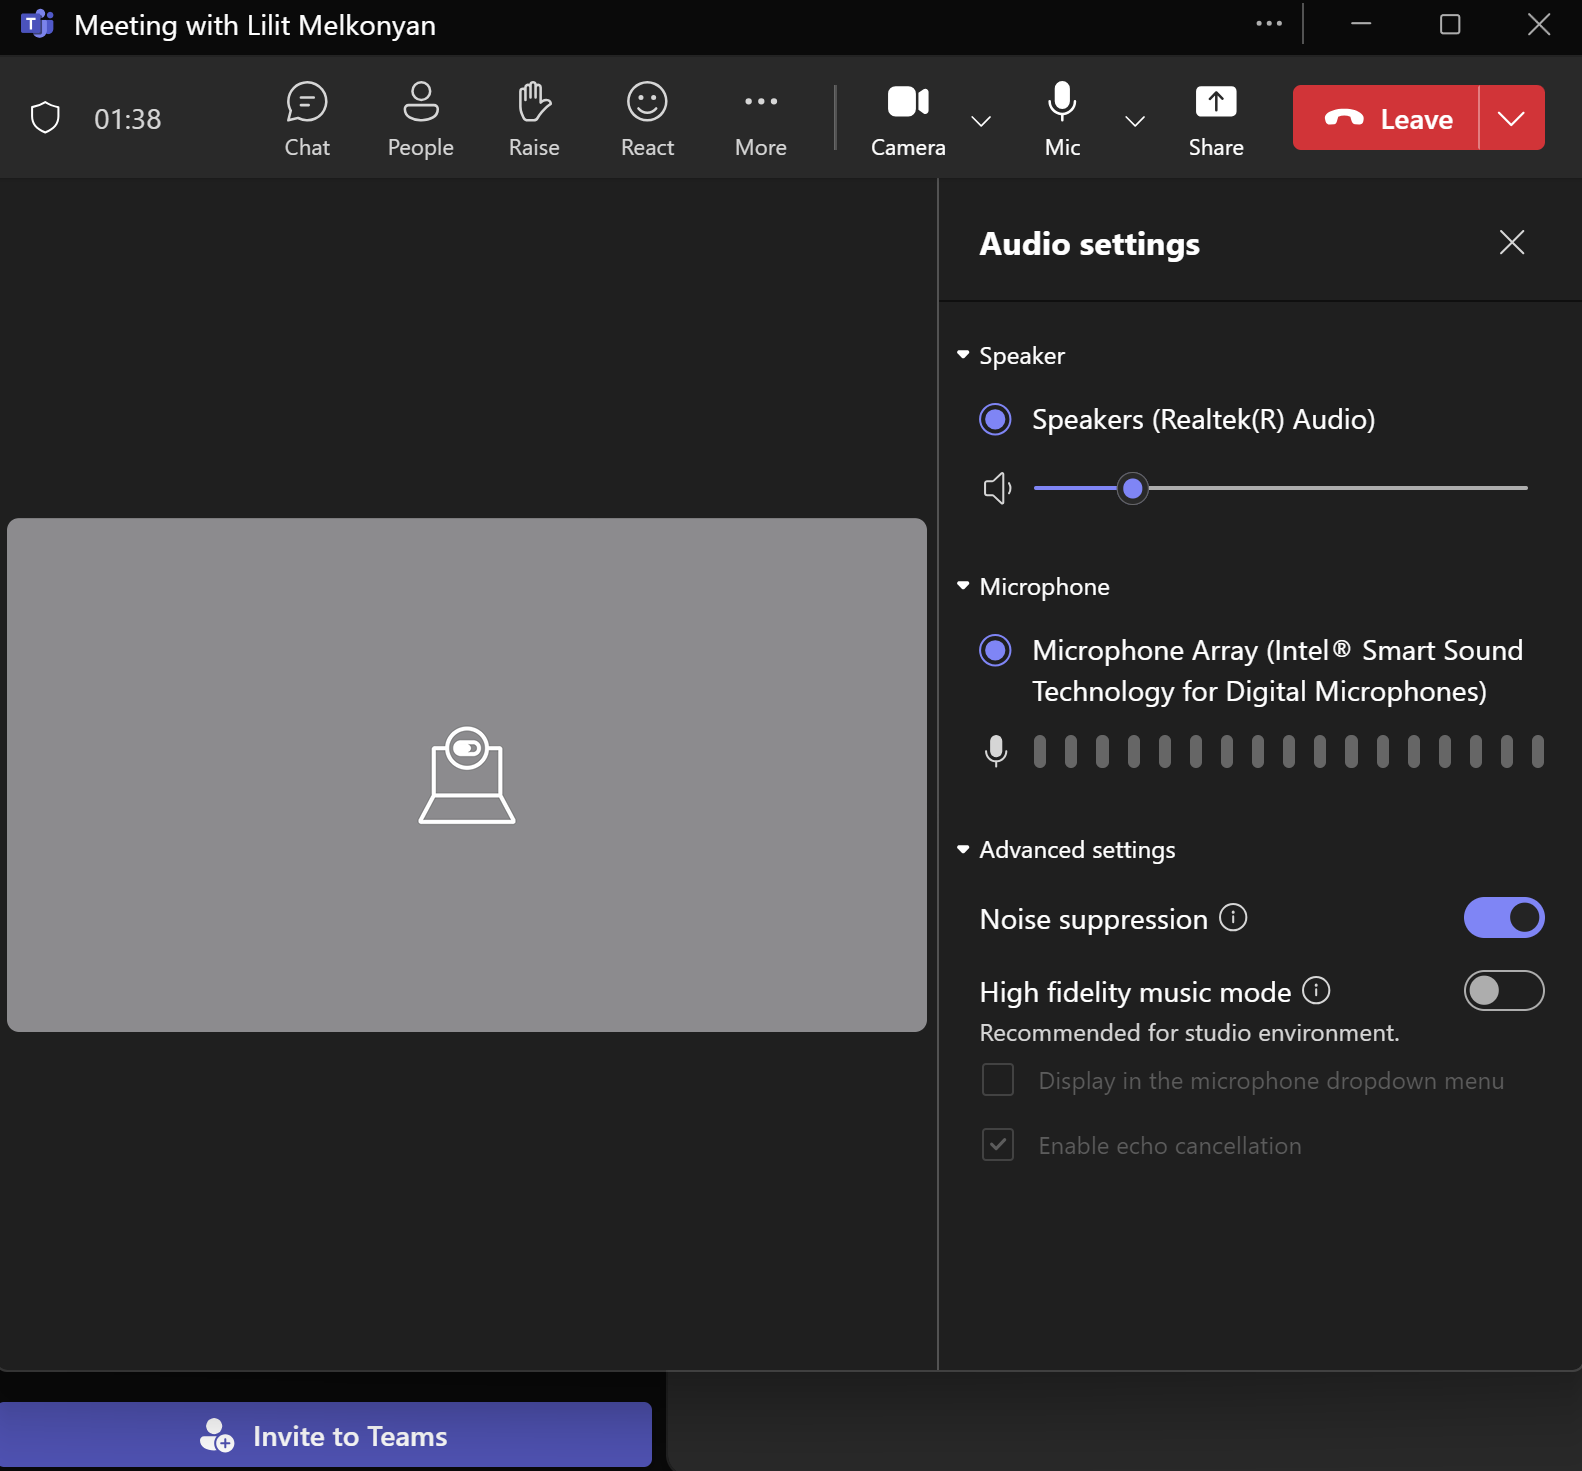
- Adjust Audio Settings:
- If needed, adjust your microphone or speaker settings from this menu. You can select different audio devices from the dropdown menus if multiple input/output options are connected to your device.
- Suppress Noise
- Microsoft Teams differentiates between stationary noises like fan noise) and non-stationary noises like dog barks). Teams’ noise suppression feature works automatically as it’s turned on by default.
You may wonder, “Can I make a Microsoft Teams test call without account?” Unfortunately, you can’t make a Microsoft Teams test call without an account. Because to use this feature, you’ll need to sign in with your Microsoft account.
But you can join a Teams meeting anytime, from any device, even if you don’t have an account.
Microsoft Teams’ daily active users reached 300 million in 2023. So, it’s more vital than ever to learn to use Teams properly.
How to Test Video in Microsoft Teams Before Meeting

Now that you know how to test audio in Microsoft Teams meeting, what about the video? Whether you’re giving a presentation or joining a video call, ensuring your camera is working is essential for smooth communication.
Did you know that in the fourth quarter of 2023, Teams’ mobile app registered nearly 11 million global downloads in Europe, the Middle East, and Africa?
Here is how to test camera in Teams without joining a meeting:
- Access Settings: Like testing audio, start by clicking on your profile picture and selecting “Settings.”
- Go to Devices: In the Settings window, select “Devices” from the left-hand panel.
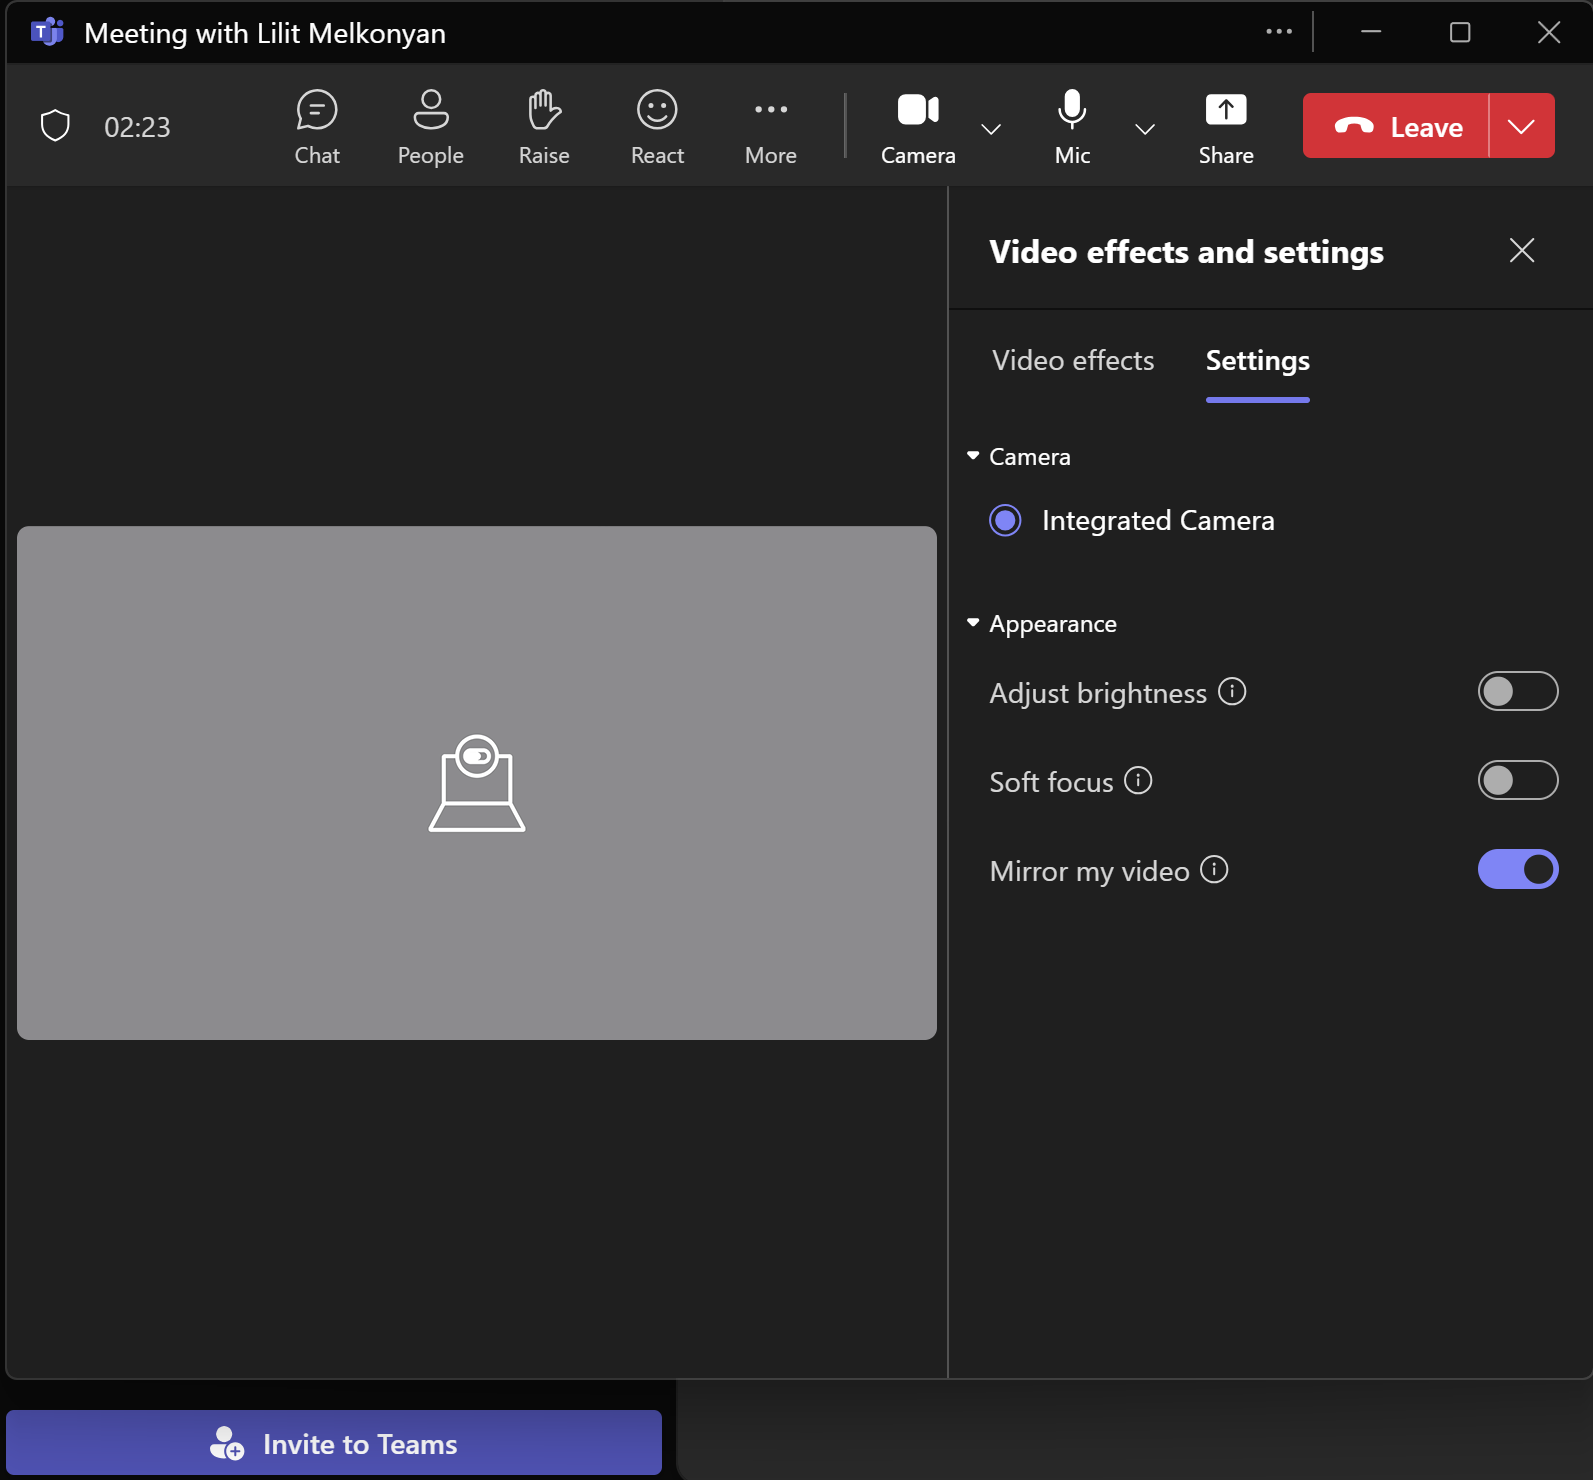
- Test Your Video:
- Scroll down to the “Camera” section.
- A live preview of your camera will appear. Here, you can see how you’ll look during the meeting.
- Adjust your camera angle and lighting based on what you see in the preview.
- Switch Between Cameras: If you’re using multiple cameras, consider switching between them using the dropdown menu in the “Camera” section.
Enhance Your MS Teams Experience with Krisp

Knowing how to test audio in Microsoft Teams isn’t enough: learn to take your meeting experience to the next level with Krisp’s AI Meeting Assistant.
Krisp provides advanced features like AI-powered noise cancellation and Meeting Note Taking to ensure smooth online communication without disruptions. No more barking dogs or noisy environments so you can fully engage in the conversation.
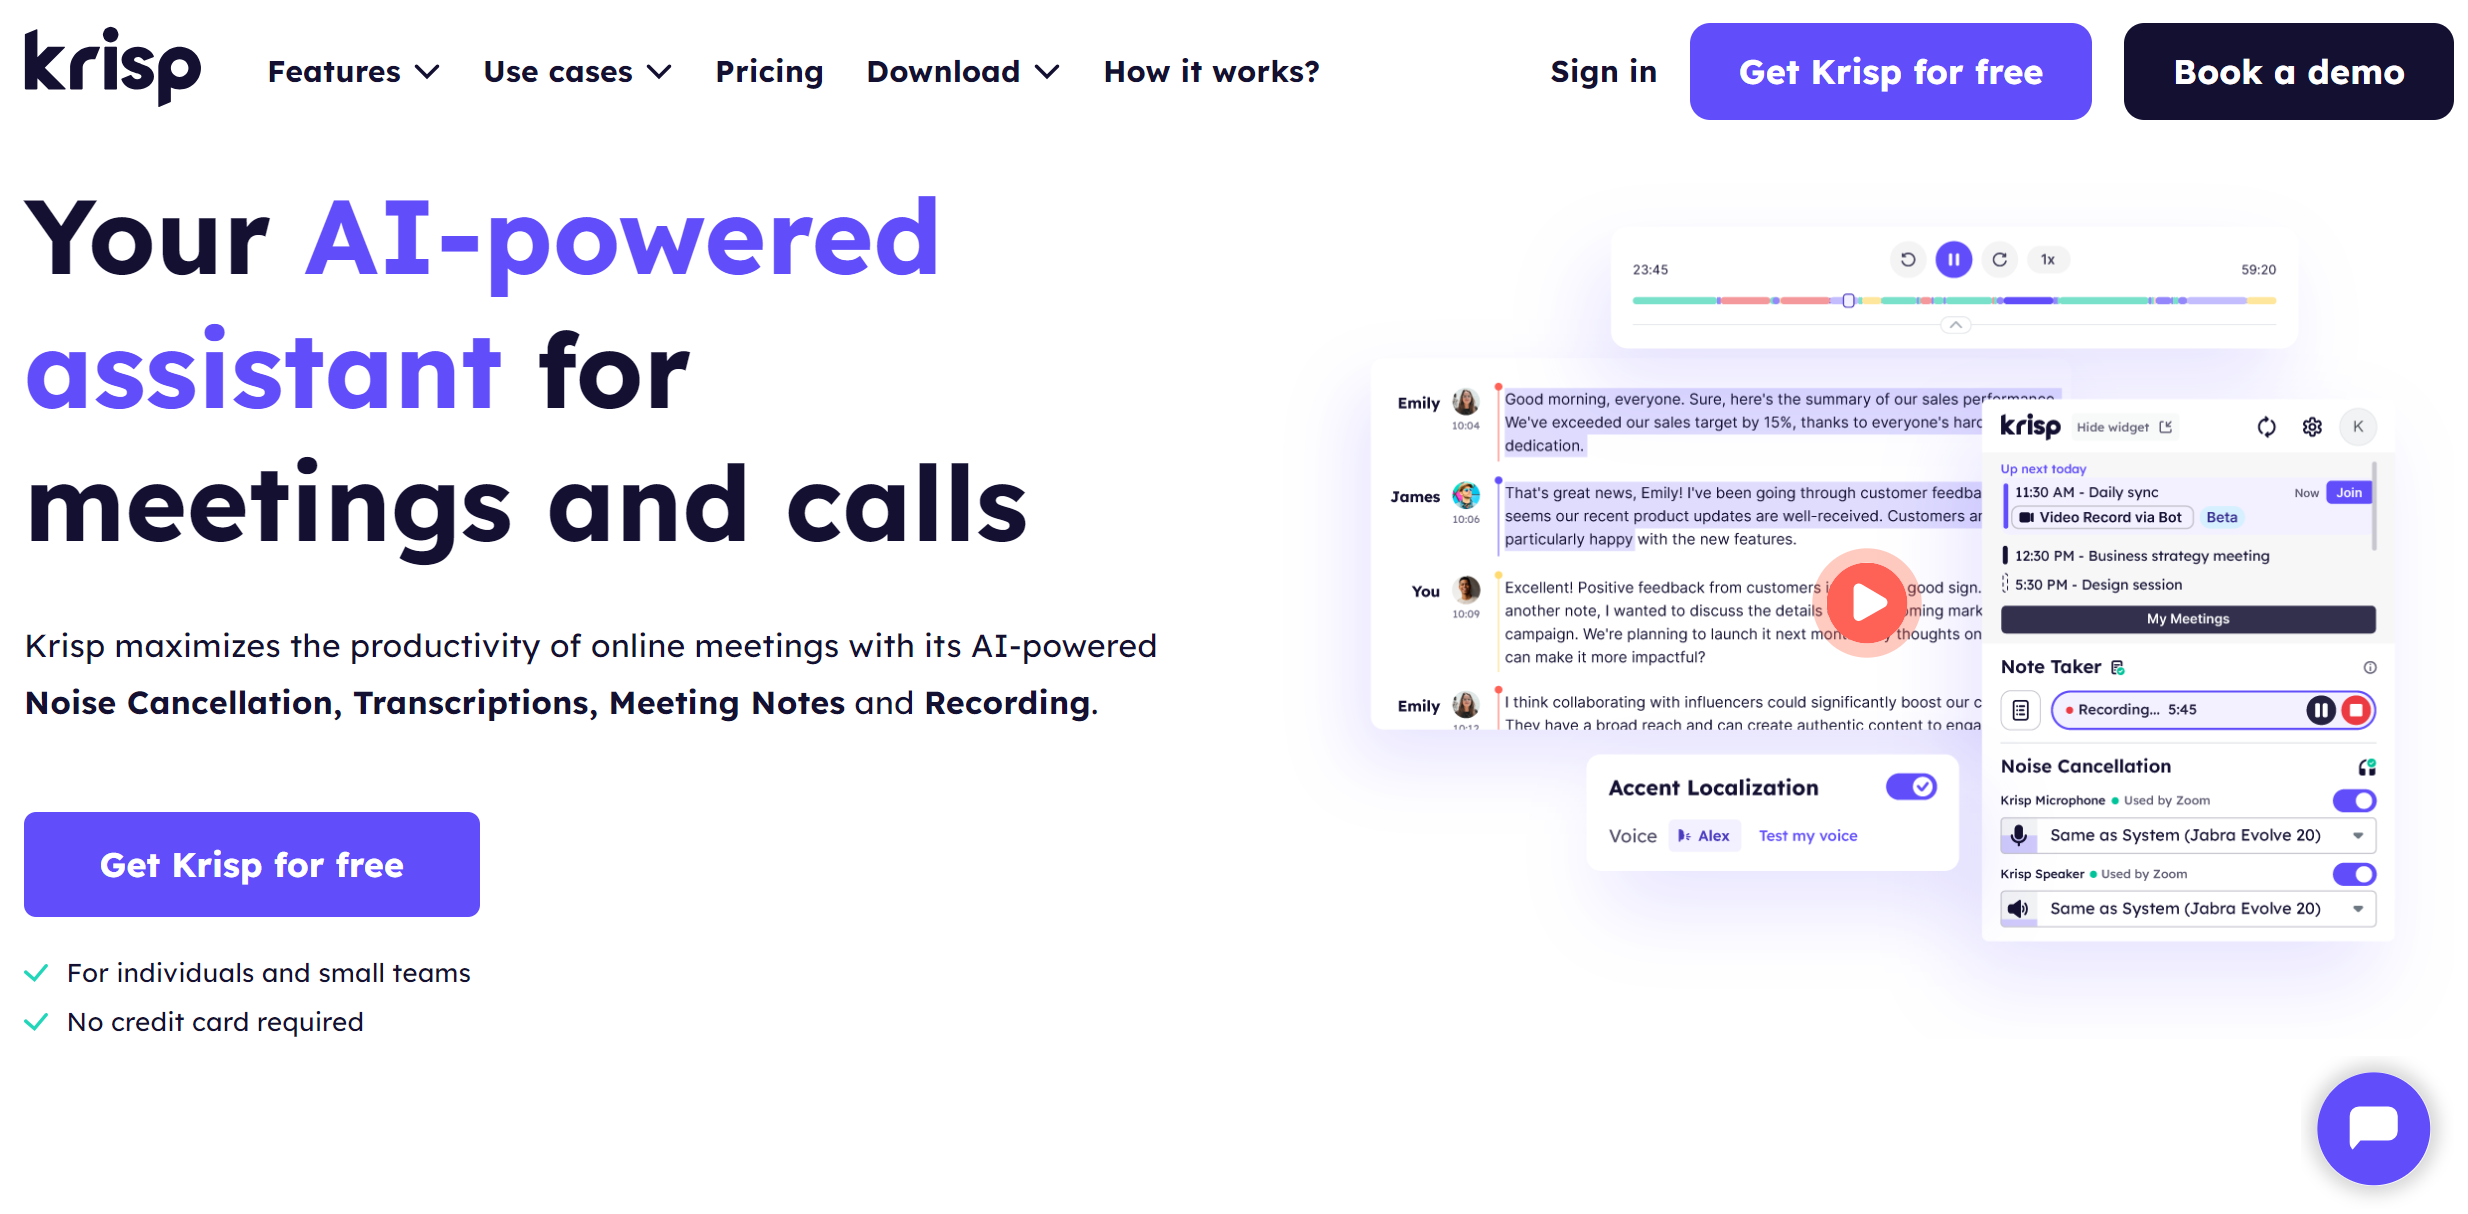
How Krisp Makes Meetings Productive and Efficient
Here’s how Krisp can enhance your Microsoft Teams experience:
1. Noise Cancellation
Krisp’s AI Noise Cancellation technology filters out background noise, making you sound crystal clear, even in a noisy setting. The Krisp AI Meeting Assistant works seamlessly with Teams, ensuring distraction-free calls.
Users note that Krisp’s noise suppression algorithm seems ten times more powerful than the competitors. So, you can focus on the conversation and brainstorming instead of spending time and effort taking notes manually.
Consider Krisp’s Noise Cancellation comparison to gain a better idea of how why Krisp enhances Teams meetings.
2. Meeting Recording
Krisp’s AI Meeting Recording automatically records online discussions. So you don’t need to allow it: the Recording technology joins the meeting automatically. You can save your meetings to revisit and review them later.
Thus, you can share your meetings with others. Moreover, you can review any recorded part you wish, boosting accessibility and cooperation. Did you know Teams has altered its recording location practices since 2021?
Specifically, non-channel meeting recordings are stored in OneDrive, and channel meetings are stored in SharePoint.
3. Screen Recording
Krisp’s Screen Recording feature records your meetings right from the Krisp app. No bots joining the meeting are required. Record the entire screen or specific application windows.
You can now capture video and audio in high quality. Also, you can access and review the recordings on your web account Meetings page.
This feature allows you to revisit key meeting points, boosting the efficiency of follow-up tasks.
4. Meeting Transcription & Summaries
Krisp’s AI Meeting Transcription feature transcribes meetings in real time so you can avoid missing critical details. Krisp’s Transcription in Teams allows you to review key points from the meeting and increases productivity.
The Krisp AI Meeting Assistant’s speaker recognition is stellar. After recording and taking Meeting Notes in Teams, Krisp’s AI Meeting Notes feature summarizes the key points and action items without errors to increase efficiency.
How to Integrate Krisp with Microsoft Teams

TIME’s top pick for note-taking apps that don’t use an in-meeting bot, the Krisp AI Meeting Assistant doesn’t have a lot of bells and whistles and runs on WinOS and MacOS․
Moreover, Krisp’s AI Meeting Assistant is compatible with any videoconferencing app, including Zoom, Goole Meet, and Microsoft Teams.
Today, the Krisp flagship Noise Cancellation technology has been deployed on 200M+ devices, processing 80B+ minutes of conversations daily.
Enhancing your Microsoft Teams meetings with Krisp’s AI Meeting Assistant is simple. Here’s how to integrate Krisp with Microsoft Teams:
- Download and Install Krisp: Visit the Krisp website to get the app for your operating system. Install Krisp on your computer.
- Open Microsoft Teams: Launch Microsoft Teams and navigate to “Settings” by clicking your profile picture.
- Go to Devices: In the “Devices” section, locate the “Microphone” dropdown menu.
- Select Krisp: From the list of microphones, choose “Krisp Microphone.” The Krisp AI Meeting Assistant will filter out background noises, voices, and echoes during your meetings.
Troubleshooting Common Issues

You might encounter occasional issues even after testing your audio and video in Microsoft Teams. Here are some common problems and how to troubleshoot them:
- Microphone Not Working: Ensure your microphone is connected correctly and not muted. Check if another app is using the microphone, which can cause Teams not to detect it.
- No Sound from Speakers: Verify that your speakers are set as the output device in Teams. Also, check the volume settings of your device.
- Camera Not Detected: Ensure your camera is plugged in and no other application uses it. Check the “Devices” settings in Teams to ensure the correct camera is selected.
- Poor Video or Audio Quality: Bandwidth issues can cause this problem. Try closing unused applications or using a more stable internet connection.
Wrapping Up
Learning how to test audio in Microsoft Teams is simple. Go to Settings > Devices, and under the Audio Devices section, click Make a test call.
Mastering how to test audio in Microsoft Teams ensures a smooth, professional meeting experience by helping you avoid technical issues.
Tools like Krisp’s AI Meeting Assistant further enhance this experience by offering noise cancellation and transcription. Thus, you can be fully prepared with optimal audio and video quality.
Frequently Asked Questions