Zoom has quickly become one of the leading platforms for virtual meetings and online collaboration. From small team discussions to large-scale webinars, its flexibility makes it ideal for any remote communication needs. Whether you’re a business professional, educator, or even catching up with friends, learning how to create a Zoom meeting link is essential.
In this guide, we’ll walk you through setting up a Zoom meeting and explore how Krisp, an AI-powered noise-cancellation tool, can enhance your virtual meetings.
How to Create a Zoom Account
Before diving into creating a Zoom meeting link, the first step is to have a Zoom account. Visit Zoom’s official website and sign up using your email address or your preferred sign-in method (Google, Facebook, Apple, or SSO).
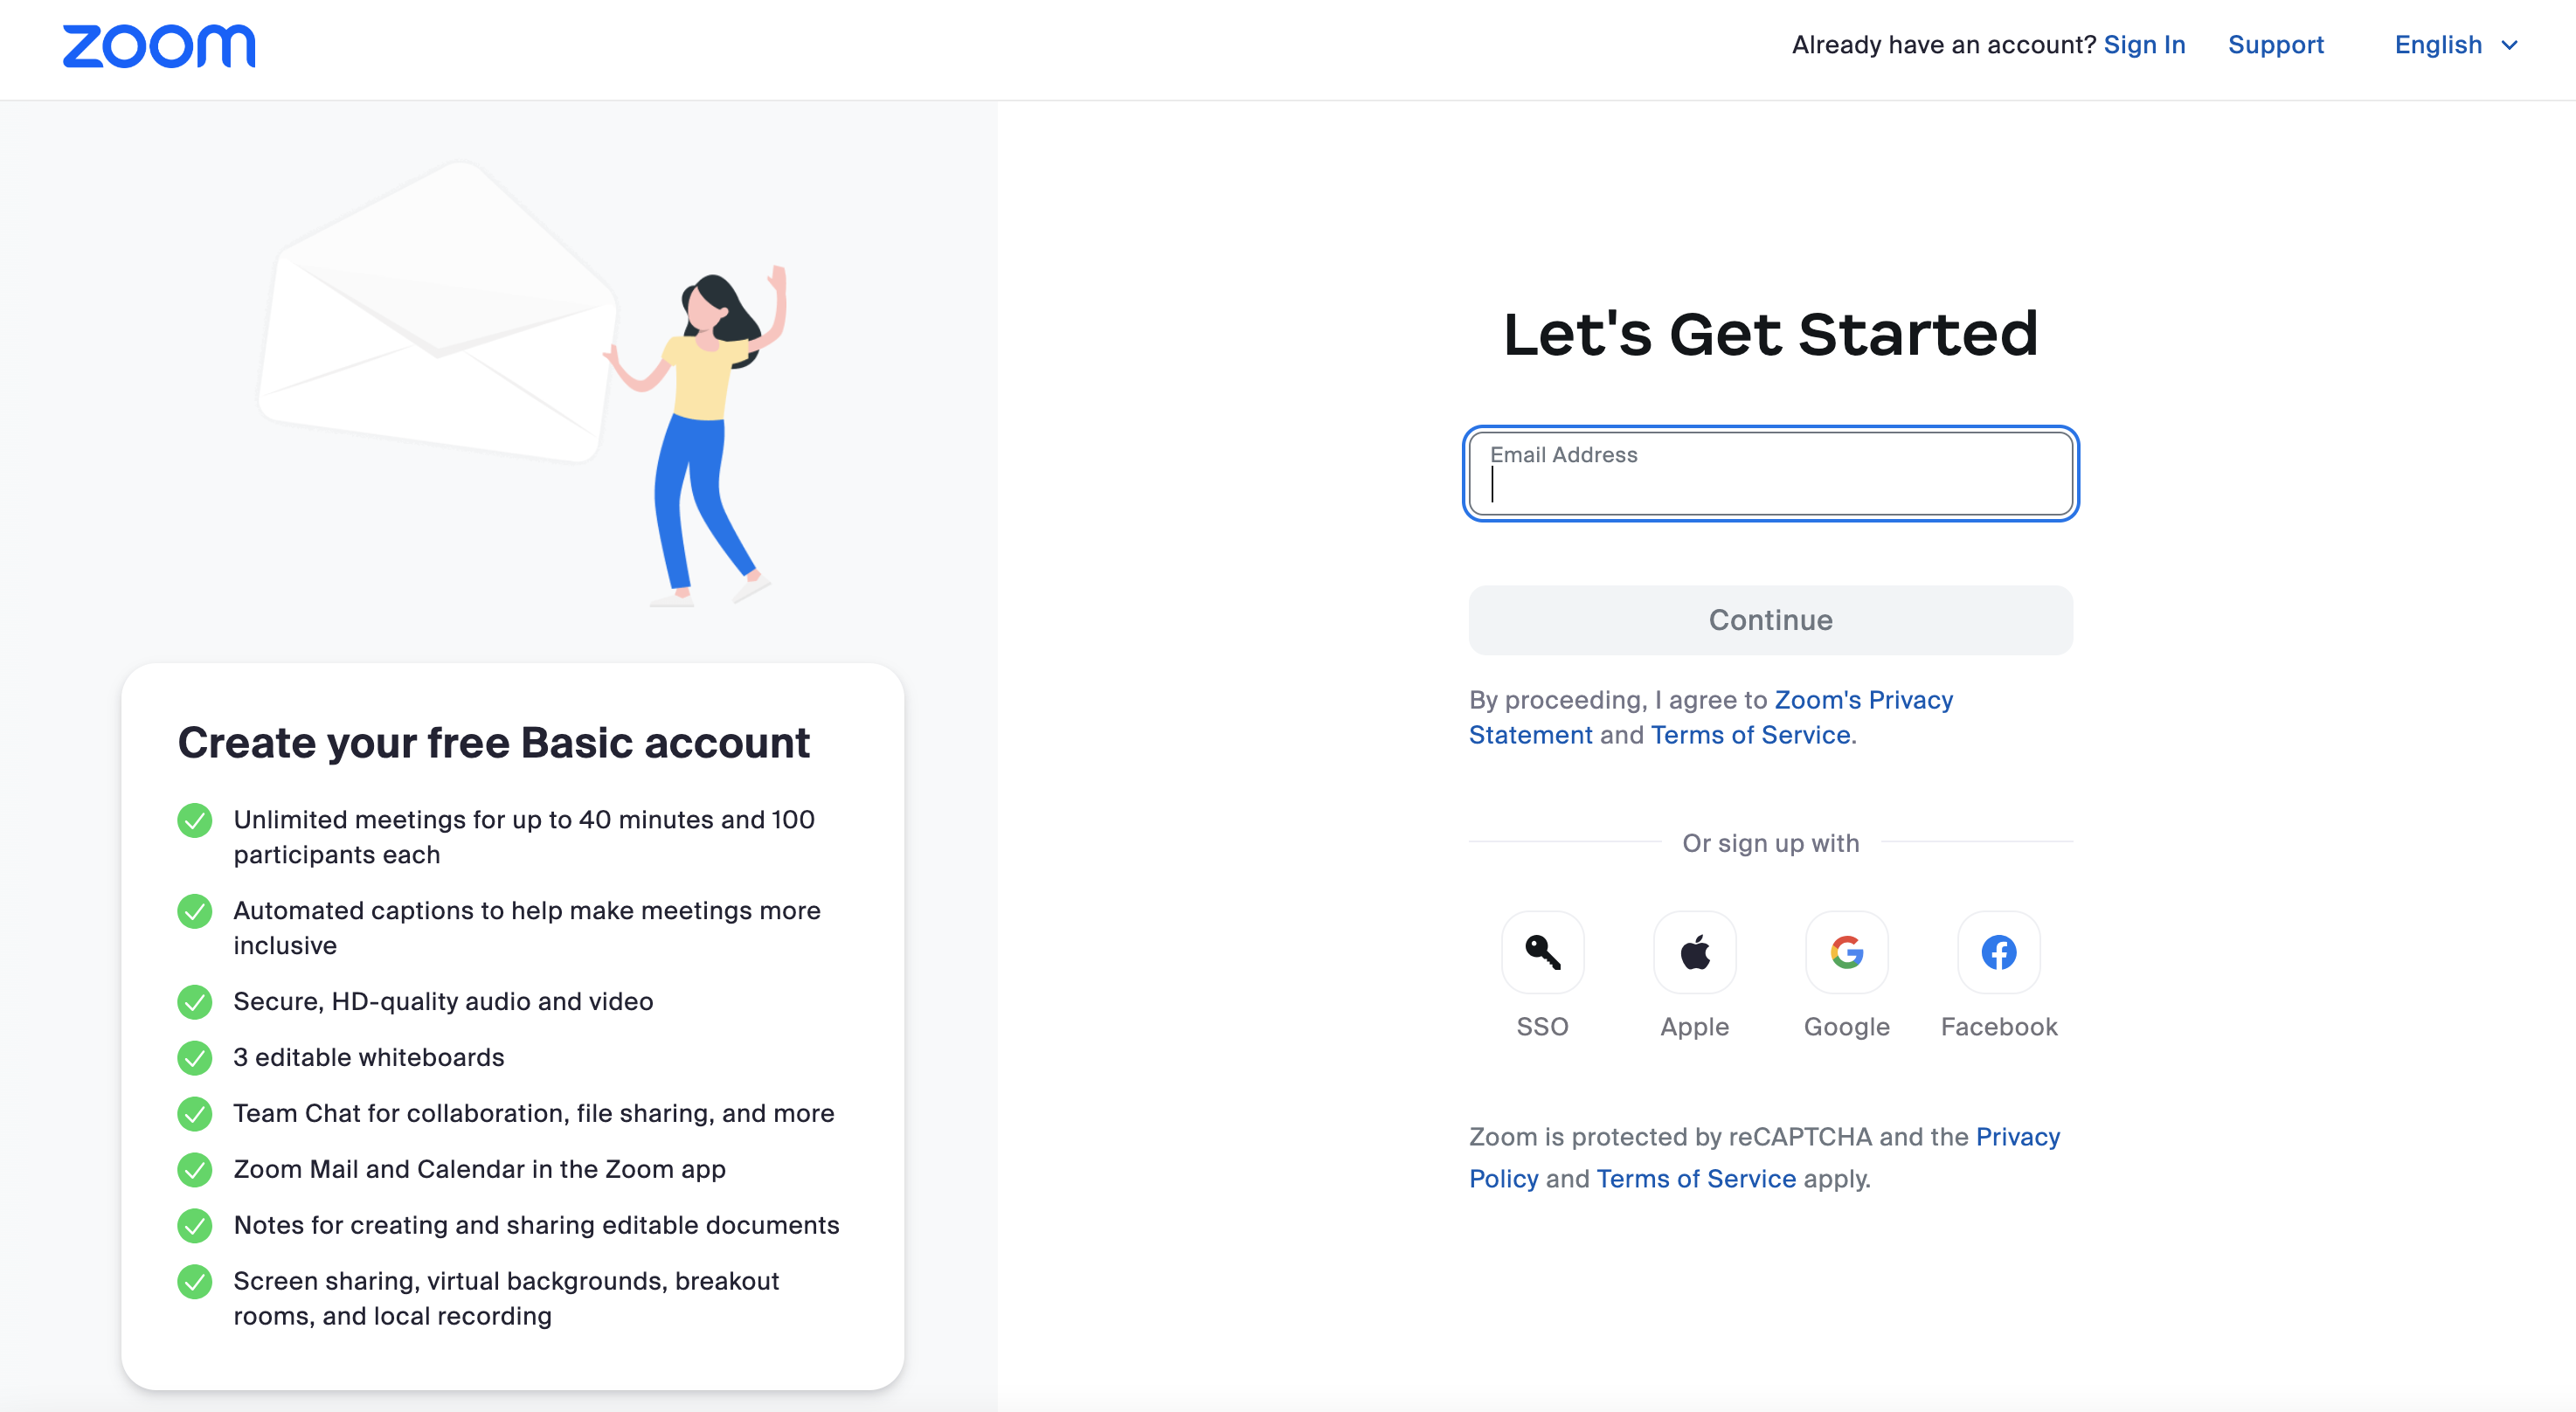
Once you’ve completed the registration process, you’re ready to start hosting meetings.
Creating a Zoom Meeting Link
Step 1: Sign in to Zoom
Go to the Zoom website or app and sign in using your account credentials.
Step 2: Schedule a Meeting
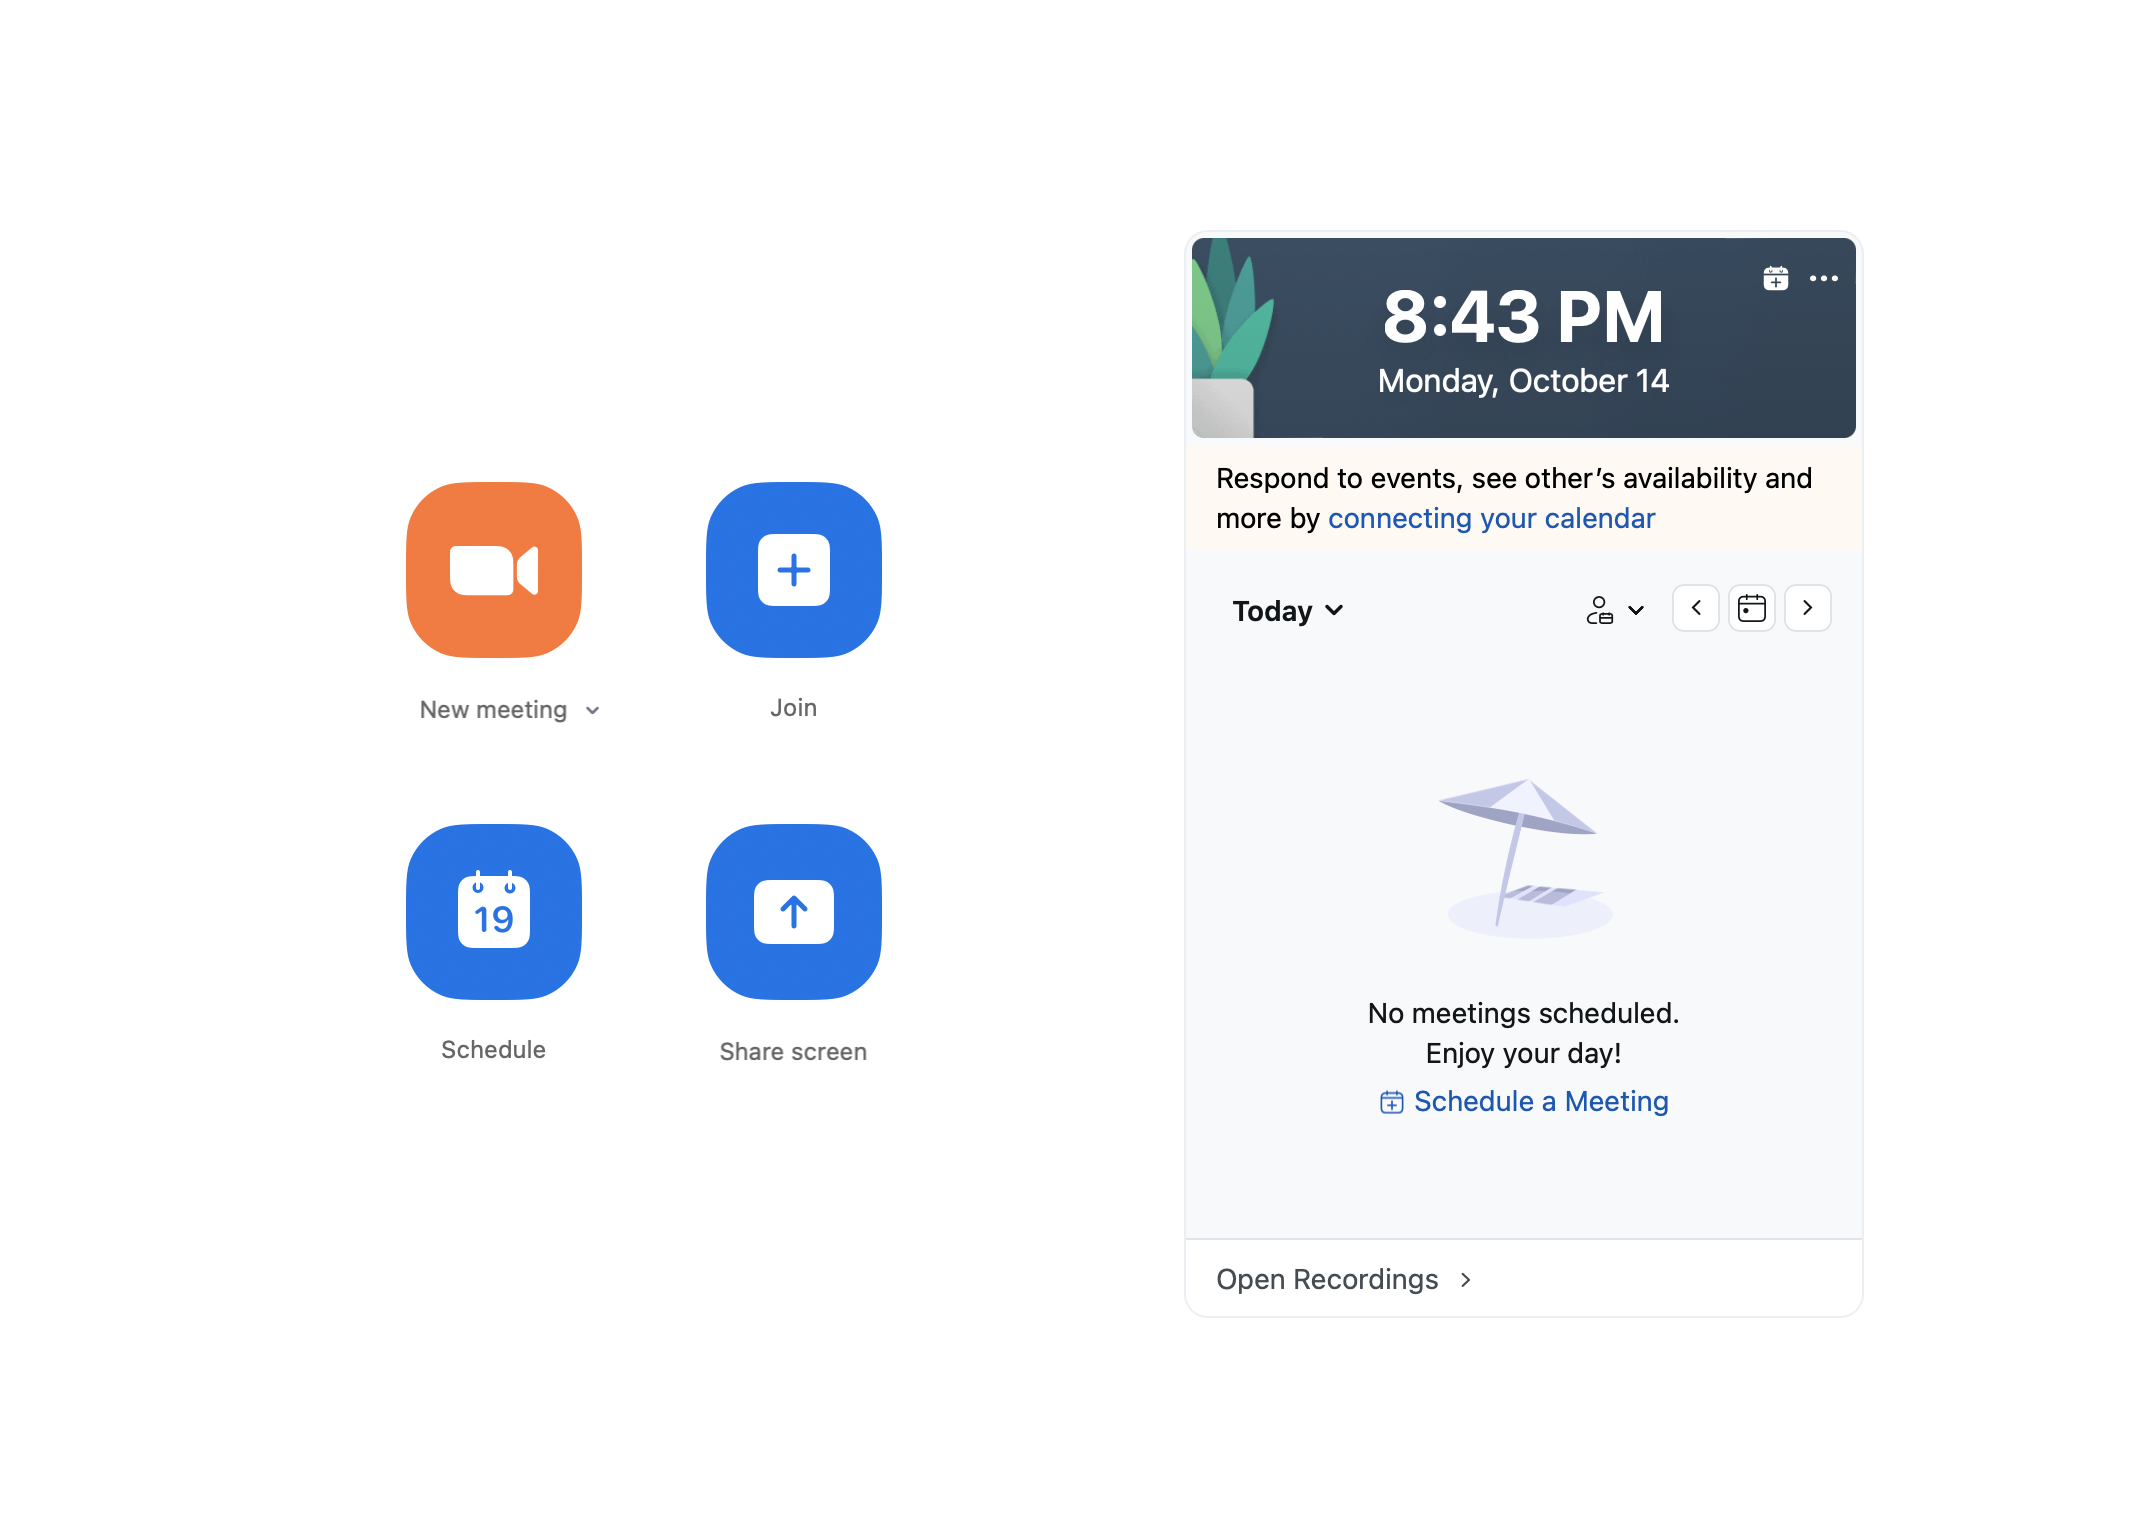
Once you sign, click the “Schedule” button if you want to start the meeting at a particular time. Here, you’ll need to put critical details like the meeting’s title, date, time, duration, and participants.
However, if you want to start the meeting immediately, click “New meeting.” No other information would need to be filled out.
Step 3: Get the Meeting Link
When the meeting is scheduled, Zoom will automatically generate a unique meeting link. You can easily share this link with attendees via email, calendar invites, or other communication platforms.
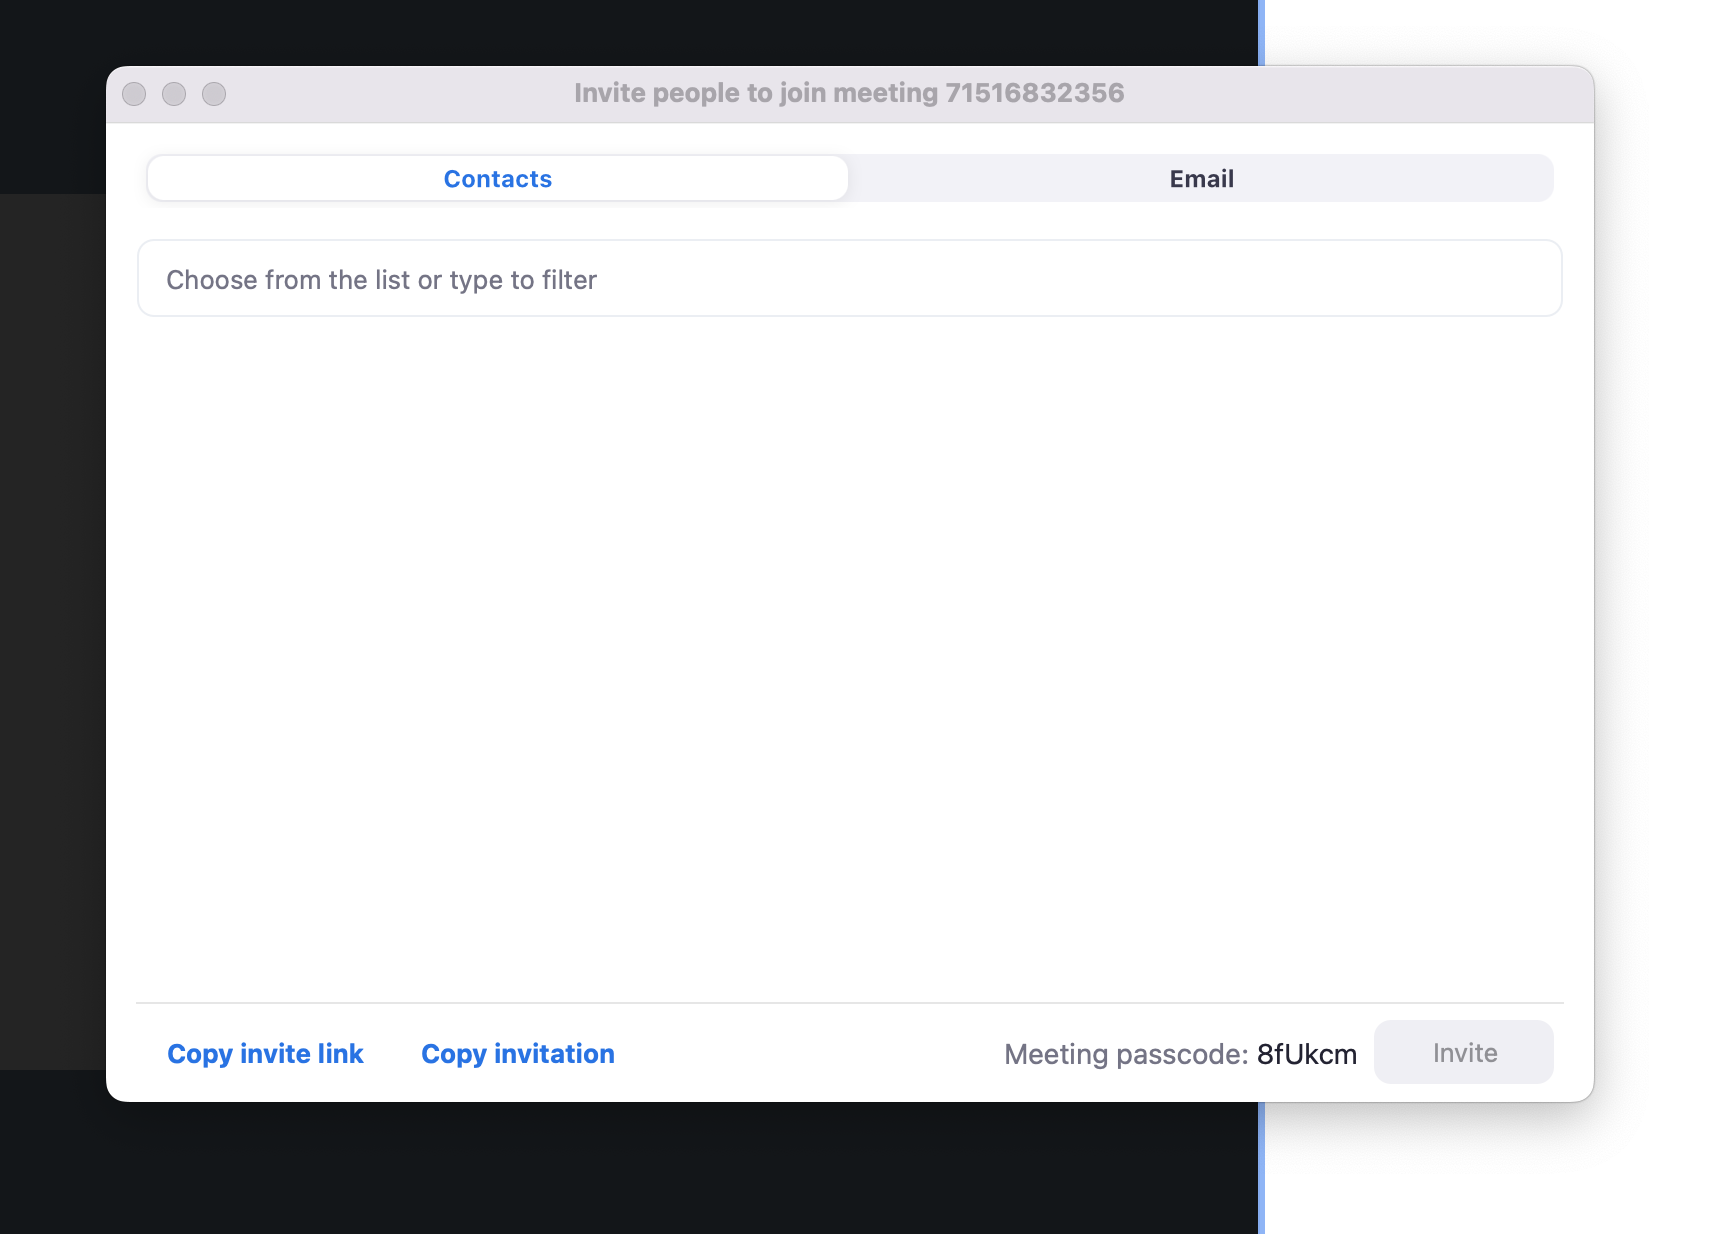
Once you’re in the meeting, locate the “Participants” tab at the bottom of your screen and click the small arrow next to it. From the menu that appears, click “Copy Invite Link” to copy the link to your clipboard (you can also use the shortcut Shift + Command + I on Mac or Shift + Alt + I on PC). Then, paste the Zoom invitation link wherever you want to share it.

Alternatively, you can click the “Invite” button and select people from your contact list to invite them directly.
Note: If you’re using Zoom on your phone, tap the “Participants” tab at the bottom of the screen and then tap the “Invite” button in the bottom-left corner.
You can send the meeting link via email, text message, or invite contacts, or you can simply copy the link to share.
Step 4: Join the Meeting
Participants can click on the link at the scheduled time. If you’ve enabled security features, such as a password, they’ll need to enter that information before joining.
Step 5: Start the Meeting
As the host, you’ll be able to manage participants, share your screen, and even record the session.
How to record a meeting on Zoom
To record a Zoom meeting, follow these steps:
- Start or Join a Meeting: Begin by either hosting or joining a Zoom meeting.
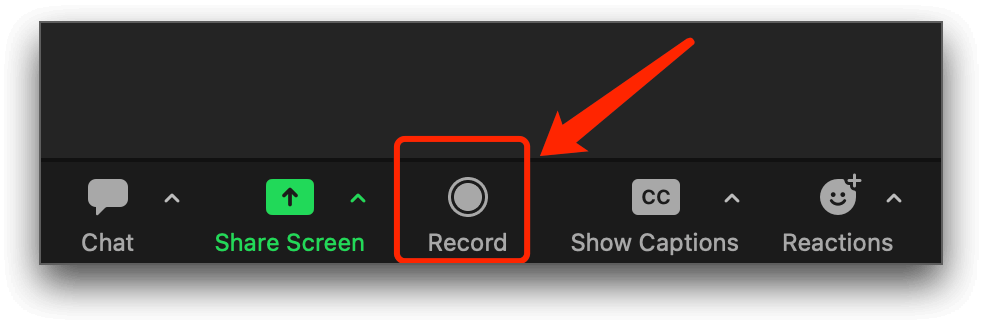
- Enable Recording:
As the host, you can click the Record button at the bottom of the screen.
If you’re a participant, you must request recording permission from the host, who can grant access.
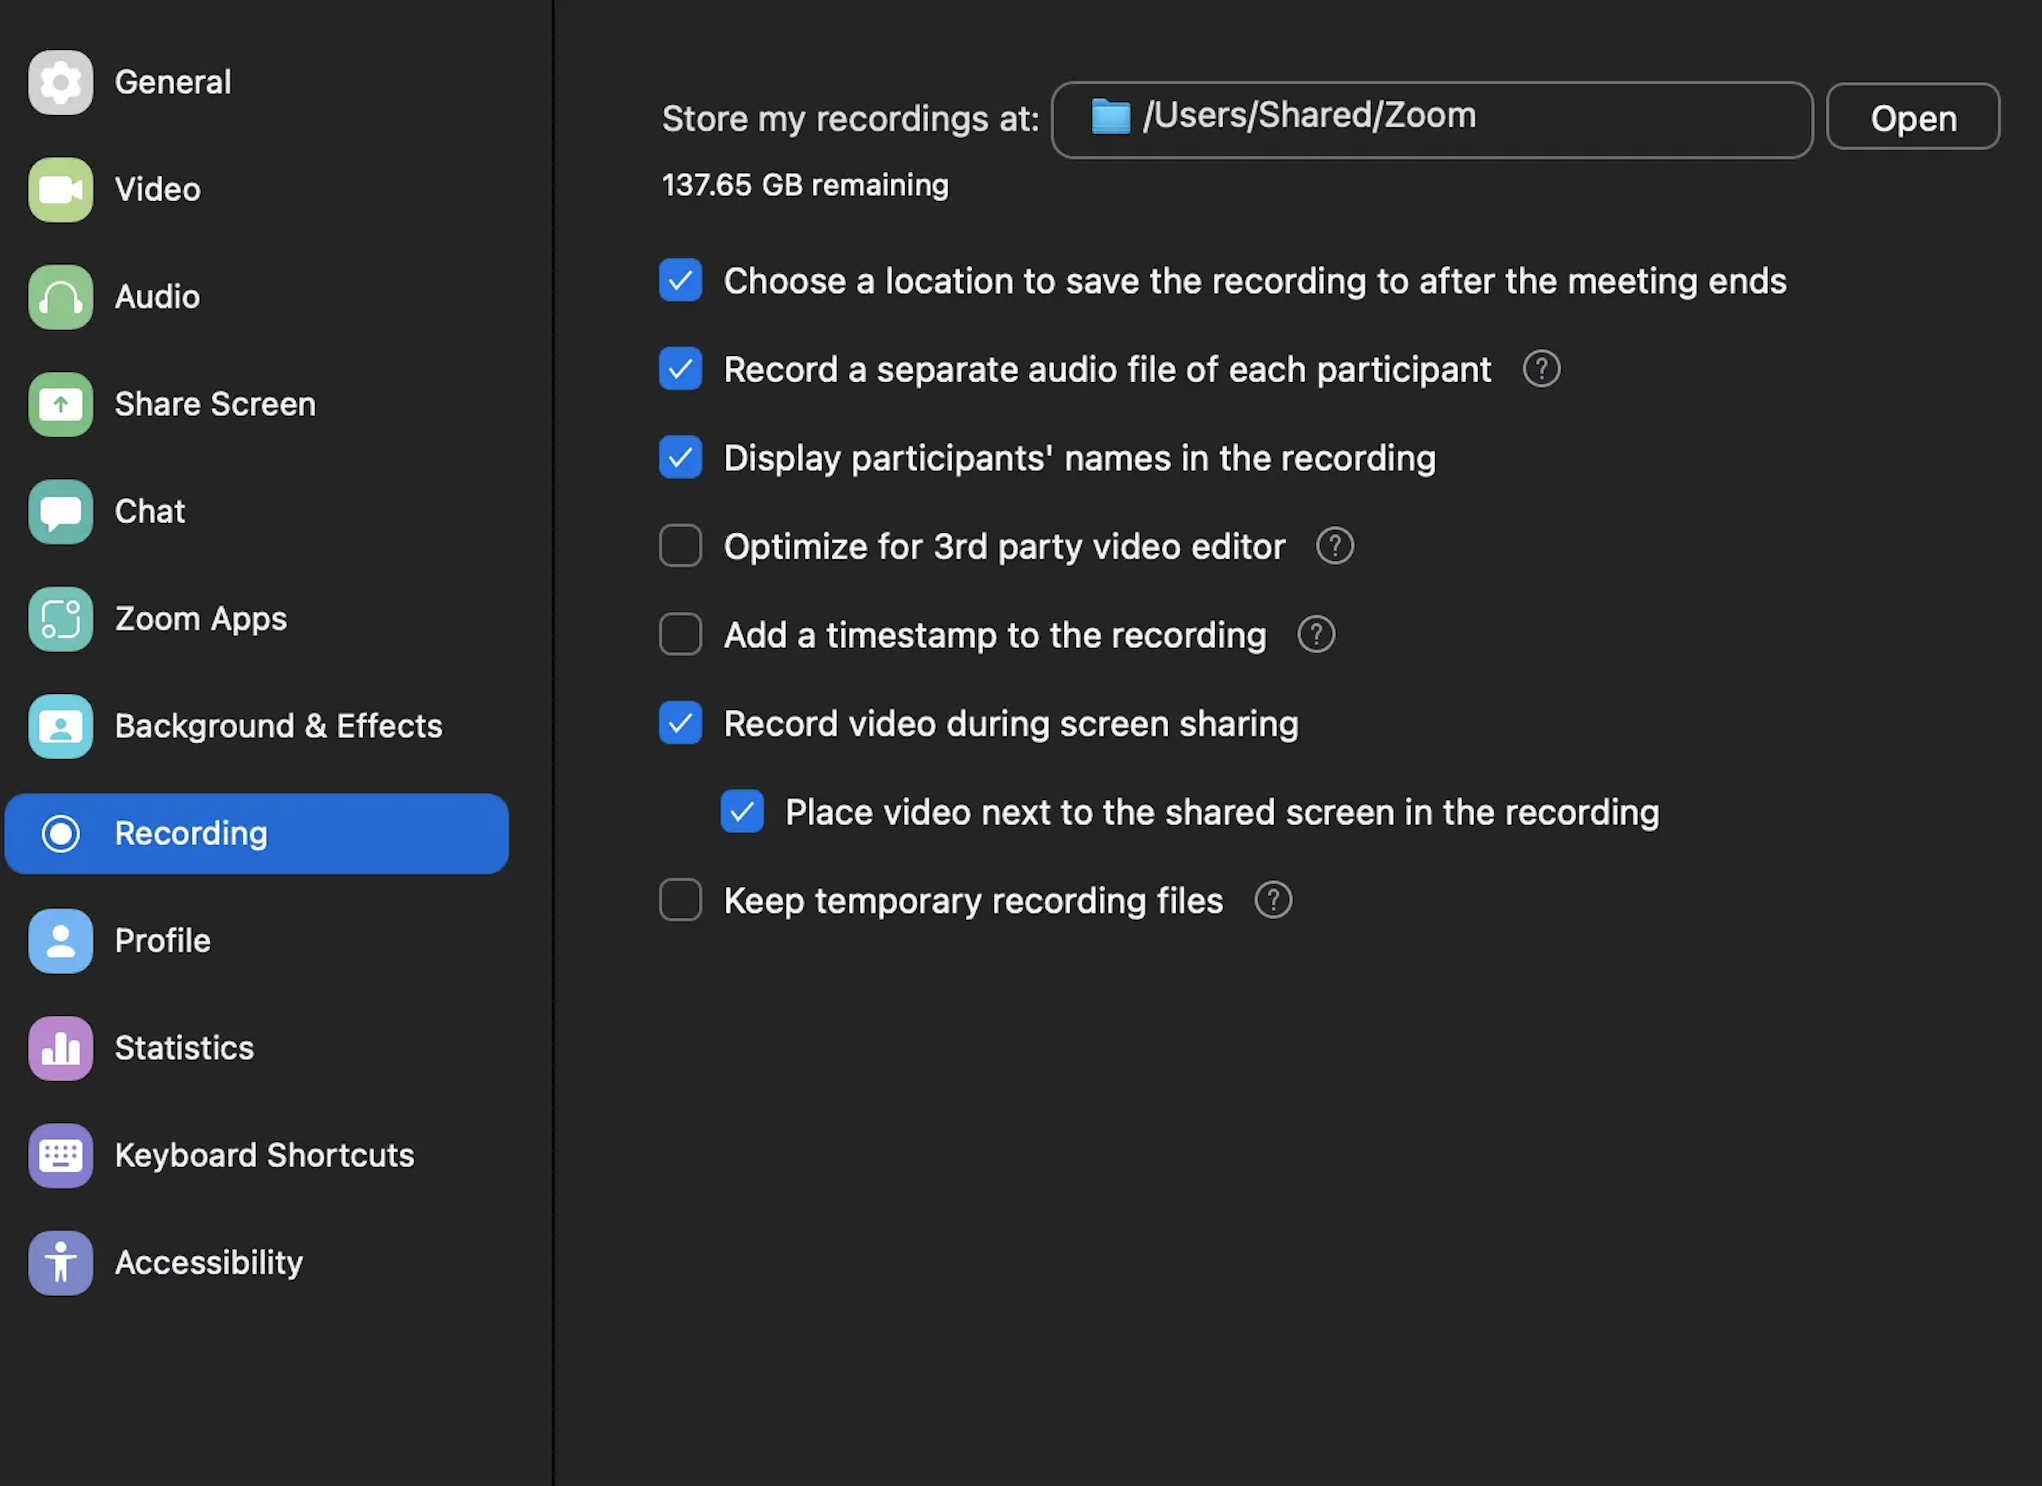
3. Choose Recording Location:
Zoom gives you two options: Record on this Computer (local recording) or Record to the Cloud (cloud recording, available for licensed users).
4. End the Recording
When the meeting ends, or you’re finished recording, click Stop Recording. Depending on your choice, the file will be saved on your computer or in the cloud.
How to Download Your Zoom Recording
To download your Zoom recording, follow these general steps. Please note that the availability of recordings and the specific steps might vary based on your Zoom settings and subscription level.
For Hosts:
- Sign in to your Zoom account: Navigate to the Zoom web portal and log in with your credentials.
- Go to the Recordings section: Find this option in the left sidebar menu. Here, you’ll see a list of recordings associated with your account.
- Choose the recording you want to download: Recordings are typically labeled with the meeting’s date and title.
- Download the recording: Click on the relevant options to download the video, audio, and transcript files to your device.
For Participants:
If you’re a participant, you will need the host to share the recording with you.
- Click on the shared link provided by the meeting host.
- Download the recording from the page that opens. You might need a password, which the host should provide.
How to Download a Zoom Recording from a Shared Link
To download a Zoom recording from a shared link, follow these steps:
- Open the Shared Link: Click on the Zoom recording link shared with you. This will take you to the recording page.
- Enter Passcode (if required): If the recording is protected by a passcode, enter it to access the video.
- Locate the Download Option:
- If you see multiple files (video, audio, chat), choose the appropriate file you want to download.
- Look for a download icon (usually an arrow pointing down) or a Download button. This icon is typically located in the top-right corner or beneath the video player.
- Start the Download: Click the download icon or the “Download” button. The file will begin downloading to your computer.
- Check Your Downloads Folder: The recording should appear in your system’s default download folder once the download is complete.
Note: If you don’t see a download option, the recording may be set to “view-only” by the host, in which case you’ll need to contact them to request download permissions.
Zoom Meeting Features to Enhance Collaboration
Zoom offers various features, including screen sharing, breakout rooms, whiteboards, and meeting recordings. Utilizing these tools can make your meeting more interactive and engaging, ensuring effective communication.
Here’s a detailed article on how to host a meeting on Zoom like a pro.
Zoom Pricing Packages Overview
The app has several pricing plans, each tailored to meet the needs of different types of users, from individuals to large enterprises.
- Free Plan: This plan is best for individuals or small teams. It allows hosting unlimited one-on-one and group meetings for up to 100 participants. Group meetings are limited to 40 minutes. Basic features like whiteboards, team chat, and limited document sharing are included.
- Pro Plan (€11.66/month/user annually or €13.99 monthly): Designed for small companies, the Pro Plan removes the 40-minute group meeting cap and offers 5 GB of cloud storage for recording meetings. Additional features like AI Companion for content generation and unlimited document sharing make this plan ideal for freelancers and small businesses.
- Business Plan (€17.49/month/user annually or €20.99 monthly): This plan is suited for SMEs and supports meetings with up to 300 participants. It includes premium features like unlimited whiteboards, enhanced security with SSO, and managed domains.
- Business Plus Plan: Building on the Business Plan, this option offers 10 GB of cloud storage, global calling options, real-time translated captions, and workspace management tools, making it ideal for growing organizations.
- Enterprise Plan: Tailored for large organizations, this plan supports up to 1,000 participants per meeting, offers unlimited cloud storage, advanced scheduling, a PBX system for phone communications, and other premium features. It’s designed for teams with over 250 users.
Zoom also offers industry-specific plans for education, healthcare, and developers, tailoring solutions to meet the unique needs of these sectors. Check out this article for a detailed overview.
How Krisp Elevates Zoom Meeting Experience
AI Noise Cancellation
This allows everyone involved in the meeting to focus on the conversation without interruptions or the need to ask for something to be repeated. This feature is handy for remote workers, freelancers, and those working in shared spaces where background noise can be a frequent issue.
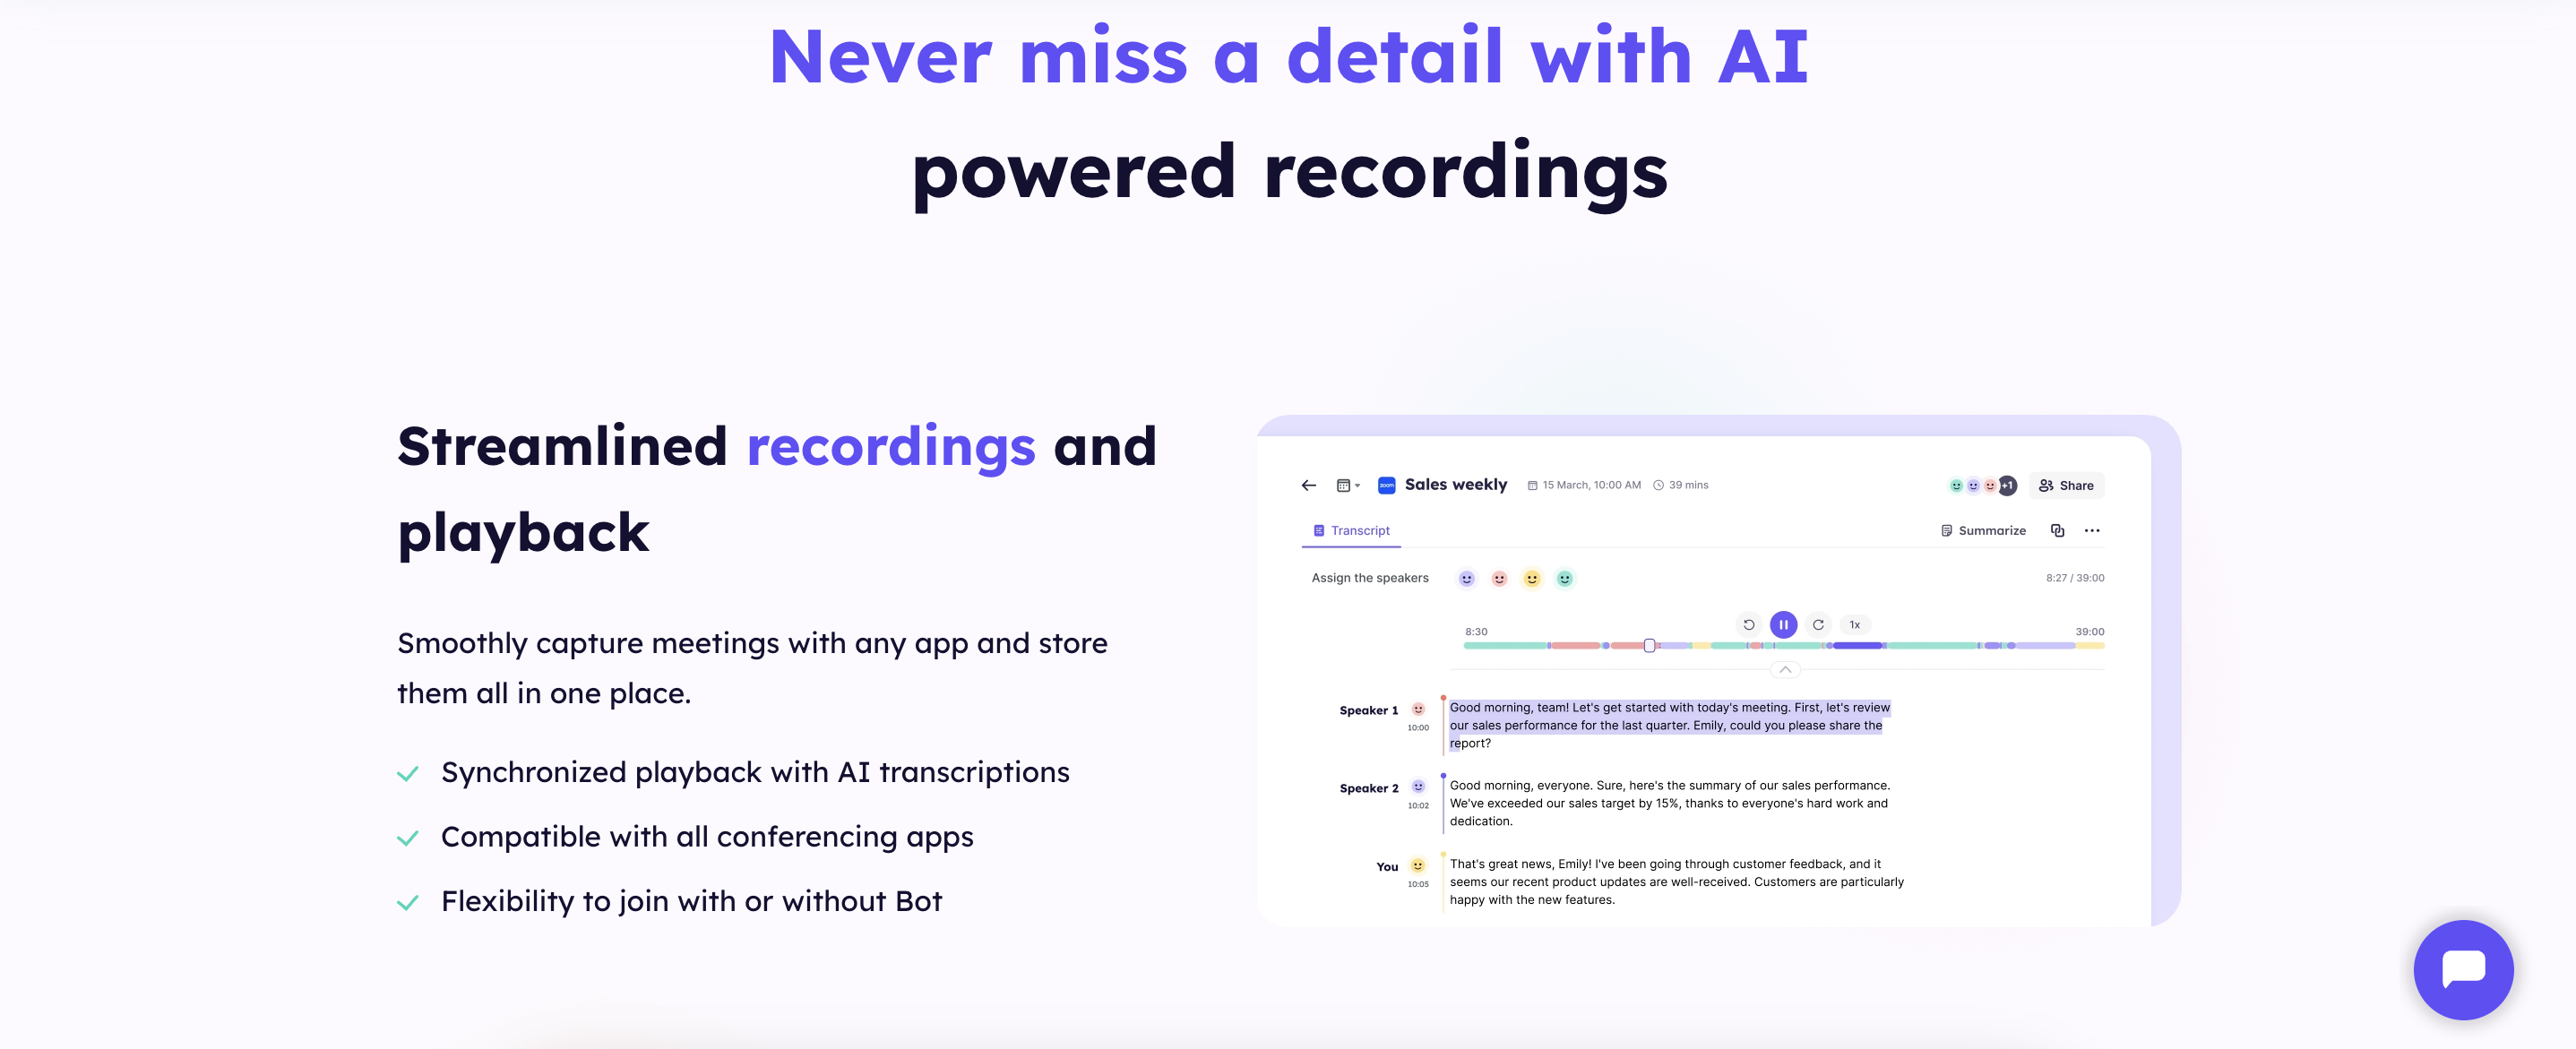
Meeting Transcription
Taking notes during a meeting can often cause participants to lose focus on the actual discussion. Krisp addresses this challenge with its real-time zoom transcription feature, which captures word-for-word everything said during the meeting. This automatic transcription is a game-changer for teams, enabling them to revisit any part of the conversation after the meeting has ended, ensuring no essential points are missed.
The feature is especially useful for large meetings, webinars, or brainstorming sessions, where keeping track of every detail can be challenging. With the full transcript at your disposal, you can review discussions, share notes with colleagues, and reference critical information without needing to jot down every point manually.
AI Meeting Notes and Summary
In addition to transcribing the meeting, Krisp takes things a step further by providing AI-powered meeting summaries. Instead of sifting through an entire transcript, Krisp generates concise notes highlighting the most critical points and decisions made during the session. Moreover, Krisp’s zoom AI notetaker is especially beneficial for follow-ups, as it outlines action items and key takeaways without wasting time.
It saves participants from manual summaries and keeps everyone aligned, making follow-ups faster and more efficient. These summaries are perfect for busy professionals needing quick access to key outcomes without reading the full transcript.
Meeting Recording
Recording meetings is crucial for businesses, teams, and educators to capture important information for future reference. Krisp’s AI meeting recorder allows you to record your meetings directly, ensuring that you preserve all key points, discussions, and decisions. The recorded sessions can be invaluable for those who couldn’t attend or for participants who want to revisit specific discussion parts.
Krisp’s zoom meeting recording feature enables you to access high-quality audio and video of your meetings without disruptions. What’s more, having these recordings readily available helps create training materials, share information with external stakeholders, and document progress over time.
Screen Recording
Once the meeting is over, recordings are easily accessible on your web account’s Meetings page, allowing you to review key points and share them as needed. This feature simplifies follow-up tasks by providing a clear record of the discussion, ensuring you preserve all important details for future reference.
Creating a Zoom meeting link and using Krisp’s AI-powered features can enhance your virtual meetings. Follow the simple steps in this guide to schedule and host meetings effortlessly, ensuring smooth communication for everyone.