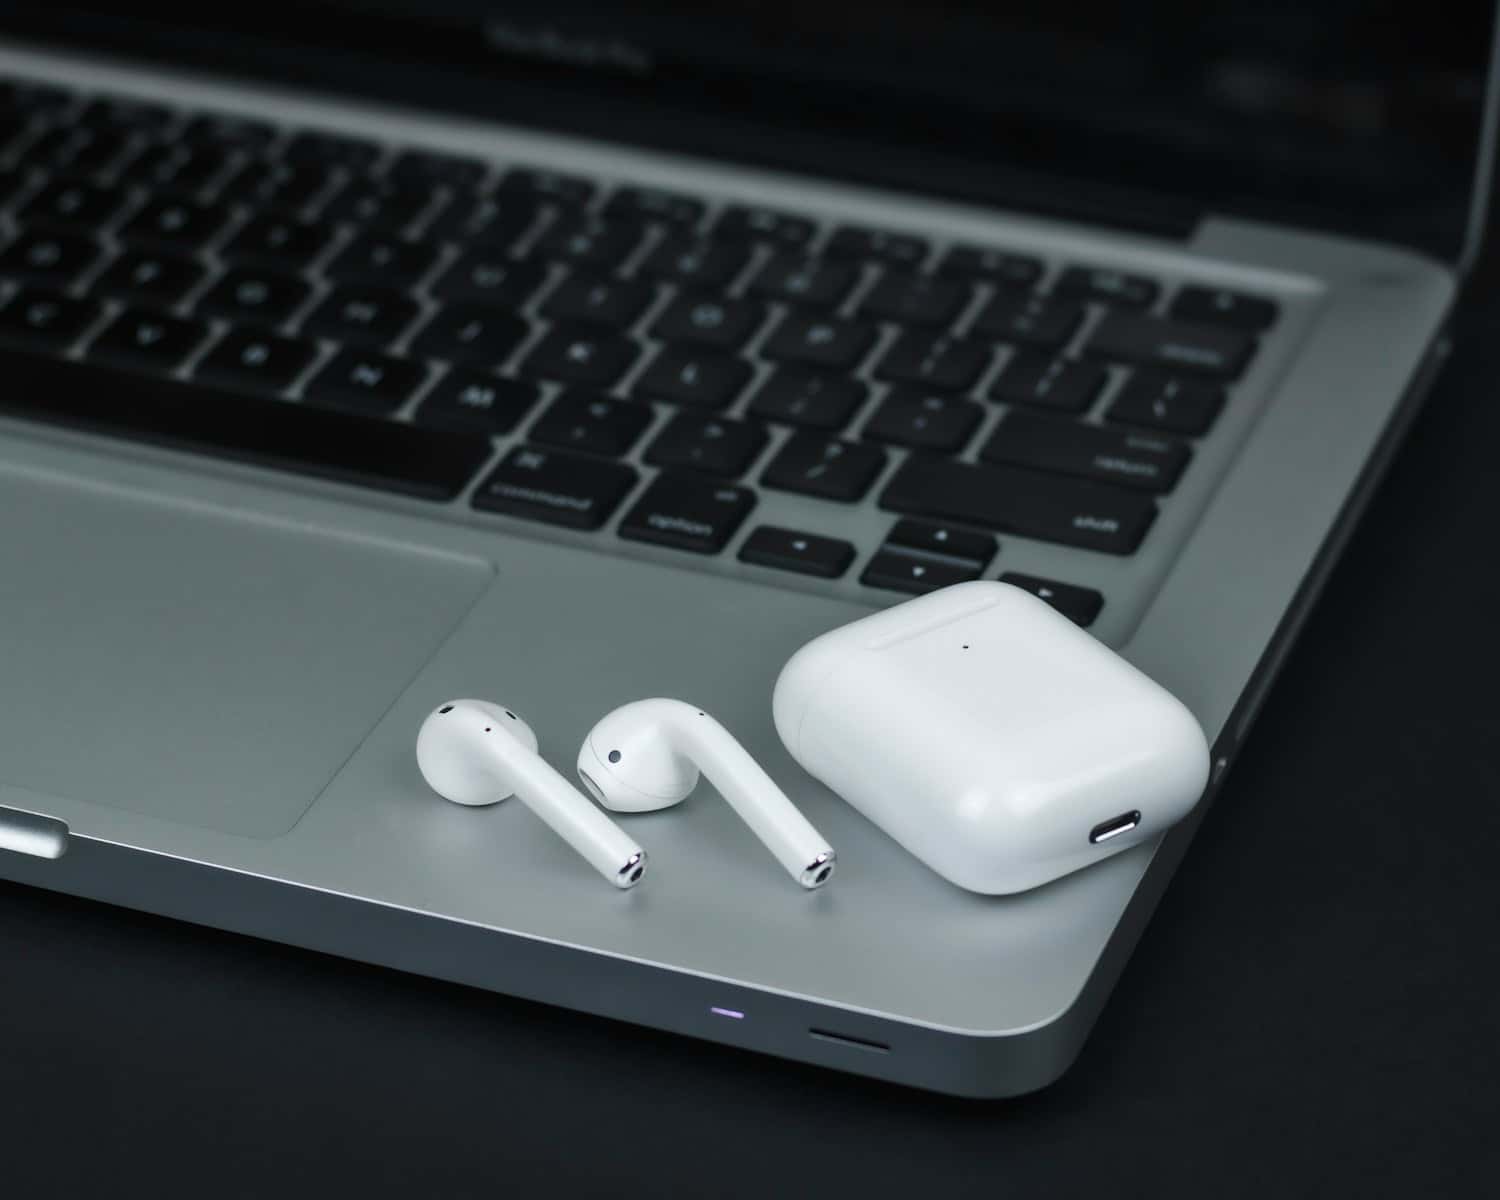
AirPods have become a staple among wireless earbuds, with nearly 150 million units sold by the end of 2023 and nearly 100 million people using them worldwide. Their popularity speaks volumes about their quality and convenience. They have a straightforward and user-friendly design, making them easy to set up and use right out of the box. AirPods come with a charging case that holds both earbuds, ensuring they stay charged throughout the day. But like any device, keeping them charged is essential to keeping them running smoothly.
Whether you use them for music, calls, or podcasts, knowing if your AirPods are charging is key to avoiding those dreaded low-battery notifications. In this guide, we’ll explain how to know if your AirPods are charging and walk you through the simple steps to ensure you’re always ready to go.
How To Charge Your AirPods
Charging your AirPods is essential for uninterrupted use and ensuring they are always ready for your next call, workout, or music session. Luckily, AirPods are easy to charge with the compact, convenient charging case. Here’s how you can keep them powered up.
Using the Charging Case
- Insert the AirPods: Place your AirPods into their respective slots in the charging case. Make sure they are properly seated and making contact with the charging connectors.
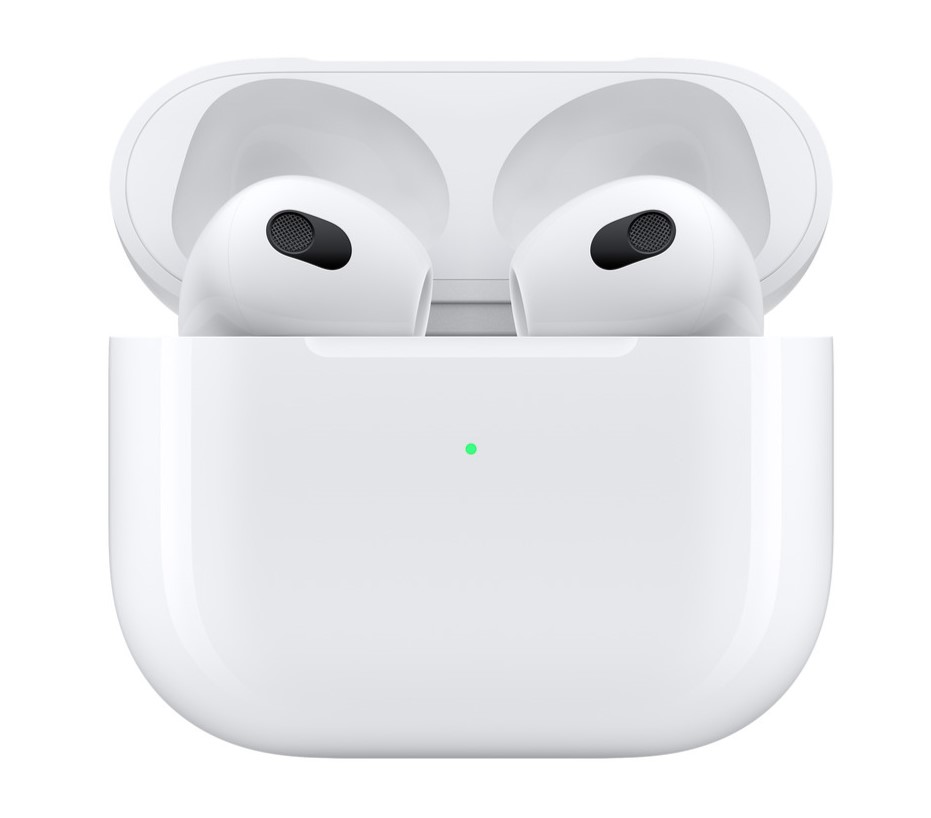
- Check the LED Indicator: Once inserted, an LED indicator inside the case will light up. If the indicator is amber, your AirPods are charging. If it is green, they are fully charged.
Charging Time
- Quick Charge: A 15-minute charge, in the case can provide up to 3 hours of music playback or 1 hour of talk time.
- Full Charge: Leave the AirPods in the case for about an hour to fully charge them.
Tips for Optimal Charging
- Avoid Extreme Temperatures: Charge and store your AirPods in environments with moderate temperatures to prevent battery degradation.
- Clean the Connectors: Occasionally clean the connectors on the AirPods and the case to ensure proper charging contact.
How To Charge The Case
Charging your AirPods case is important to keep your AirPods ready to use. Whether you’re using a standard, wireless, or MagSafe charging case, here’s how to keep them charged.
Charging with a Lightning Cable
- Locate the Charging Port: Find the Lightning port at the bottom of your AirPods case.
- Connect the Cable: Plug the Lightning cable that came with your AirPods into the port.
- Plug into a Power Source: Connect the other end of the cable to a USB power adapter or a USB port on your computer.
- Check the LED Indicator: The LED indicator on the front of the case (or inside, depending on the model) will light up.
Charging with a Wireless Charging Mat
- Place the Case on the Mat: Position your wireless charging-compatible case on a Qi-certified charging mat with the status light facing up.
- Ensure Proper Alignment: Make sure the case is centered on the mat to ensure proper charging.
Charging with a MagSafe Charger
- Attach the MagSafe Charger: Align the MagSafe charger with the back of your MagSafe-compatible charging case. The magnets will help align it perfectly.
- Check the Connection: Once attached, the LED indicator on the case should light up.
Charging Time and Tips
- Charging Speed: Typically, the case charges from 0% to 100% in about an hour and a half.
- Regular Charging: Charge the case regularly to keep your AirPods ready to use. A fully charged case can provide multiple full charges for your AirPods.
- Avoid Overcharging: Although the case charges automatically, unplugging it after it’s fully charged can help preserve battery life over time.
What You Need to Know About the Status Light
The status light on your AirPods charging case provides important information about the charging status, connectivity, and overall condition of both your AirPods and the case. Here’s what you need to know to interpret these signals correctly.
Location of the Status Light
- Standard and Wireless Charging Cases: The status light is located on the front of the case.
- MagSafe Charging Case: The status light is also on the front of the case.
- Lightning Charging Case for AirPods (1st and 2nd generation): The status light is inside the case, between the spaces for the AirPods.
- Lightning Charging Case for AirPods (3rd generation): The status light is located on the front of the case.
Understanding the Colors and Blinks
- Green Light:
- AirPods in Case: Indicates that the AirPods are fully charged.
- No AirPods in Case: Indicates that the case itself is fully charged.
- Amber Light:
- AirPods in Case: Indicates that the AirPods are currently charging.
- No AirPods in Case: Indicates that the case has less than one full charge remaining for the AirPods.
- Flashing White Light:
- Flashing Amber Light:
- This indicates that there is a problem with the AirPods, and they may need to be reset.
Checking the Status Light
- Open the Lid: To check the status light, simply open the charging case lid with your AirPods inside. The light will turn on for a few seconds.
- Near a Device: When you open the lid near your paired iPhone or iPad, the battery status of both the AirPods and the case will appear on the screen.
What to Do When the Status Light Flashes Amber
- Reset Your AirPods: Press and hold the setup button on the back of the case until the status light flashes amber and then white. This will reset your AirPods.
- Reconnect to Your Device: Follow the pairing process to reconnect your AirPods to your device.
How You Can Check the Battery Percentage
Knowing the battery percentage of your AirPods and charging case ensures that you’re never caught off guard by a low battery. Here are a few ways to check your AirPods’ battery level.
Using Your iPhone or iPad
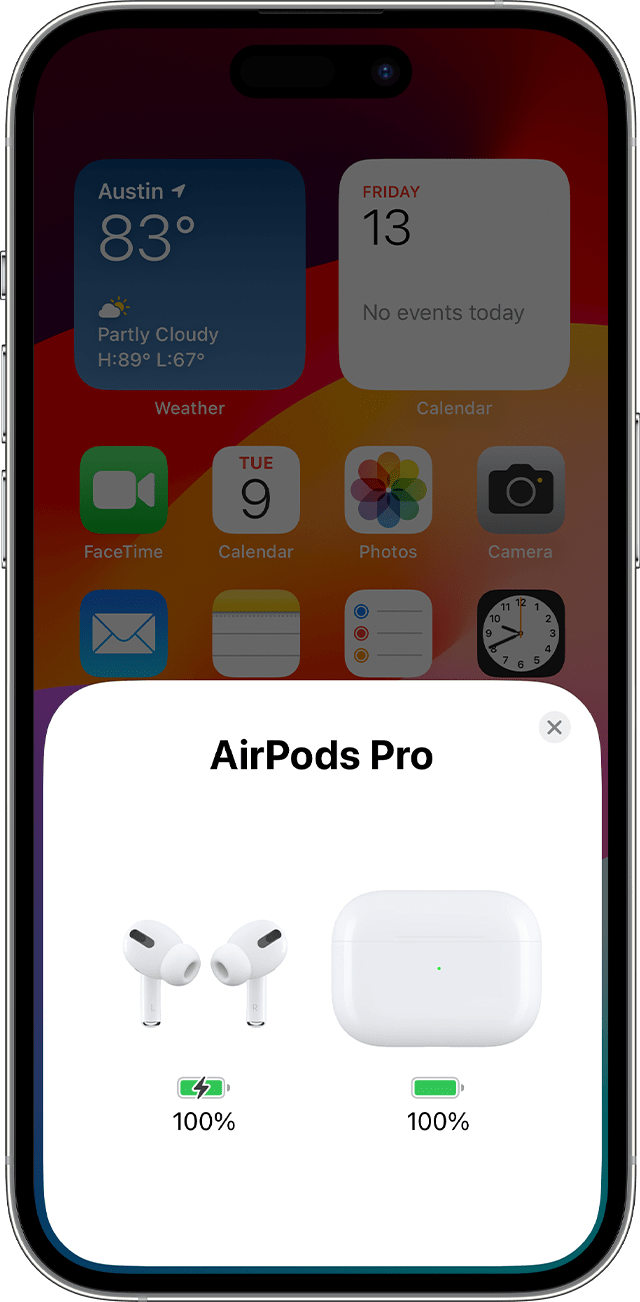
- Open the Case: Bring your AirPods case near your iPhone or iPad and open the lid.
- Wait for the Pop-up: A pop-up will appear on your device’s screen, displaying the battery percentage of both the AirPods and the charging case.
Using the Batteries Widget
- Add the Widget:
- Swipe right on your Home Screen or Lock Screen to access the Today View.
- Scroll to the bottom and tap “Edit.”
- Tap the “+” icon next to “Batteries” to add the widget.
- View Battery Levels: Once the widget is added, it will display the battery percentage of your AirPods and other connected devices whenever they are in use, or the case is opened near your iPhone or iPad.

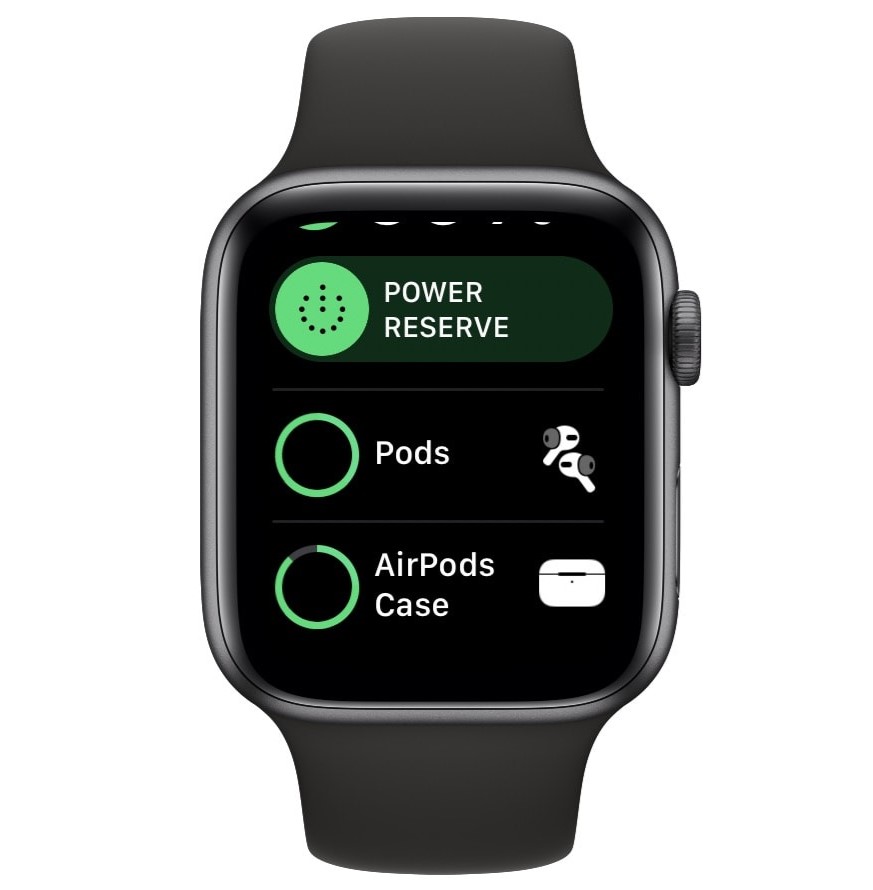
Using Your Apple Watch
- Open Control Center: Swipe up on the watch face to open Control Center.
- Tap the Battery Icon: Tap the battery percentage icon to see your AirPods’ battery levels when connected to your Apple Watch.
Using Your Mac
- Open the Lid: Open the lid of your AirPods case near your Mac.
- Click the Bluetooth Icon: Click the Bluetooth icon in the menu bar.
- Check Battery Levels: Hover over your AirPods in the Bluetooth menu to see the battery percentage of both the AirPods and the charging case.
Using Siri
- Ask Siri: Simply say, “Hey Siri, what’s the battery level of my AirPods?” Siri will provide the current battery percentage of your AirPods and charging case.
Learn About Battery Life
Understanding your AirPods’ battery life and charging case can help you manage their usage effectively and ensure you get the most out of your listening experience. Here’s a breakdown of what you need to know about AirPods’ battery life.
AirPods (2nd Generation)
- Listening Time: Up to 5 hours on a single charge.
- Talk Time: Up to 3 hours on a single charge.
- With Charging Case: More than 24 hours of listening time or up to 18 hours of talk time with multiple charges.
- Quick Charge: 15 minutes in the case provides up to 3 hours of listening time or up to 2 hours of talk time.
AirPods (3rd Generation)
- Listening Time: Up to 6 hours on a single charge (up to 5 hours with Spatial Audio enabled).
- Talk Time: Up to 4 hours on a single charge.
- With Charging Case: Up to 30 hours of listening time or up to 20 hours of talk time with multiple charges.
- Quick Charge: 5 minutes in the case provides around 1 hour of listening time or around 1 hour of talk time.
AirPods Pro (1st Generation)
- Listening Time: Up to 4.5 hours on a single charge.
- Talk Time: Up to 3.5 hours on a single charge.
- With Charging Case: More than 24 hours of listening time or more than 18 hours of talk time with multiple charges.
- Quick Charge: 5 minutes in the case gives approximately 1 hour of listening time or about 1 hour of talk time.
AirPods Pro (2nd Generation)
- Listening Time: Up to 6 hours on a single charge (up to 5.5 hours with Spatial Audio and Head Tracking enabled).
- Talk Time: Up to 4.5 hours on a single charge.
- With Charging Case: Up to 30 hours of listening time or up to 24 hours of talk time with multiple charges.
- Quick Charge: With just a 5-minute charge, the case offers around 1 hour of listening or talking time.
AirPods Max
- Listening Time: Up to 20 hours on a single charge with Active Noise Cancellation or Transparency mode enabled.
- With Charging: Up to 20 hours of listening time on a single charge.
Managing Battery Health
- Keep AirPods and Case Charged: Regularly charge your AirPods and charging case to maintain optimal battery health and ensure they are always ready for use.
- Avoid Extreme Temperatures: Exposure to high or low temperatures can affect battery performance and lifespan. Store and use your AirPods in moderate temperature conditions.
- Optimize Usage: Use your AirPods wisely to extend battery life. For example, turning off Active Noise Cancellation or Transparency mode when not needed can conserve battery.
Battery Health Monitoring
- Check Battery Levels: Use your iPhone, iPad, or Mac to check the battery levels of your AirPods and case. You can also use the Batteries widget on your iOS devices for easy monitoring.
- Replace Batteries: If you notice a significant decline in battery life, it may be time to consider replacing the AirPods or the battery. Apple offers battery service options for AirPods.
Why Aren’t My AirPods Charging?
When your AirPods don’t charge, it can be annoying and inconvenient, stopping you from listening to music, taking calls, or enjoying podcasts. Here are some common reasons and troubleshooting steps to help you get them back to full power.
Common Issues and Solutions
- Check the Charging Case
- Ensure Proper Placement: Make sure your AirPods are properly placed in the charging case, lining up with the metal contacts inside. Often, when we’re in a hurry, we don’t check if they’re seated correctly, which can stop them from charging.
- Inspect the Case: Ensure the charging case itself has power. If the status light isn’t turning on or is flashing amber, the case may need charging or could be malfunctioning.
- Inspect the Charging Cable and Adapter
- Verify Connections: Check that the Lightning cable is securely connected to both the case and the power source.
- Test with Another Cable: Try using a different Lightning cable or power adapter to rule out issues with the charging accessories.
- Examine the Charging Port
- Clean the Port: Dirt, dust, or debris in the charging port can prevent proper charging. Gently clean the port with a soft, dry brush or compressed air.
- Check for Damage: Inspect the charging port for any signs of physical damage that might prevent a proper connection.
- Check for Firmware Updates
- Update iOS: Ensure your iPhone or iPad is running the latest version of iOS. Sometimes, updating your device can resolve compatibility issues.
- Check AirPods Firmware: While AirPods firmware updates typically occur automatically, make sure your AirPods are connected to your device and within range.
- Inspect for Physical Damage
- Check for Visible Damage: Look for any signs of physical damage to your AirPods or charging case. If you notice any cracks, dents, or other damage, it may affect charging.
- Test Another Pair: If possible, test another pair of AirPods or a different charging case to determine if the issue is with the AirPods or the case.
- Reset Your AirPods
- Perform a Reset: Press and hold the setup button on the back of the charging case until the status light flashes amber, then white. This will reset your AirPods and may resolve charging issues.
- Battery Health
- Check Battery Health: If your AirPods are a few years old, the battery may be drained. Apple offers battery service and replacement for AirPods if they don’t hold a charge.
- Contact Apple Support
- Seek Professional Help: If you’ve tried all the above steps and your AirPods still won’t charge, contact Apple Support or visit an Apple Store for further assistance. They can help understand the problem and provide repair or replacement options if necessary.
Experience Clearer Sound with Krisp on Your AirPods
Now that you know your AirPods are charged and ready to go, you can take your audio experience to the next level with Krisp. Krisp provides an advanced AI noise cancellation feature that removes background noise in real-time, making sure your audio is always clear.
- Clear Calls: Krisp eliminates unwanted background noise from your side, making you sound clear and professional during calls. Whether you’re in a noisy cafe or a busy office, Krisp will help you keep your conversations free from distractions.
- Enhanced Noise Cancellation: Krisp complements the AirPods’ built-in noise cancellation feature, providing an additional noise reduction layer. This combination ensures an optimal audio experience, allowing you to focus on your calls, music, or meetings without interference.
- Easy Integration: No extra gadgets or complicated setups are required. Just install Krisp, connect your AirPods, and enjoy improved audio quality during online meetings with a single tap.
Conclusion
Now, you won’t have to deal with awkward situations, interrupted calls, or music. You can keep your AirPods charged and performing at their best by learning how to check the status lights, using the device to monitor battery levels, and learning a few troubleshooting tips. Stay charged, stay connected, and easily enjoy your favorite tunes, calls, and podcasts.
Frequently Asked Questions
Does the light stay on when charging AirPods?
No, the status light on the AirPods charging case will turn on for a few seconds when you place the AirPods in the case or open the lid. It then turns off to save power.
How do I know if my left AirPod is charging?
To check if your left AirPod is charging, open the lid of the charging case near your iPhone or iPad. A pop-up will appear on your device’s screen, showing the battery levels of each AirPod and the case. Alternatively, you can check the Batteries widget on your device for detailed information.
Is it okay to leave AirPods charging overnight?
Yes, it is generally safe to leave your AirPods charging overnight. The charging case is designed to manage power and prevent overcharging, so your AirPods and case will not be damaged if left plugged in overnight.
Can I use my AirPods while they are charging?
No, AirPods need to be in the charging case to charge and cannot be used while they are charging.