Microsoft Teams has become a go-to tool for remote meetings, bringing together coworkers, clients, and partners for all kinds of virtual discussions. With each meeting, a lot of content gets shared—meeting notes, chats, files, whiteboards, recordings, and transcripts—all of which are important for staying on top of projects and keeping everyone in the loop. But after the meeting ends, you might wonder: Where are teams meeting notes stored?
Tracking down where different types of meeting content end up isn’t always straightforward. Depending on what it is and how it’s shared, Teams stores it in various places, like OneNote, SharePoint, Teams chat, or even a file storage area. This guide will break down where each type of content goes after a meeting and how to access it quickly and easily, so you can keep all your meeting materials organized.
Where Does Everything Go?
After a Microsoft Teams meeting ends, the platform stores all shared content—such as meeting notes, files, chats, whiteboard sketches, recordings, and transcripts—in different locations, depending on the meeting setup. Understanding where everything ends up is the key to staying organized and finding what you need quickly.
When a team meeting finishes, here’s where different types of content typically go, including where are teams meeting notes stored:
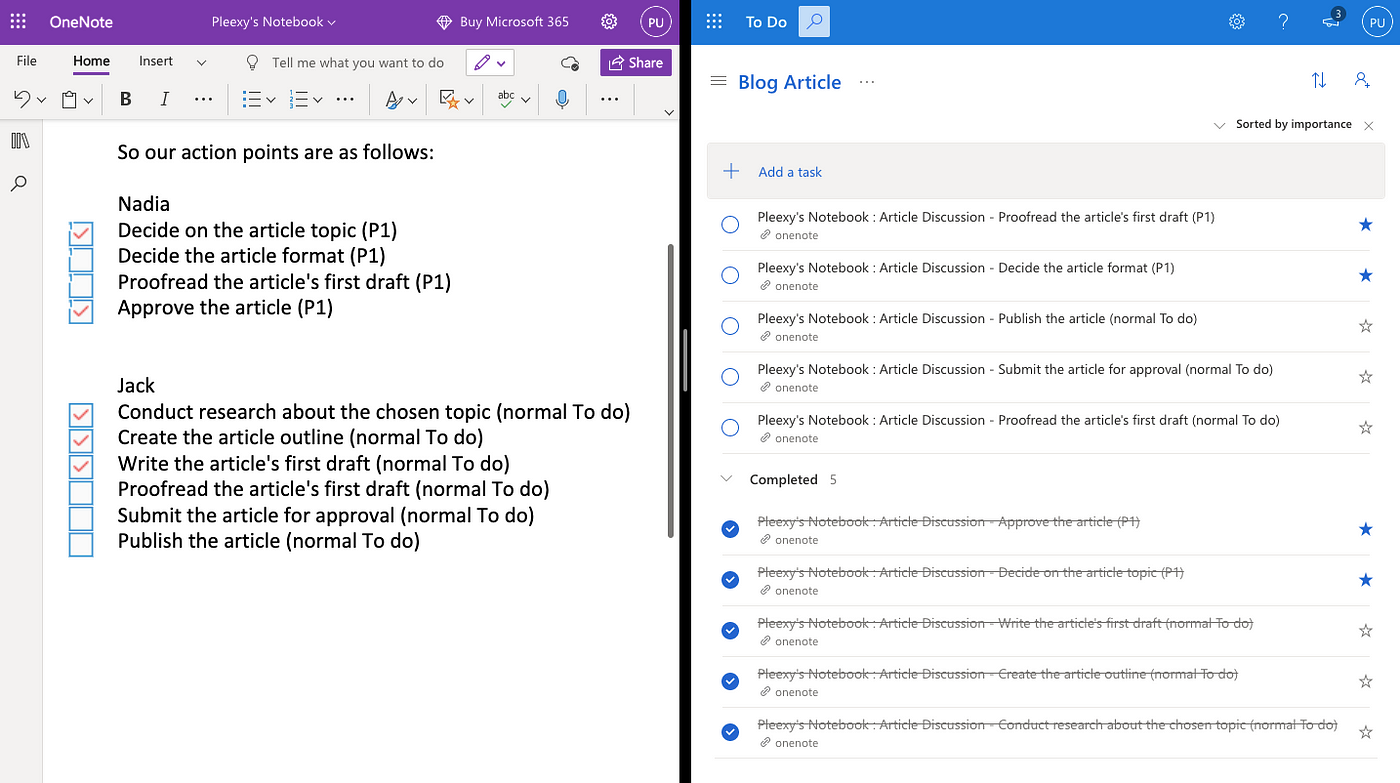
- Meeting Notes: You can save meeting notes in OneNote, link them to the meeting chat, or store them in a specific Teams channel, depending on how you take them.
- Chats: Teams automatically saves all chat messages from the meeting in the chat section, making it easy for you to review the conversation later.
- Shared Files: If you share files during a channel meeting, they go to SharePoint; for private meetings, they are stored in the meeting organizer’s OneDrive.
- Whiteboard: Anything you draw or write on the Whiteboard is saved in the Whiteboard app, accessible through Teams or the app itself.
- Recordings and Transcripts: Teams saves meeting recordings and transcripts in OneDrive or SharePoint, depending on your organization’s settings.
Each of these storage locations plays a role in making content accessible, but the variety can make it tricky to know exactly where to look for specific items.
A Better Way to Record and Store Meeting Content: Using Krisp
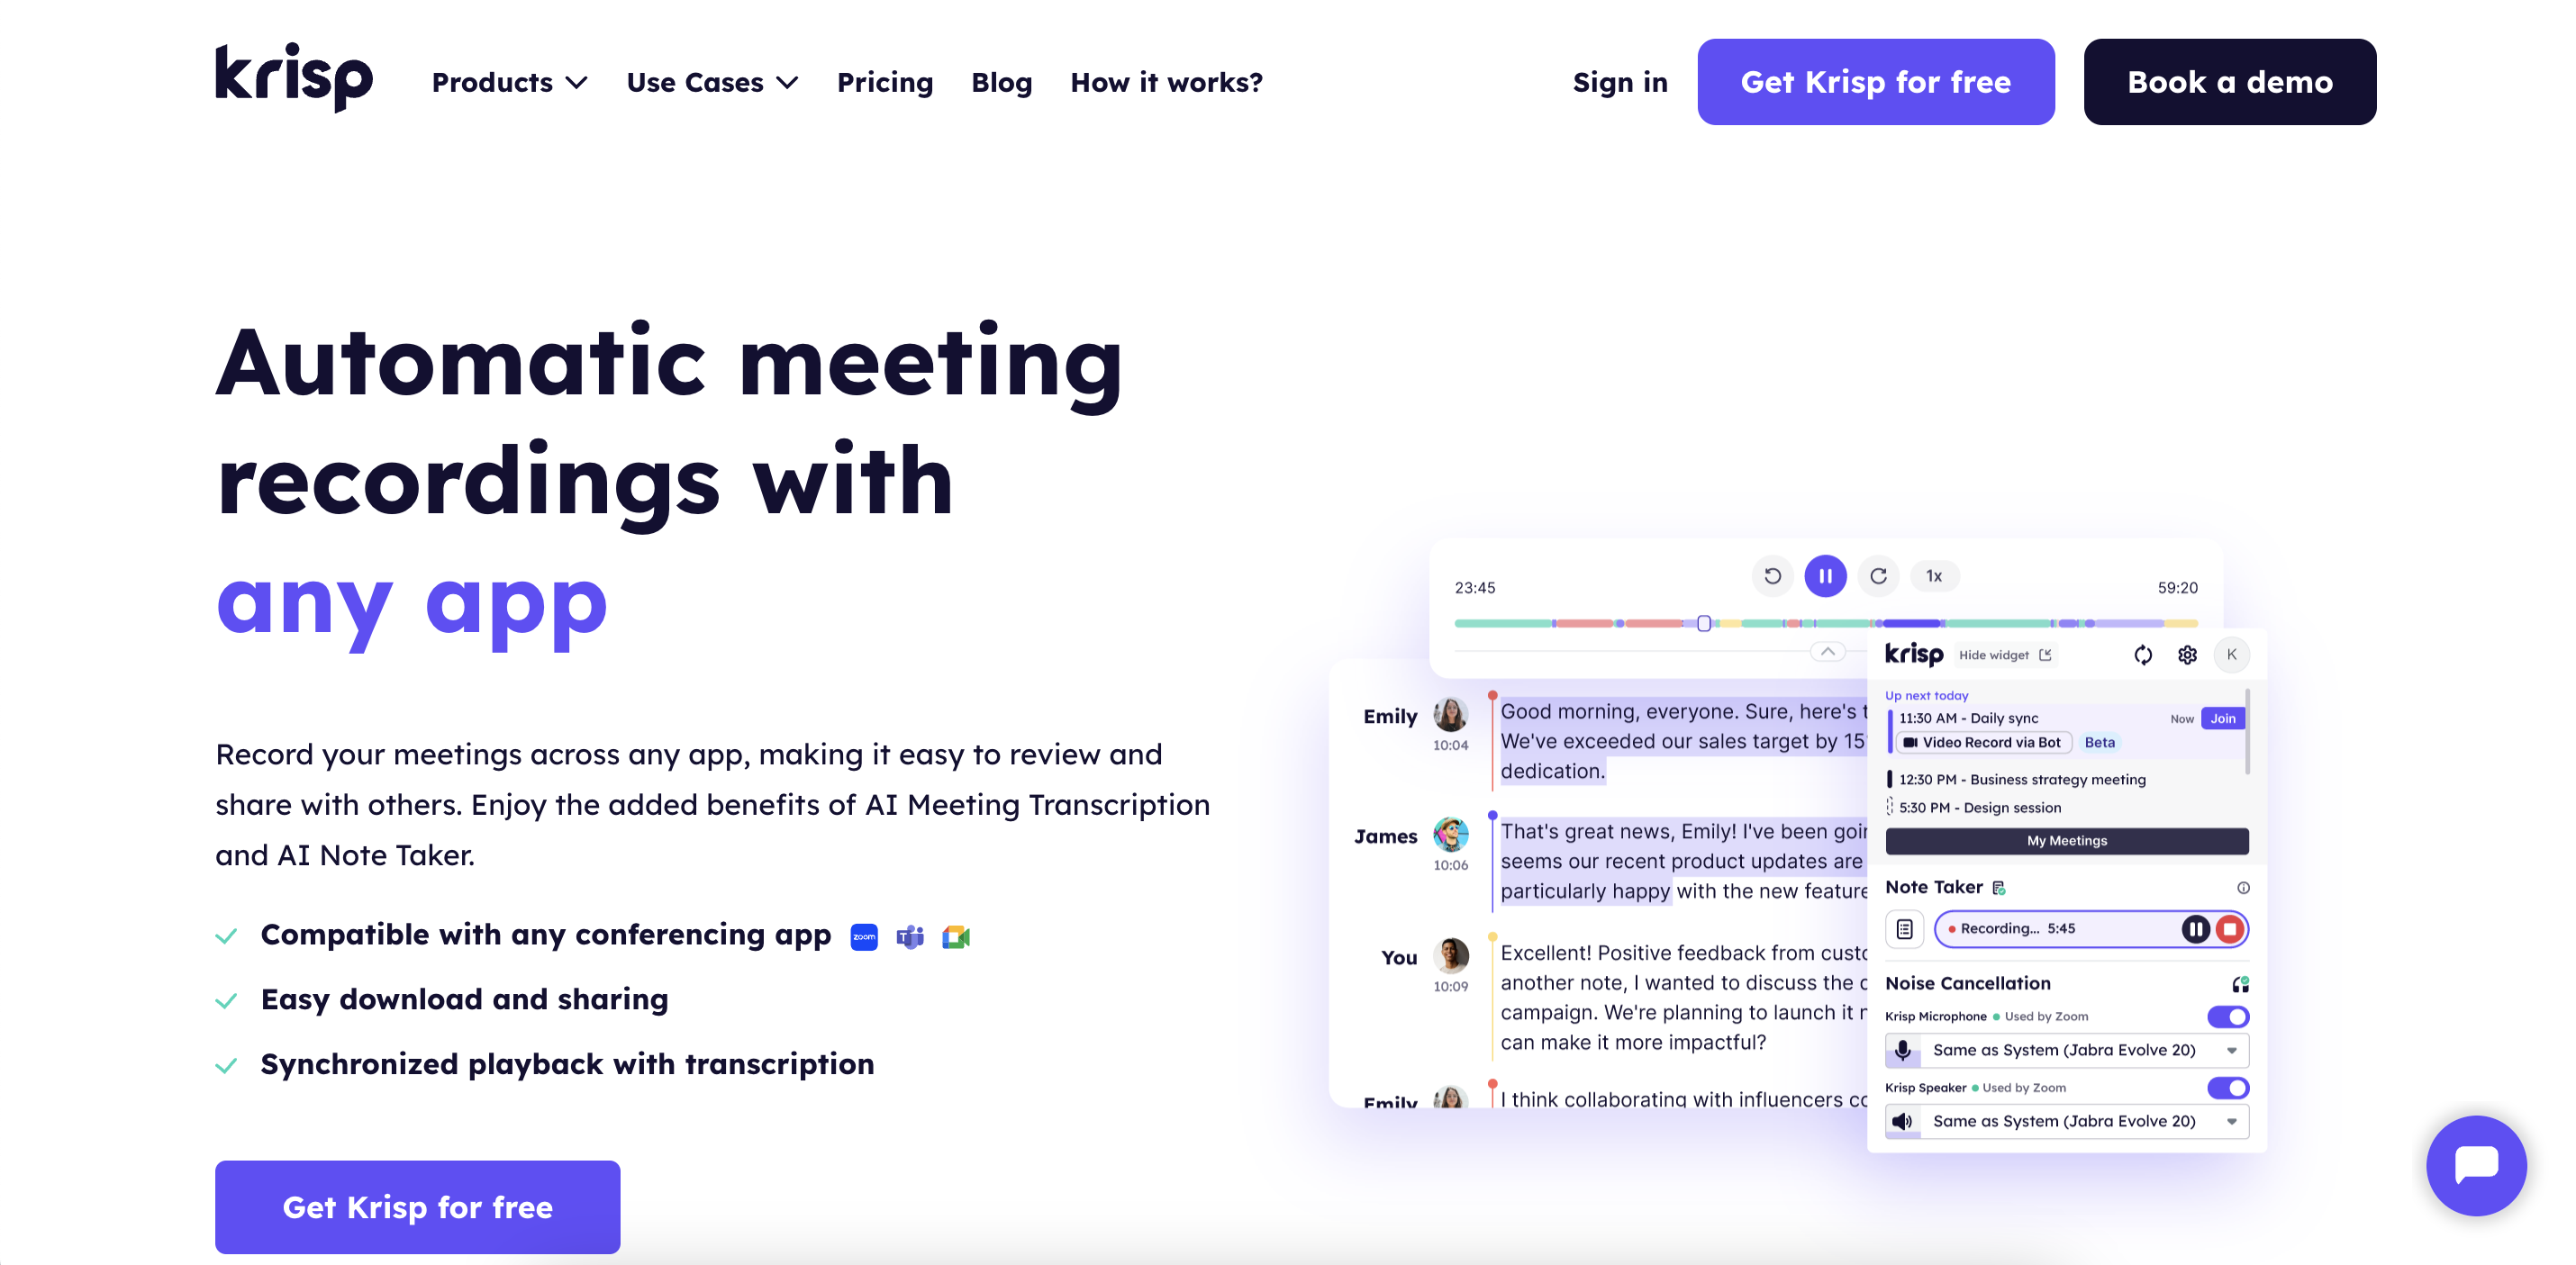
While Microsoft Teams offers built-in options for storing meeting notes, recordings, and other content, there’s another way to capture your meetings more effectively. Unlike traditional methods, Krisp allows you to record meetings directly from the app without needing any bots or extra participants to join the session, streamlining the recording process and reducing interruptions.
Why Use Krisp for Recording Meetings?
Krisp’s Screen Recording feature makes capturing meeting content a breeze. You can choose to record your whole screen or just a specific app window, so whether you’re presenting, sharing a screen, or just need to grab some important visuals, you’ve got options. You can use the AI meeting note taker to transcribe the meeting and get automated notes for your Teams meeting in real-time.
Plus, the video and audio quality are top-notch, ensuring you don’t miss anything when you review. The best part? There’s no need for bots to jump into your Teams meetings. Krisp AI Meeting Assistant runs quietly in the background, letting you record without any extra distractions.
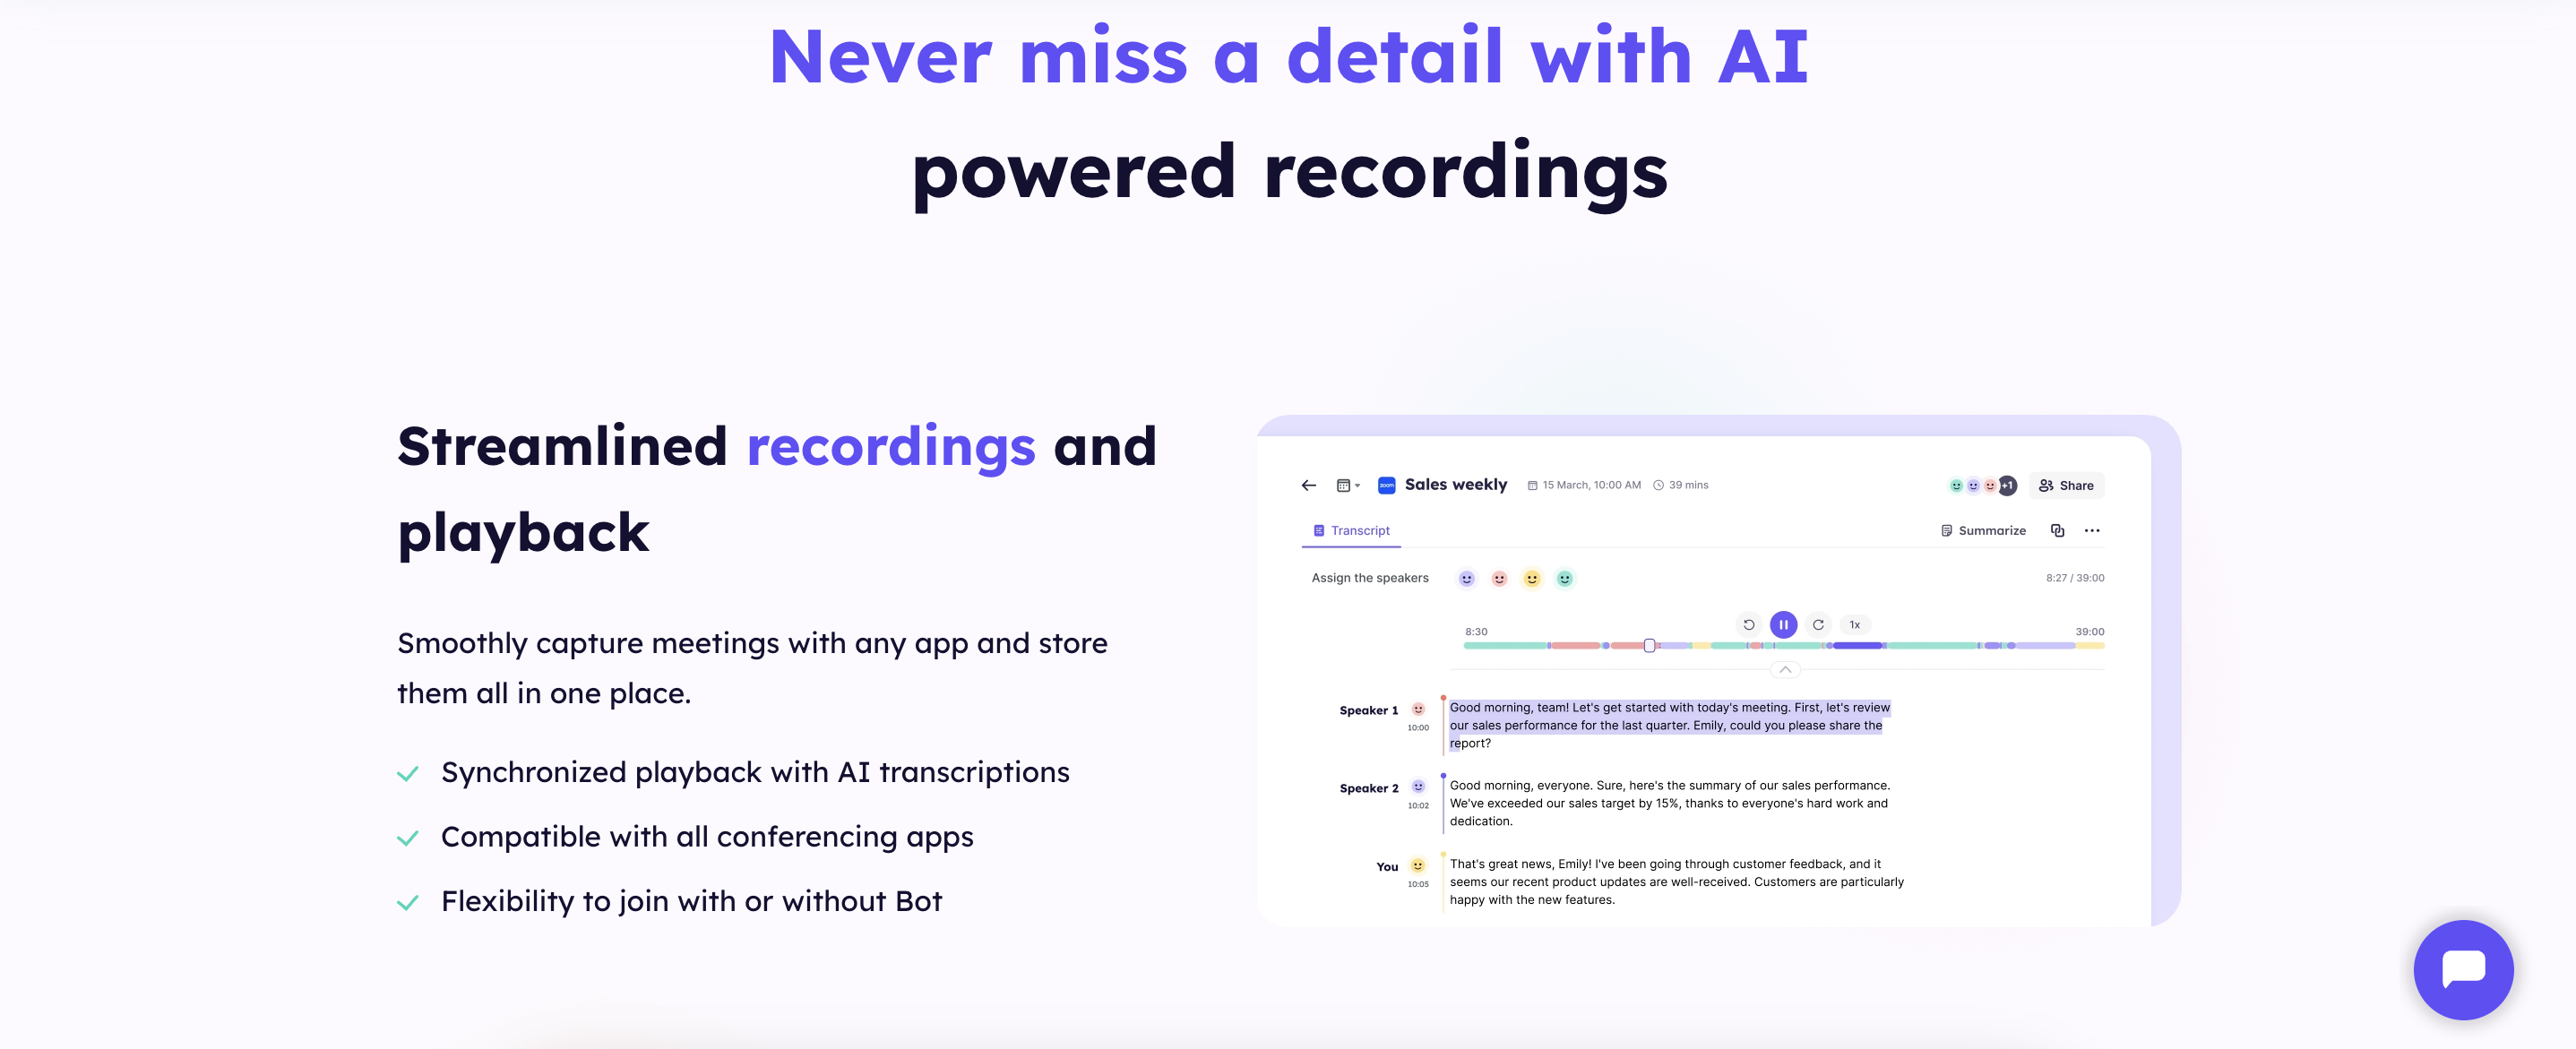
After the meeting ends, the system saves your recordings to your web account on the Meetings page. Everything’s in one place, ready for you to review, share, or download whenever you need it. It’s super convenient and keeps all your meeting content within easy reach.
How Krisp Enhances Meeting Content Management?
Krisp’s recording features take the hassle out of storing and organizing meeting content. Instead of bouncing between SharePoint, OneNote, or Teams chat, you can keep all your materials one place. It’s all right there when you need to find, review, or share past meetings—no digging around required.
With AI-powered recordings and transcriptions of your meetings with up to 96% accuracy, follow-ups are a snap. You can quickly catch up on key moments, spot important details, and easily tackle tasks like setting action items or assigning tasks. Krisp even auto-generates meeting summaries so you don’t have to worry about taking notes.
Krisp takes care of your security. It follows strict privacy protocols, especially on macOS, where you’ll need to give it permission to record. Your data is safe, and there’s no need to mess with extra plugins or bots. Krisp works smoothly with any conferencing app.
Using Krisp means your meeting content stays organized, easy to access, and secure, all while letting AI do the heavy lifting to make your life easier.
How to screen-record your meetings with Krisp?
- Start your meeting and click the Screen-Recording button from the Krisp app or Widget.
- The system will ask you to choose between recording your entire desktop or a specific application window.
- Grant screen recording consent (if you use macOS).
- Start recording: Krisp will indicate that the recording has started in both the widget and the app.
Hint: You can pause and resume Screen Recording anytime during the meeting using the Pause button inside the Krisp app and Widget.
After your meeting ends, you can access your recorded video on the Meetings page of your Krisp web account. Once processing is complete, you’ll need to reload the page to view your recording.
Best Practices for Keeping Track of Meeting Content
Wondering where are teams meeting notes stored and how to keep everything organized? Staying on top of meeting content doesn’t have to be a hassle. With the right strategies, you can store your team meeting notes, recordings, and other materials properly. This makes them easy to find. Here are some best practices for managing your meeting content efficiently.
1. Consistently Organize Your Meeting Notes and Materials
Make it a habit to organize your notes right after each meeting. Label your files clearly, use consistent naming conventions, and keep everything in dedicated folders for each project or team. If you’re using tools like OneNote, SharePoint, or Google Drive, create specific sections or directories for meeting notes. This way you always know where to look.
2. Automate Your Workflows
Set up automated workflows to make storing and accessing meeting-related content easier. For example, connect your calendar to tools like Krisp to automatically save meeting recordings, notes, and transcripts in your meeting pages on Krisp.
Automation can also help with reminders for follow-up tasks, making sure nothing slips through the cracks.
3. Use Tags and Keywords for Easier Search
When saving notes or files, add relevant tags or keywords to make them easier to search for later. This is especially useful when working on multiple projects or with different teams. Tags can help you quickly find specific topics or follow up on action items.
4. Schedule Regular Cleanups
Set aside time, maybe once a month, to review your stored meeting content and remove anything you no longer need. Delete outdated files, archive old notes, and reorganize folders as necessary. Regular cleanups help keep your system uncluttered and efficient.


