As we’ve touched on in the past, there are a number of conferencing applications businesses, digital nomads, freelancers, and remote workers can use in order to communicate with clients; along with fellow team members.
Some conferencing platforms are fully functional yet have a steep learning curve; others have specific functions; however, don’t provide larger teams with everything they will need for conferencing purposes.
UberConference is an easy to use conference application which will suit the needs of teams of varying sizes; while it does offer the same full feature scale of Zoom and Webex, it’s easy to navigate system is perfect for freelancers and teams who conduct meetings without the use of video.
In this entry, we will quickly introduce you to UberConference and detail how you can quickly begin integrating the solution into your work tool kit.
1. Go To The UberConference Website
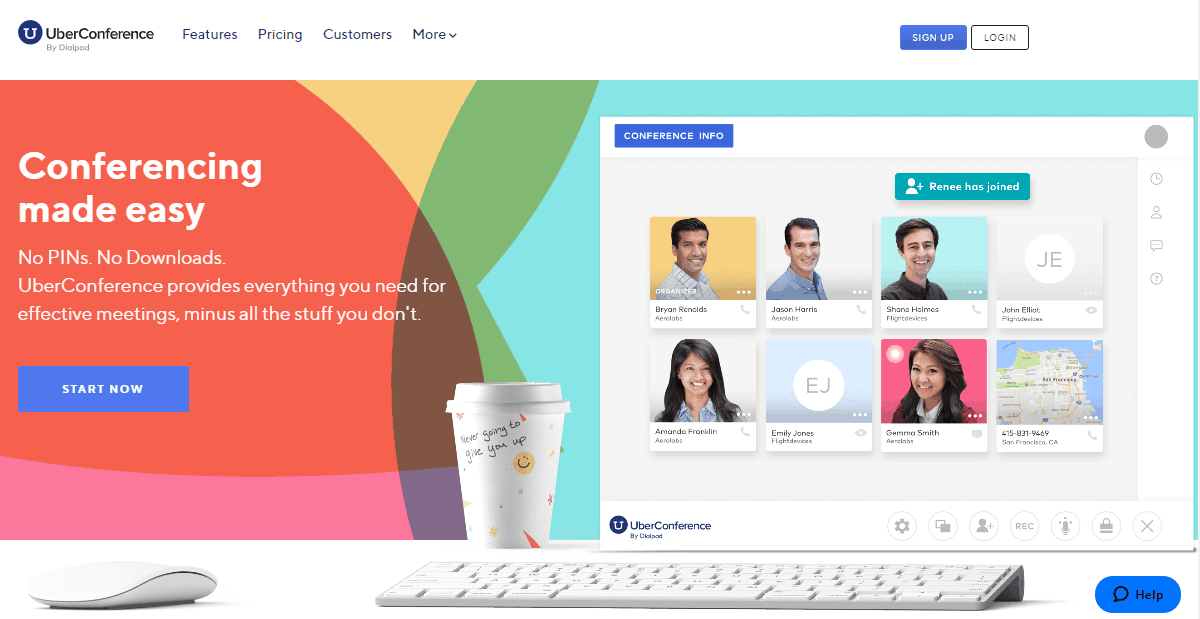
Once at the UberConference website, click on Sign Up at the upper right-hand corner of the screen.
2. Choose Your Sign Up Option
Individuals can decide whether to sign up with an e-mail account, Google, or Microsoft Office 365.
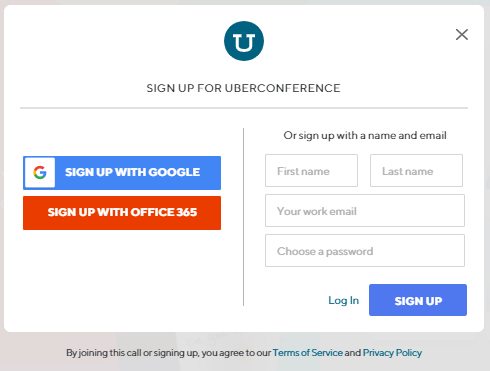
Once this step is complete, the site redirects you to another screen which shows all you need to fill in about your company.
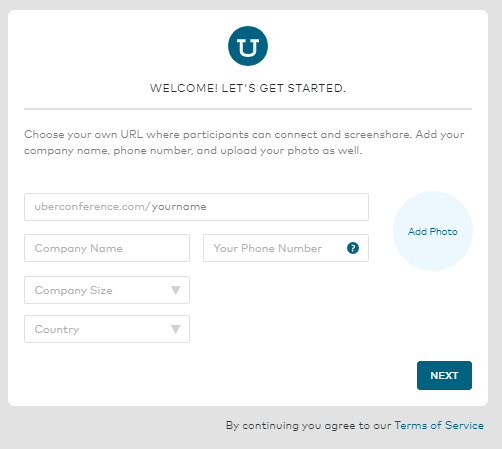
Here you choose a URL, type in your company name and mention the company size from the drop down menu. You can also choose a profile picture and add your phone number.
3. Select Your Plan
On the next screen, you will select your initial plan. Users can select from Free (2-10 participants), Business (2-100 participants). Despite this screen saying one person can be on a conference alone, that’s not exactly how the platform operates.

In some cases, you will simply hear the UberConference waiting song on repeat if you are alone in the conference room. It’s somewhat catchy but can become annoying after five minutes. Luckily in the business option, you can upload your own custom music.
The business option also removes the need for access codes, pins, and a team management portal.
4. Invite friends to Uberconference
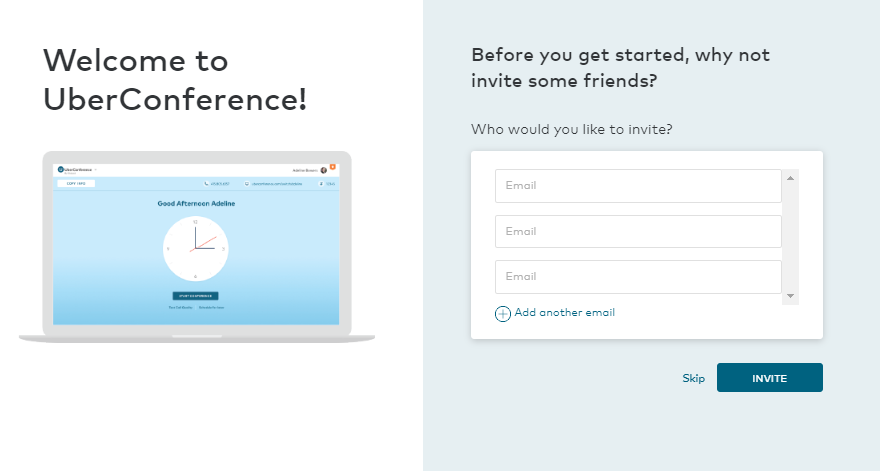
Next step is inviting friends to use Uberconference with you. You can either skip this step or fill in everyone’s email address who you want to have a remote conference with.
5. Welcome Screen of Uberconference
The next stage brings you to the welcome screen where you can begin your conference. Free plans limit calls to 45 minutes, while conferences using the business plan are limitless.
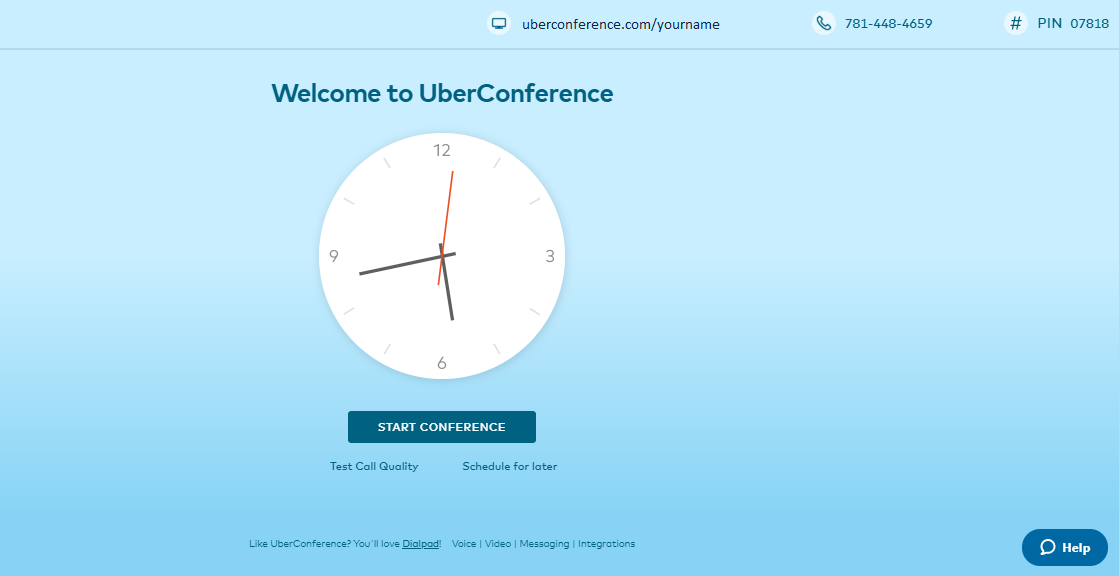
UberConference does not offer video service; however, participants are able to share their screen and take others through PowerPoint presentations.
UberConference allows businesses and freelancers to quickly launch conferences from their desktop, laptop, phone, or tablet without any extra software.
6. Start Conference
Click on Start conference and you’ll be immediately taken to your conference window. Enable microphone and start your conference by adding more members if you haven’t done so already.
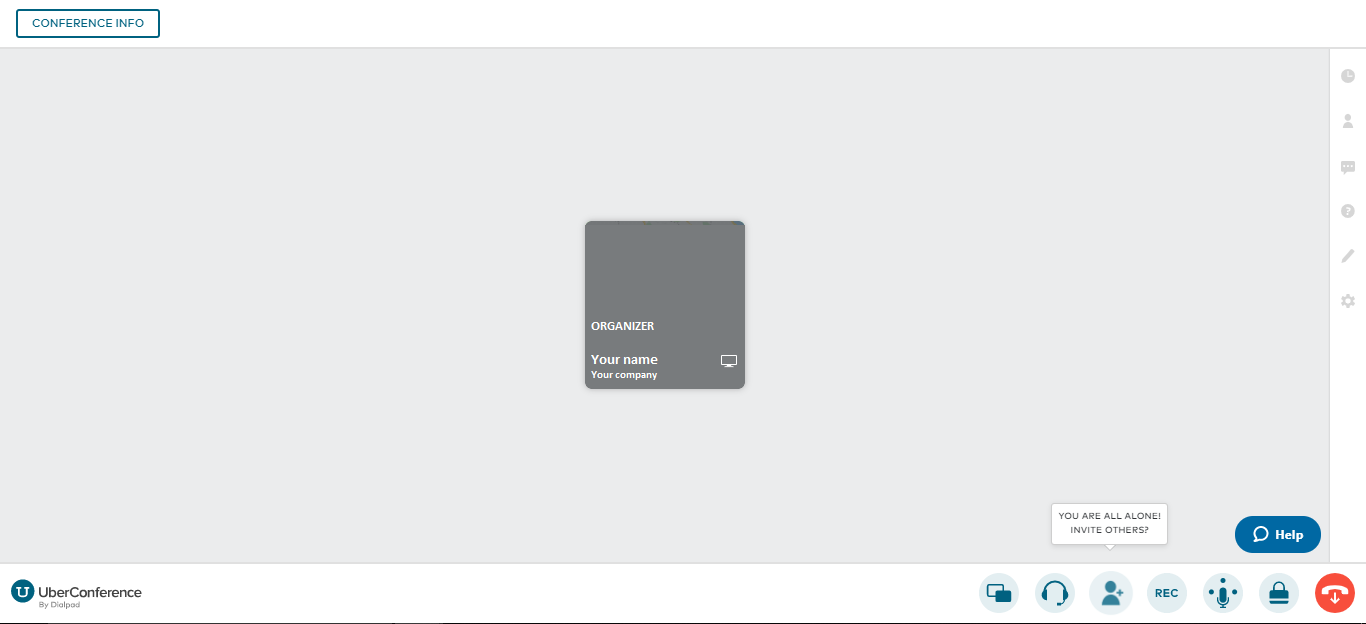 On the bottom right corner you can see the control pannel which will let you record the call, share your screen, invite participants. You can also use the Mic symbol to mute yourself or other people during the call.
If you’re experiencing trouble with noise and you’re not the conference call host, you can use Krisp active noise cancellation software which will mute the background noise while you’re in the call. You will be able to listen to everyone’s voices while the noise will be completely gone. Krisp works with Uberconference perfectly, as well as any other conferencing, streaming and messaging apps.
You can see the participant list on the right sidebar where you can open the chat and name your meeting as well. The timer will show the overall duration of the conference, and if you need help at anytime, you can click on the Question mark symbol of the sidebar.
You’re all set now, so go ahead and enjoy your conference call with coworkers with Uberconference.
Bonus: Wondering how to make your conference calls more productive? Read more about the unwritten rules of conference call etiquette.


