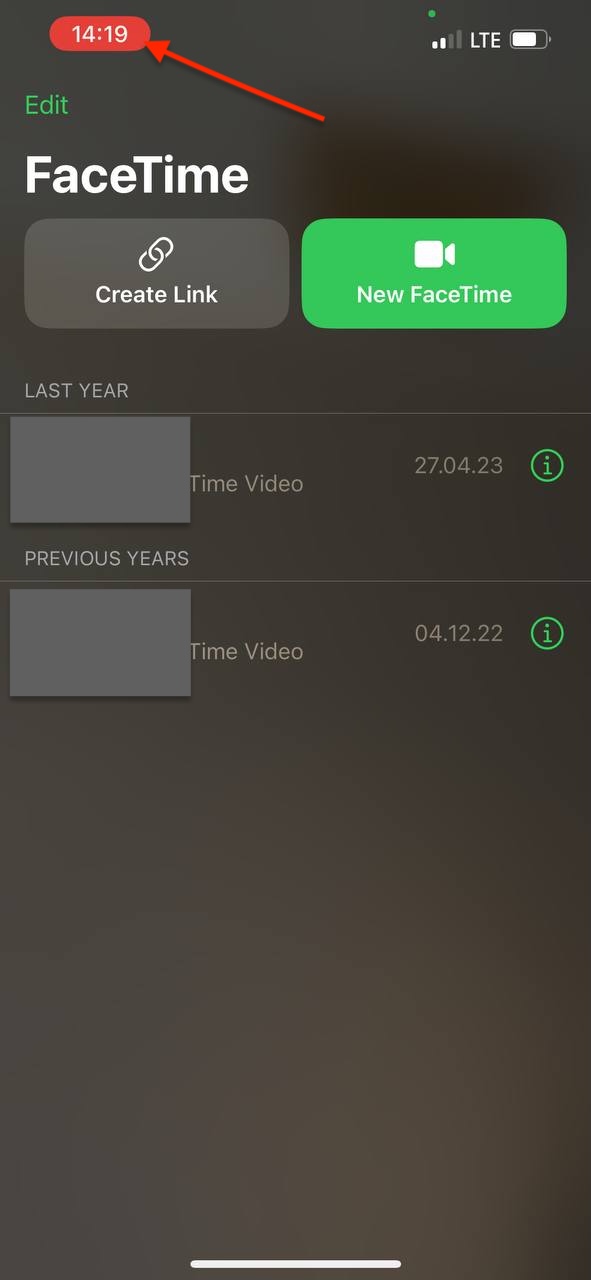
If you’ve ever wondered how to screen record FaceTime with sound, you’re not alone. While Apple’s native tools make it easy to capture video, recording audio requires additional steps and tools due to privacy restrictions. Whether you’re on an iPhone, iPad, or Mac, this guide provides actionable solutions for recording FaceTime calls with sound and covers important legal and ethical considerations to ensure you’re compliant and respectful during the process.
Key Takeaways
- To record FaceTime with sound, use tools like QuickTime on Mac or third-party apps for iPhone and iPad.
- Apple’s built-in Screen Recording captures video but not internal audio; external tools or software are required for sound.
- Always get consent from participants and follow local laws to ensure ethical recording practices.
- Enhance audio quality for FaceTime recordings with apps like Krisp to remove background noise and improve clarity.
- For Android users, joining FaceTime calls via shared links in a browser is possible, though recording options are limited.
How to Screen Record FaceTime Call with Sound on iPhone or iPad
Let’s face it—recording a FaceTime call on your iPhone or iPad can be a bit of a head-scratcher, especially if you’re hoping to capture sound along with the video. Apple’s built-in tools don’t make it easy, but don’t worry—we’ve got your back. Here’s how you can do it step by step.
Step 1: Enable Screen Recording on Your iPhone or iPad
Before you start recording, make sure the Screen Recording feature is available in your Control Center. Here’s how to set it up:
- Open Settings on your iPhone or iPad.
- Scroll down and tap Control Center.
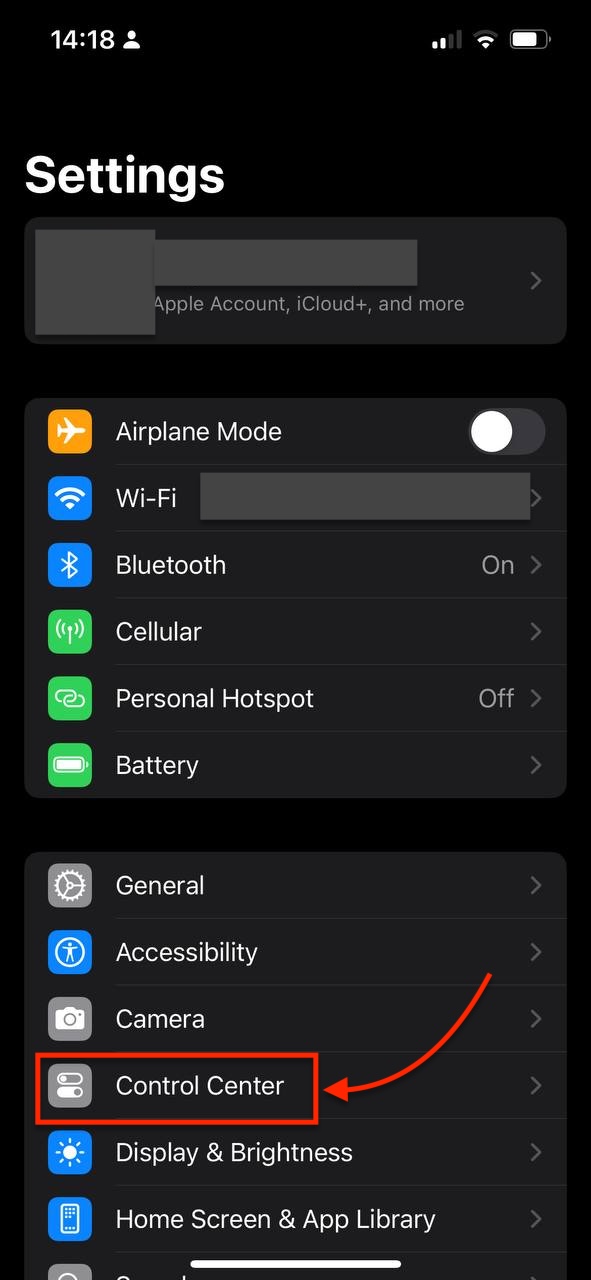
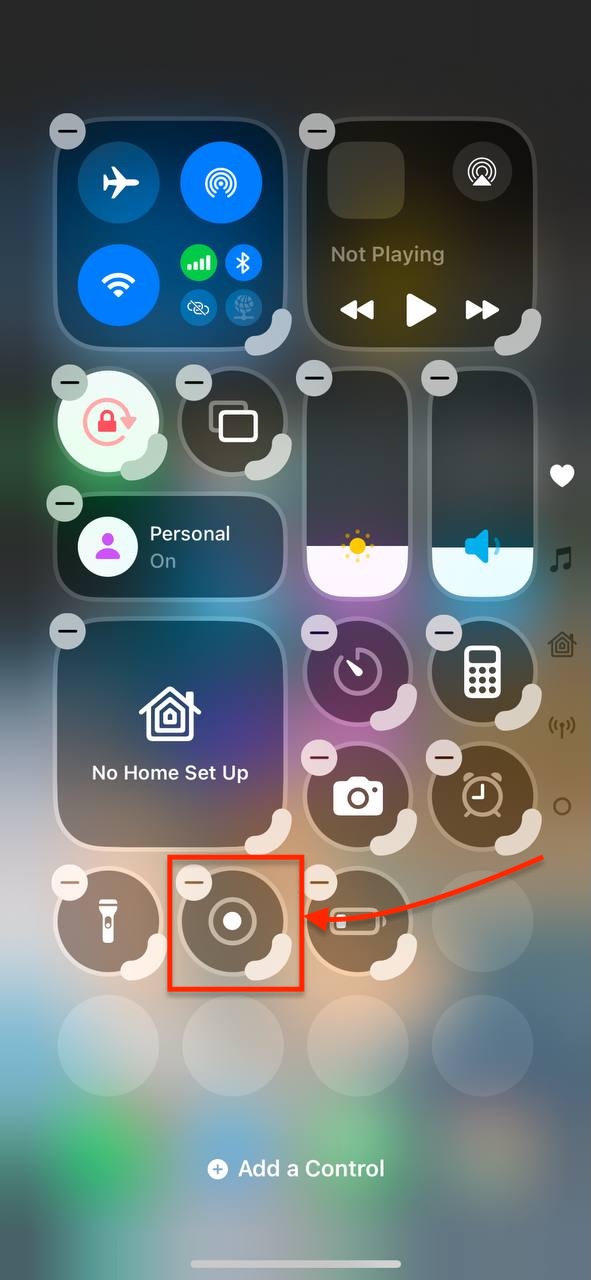
3. Under “More Controls,” find Screen Recording and tap the green + icon to add it to your Control Center.
4. Now, swipe down (or up, depending on your device) to confirm that the Screen Recording icon is available in the Control Center.
Step 2: Start a FaceTime Call
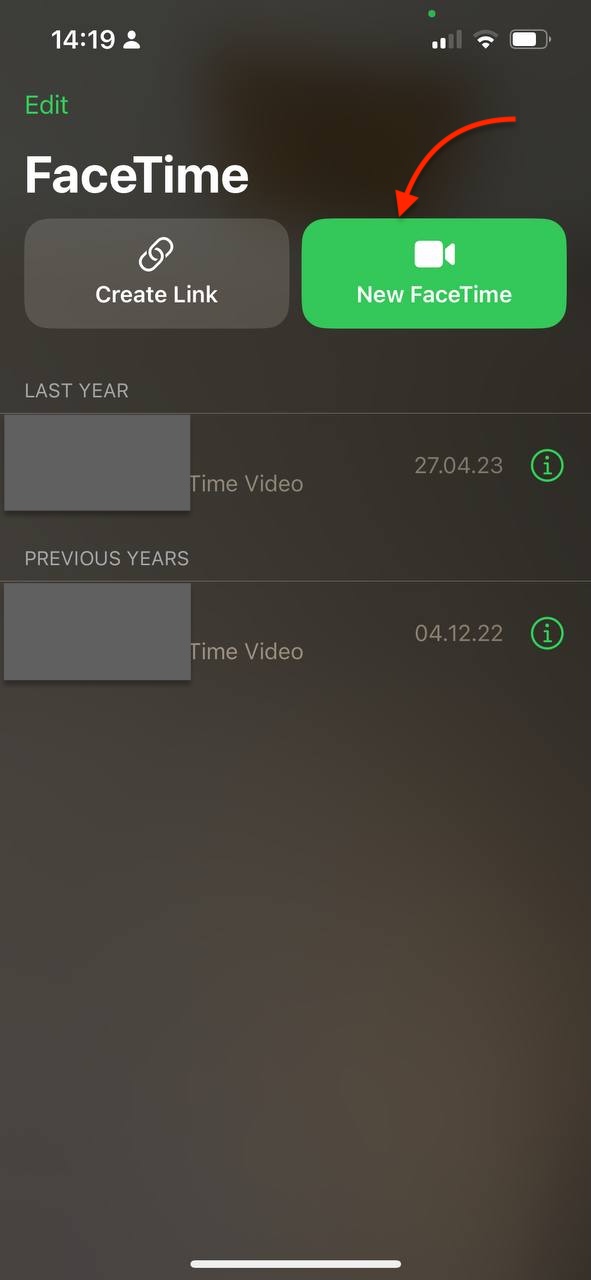
Initiate the FaceTime call with the person or group you want to record. Make sure you’re in a quiet and well-lit space for the best video and audio quality.
Step 3: Start Screen Recording
Once your call is underway:
- Swipe down from the top-right corner of the screen (or swipe up from the bottom edge on older devices) to open the Control Center.
- Tap the Screen Recording icon (a circle with a dot inside). A three-second countdown will begin before the recording starts.

Important Note:
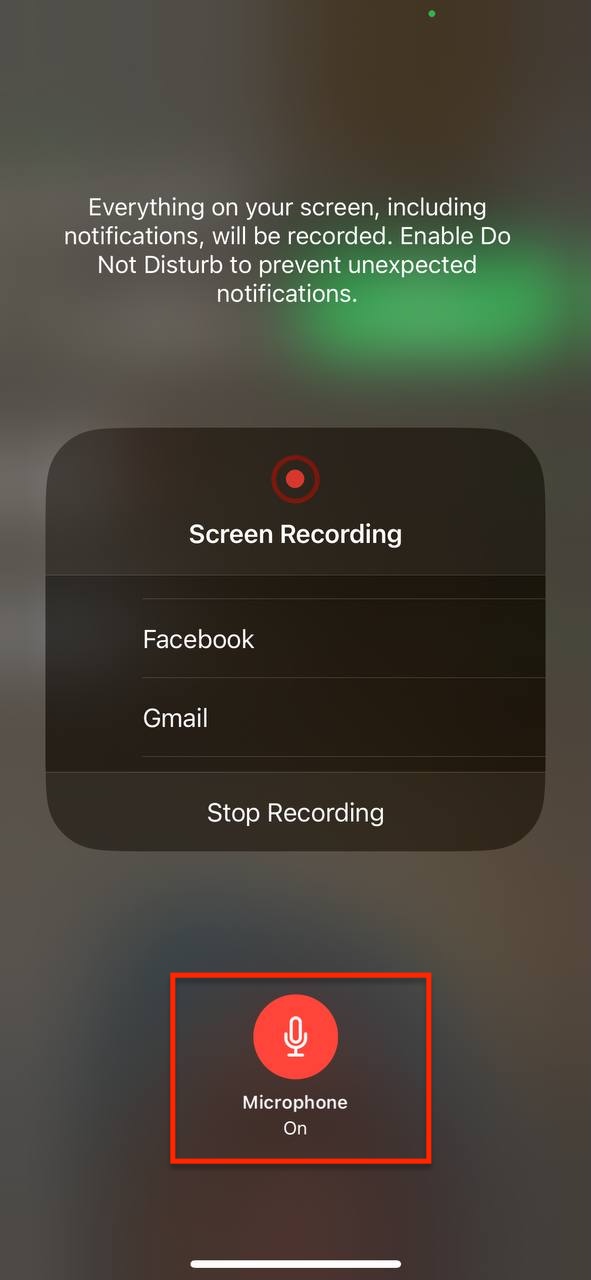
By default, this method will only record the video and external sound (like your voice and background noise), but not the other participant’s audio from the FaceTime call. To include external audio:
- Long-press the Screen Recording icon.
- Tap Microphone On to record external audio, such as your own voice.
How to record FaceTime with Sound on Mac
To capture both the video and the internal audio of the FaceTime call, you’ll need a Mac. Follow these steps:
With Hotkey (Built-In Screen Recording)
Apple’s macOS makes it easy to record your screen using built-in shortcuts. Here’s how you can record a FaceTime call quickly with just a few key presses:
Step 1: Start the FaceTime Call
- Launch the FaceTime app on your Mac and start the call as usual.
- Ensure the call is in full screen for the best recording quality.
Step 2: Open the Screen Recording Tool
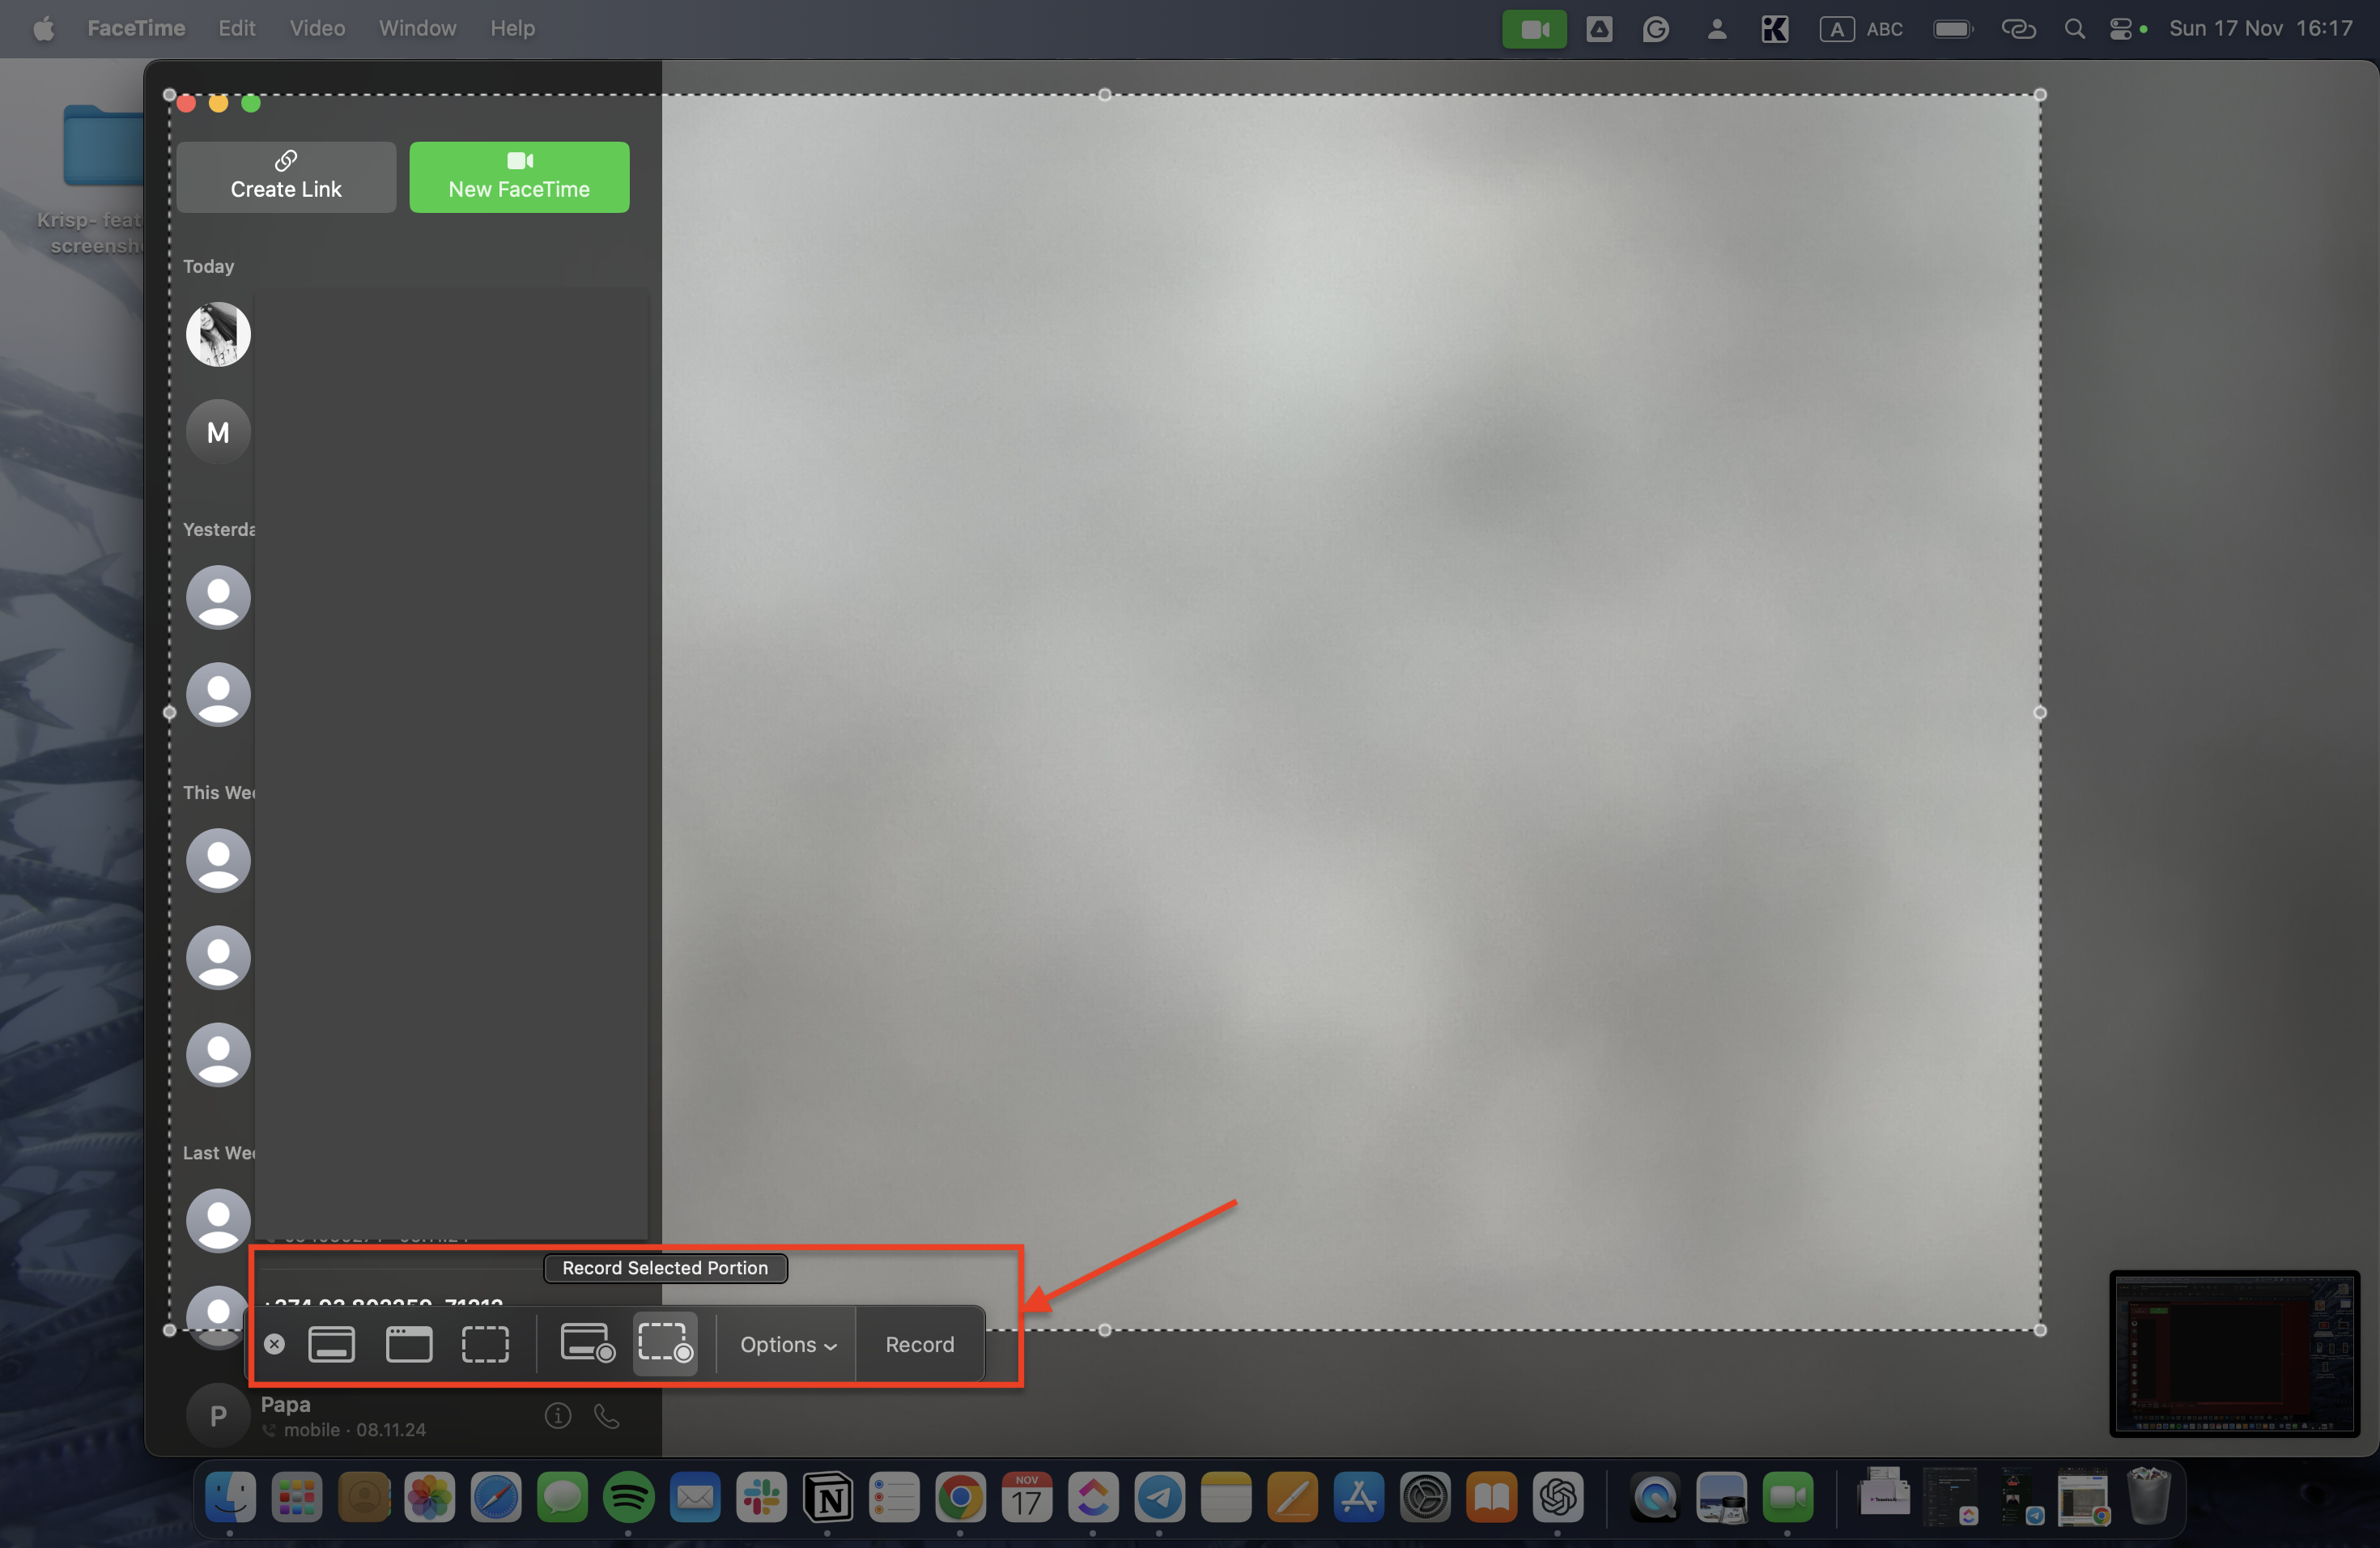
- Press Command (⌘) + Shift + 5 on your keyboard.
- A toolbar will appear at the bottom of your screen with screen recording options.
Step 3: Select the Recording Area
- You can choose to record the entire screen or drag to select the FaceTime window specifically.
Step 4: Enable Audio Recording
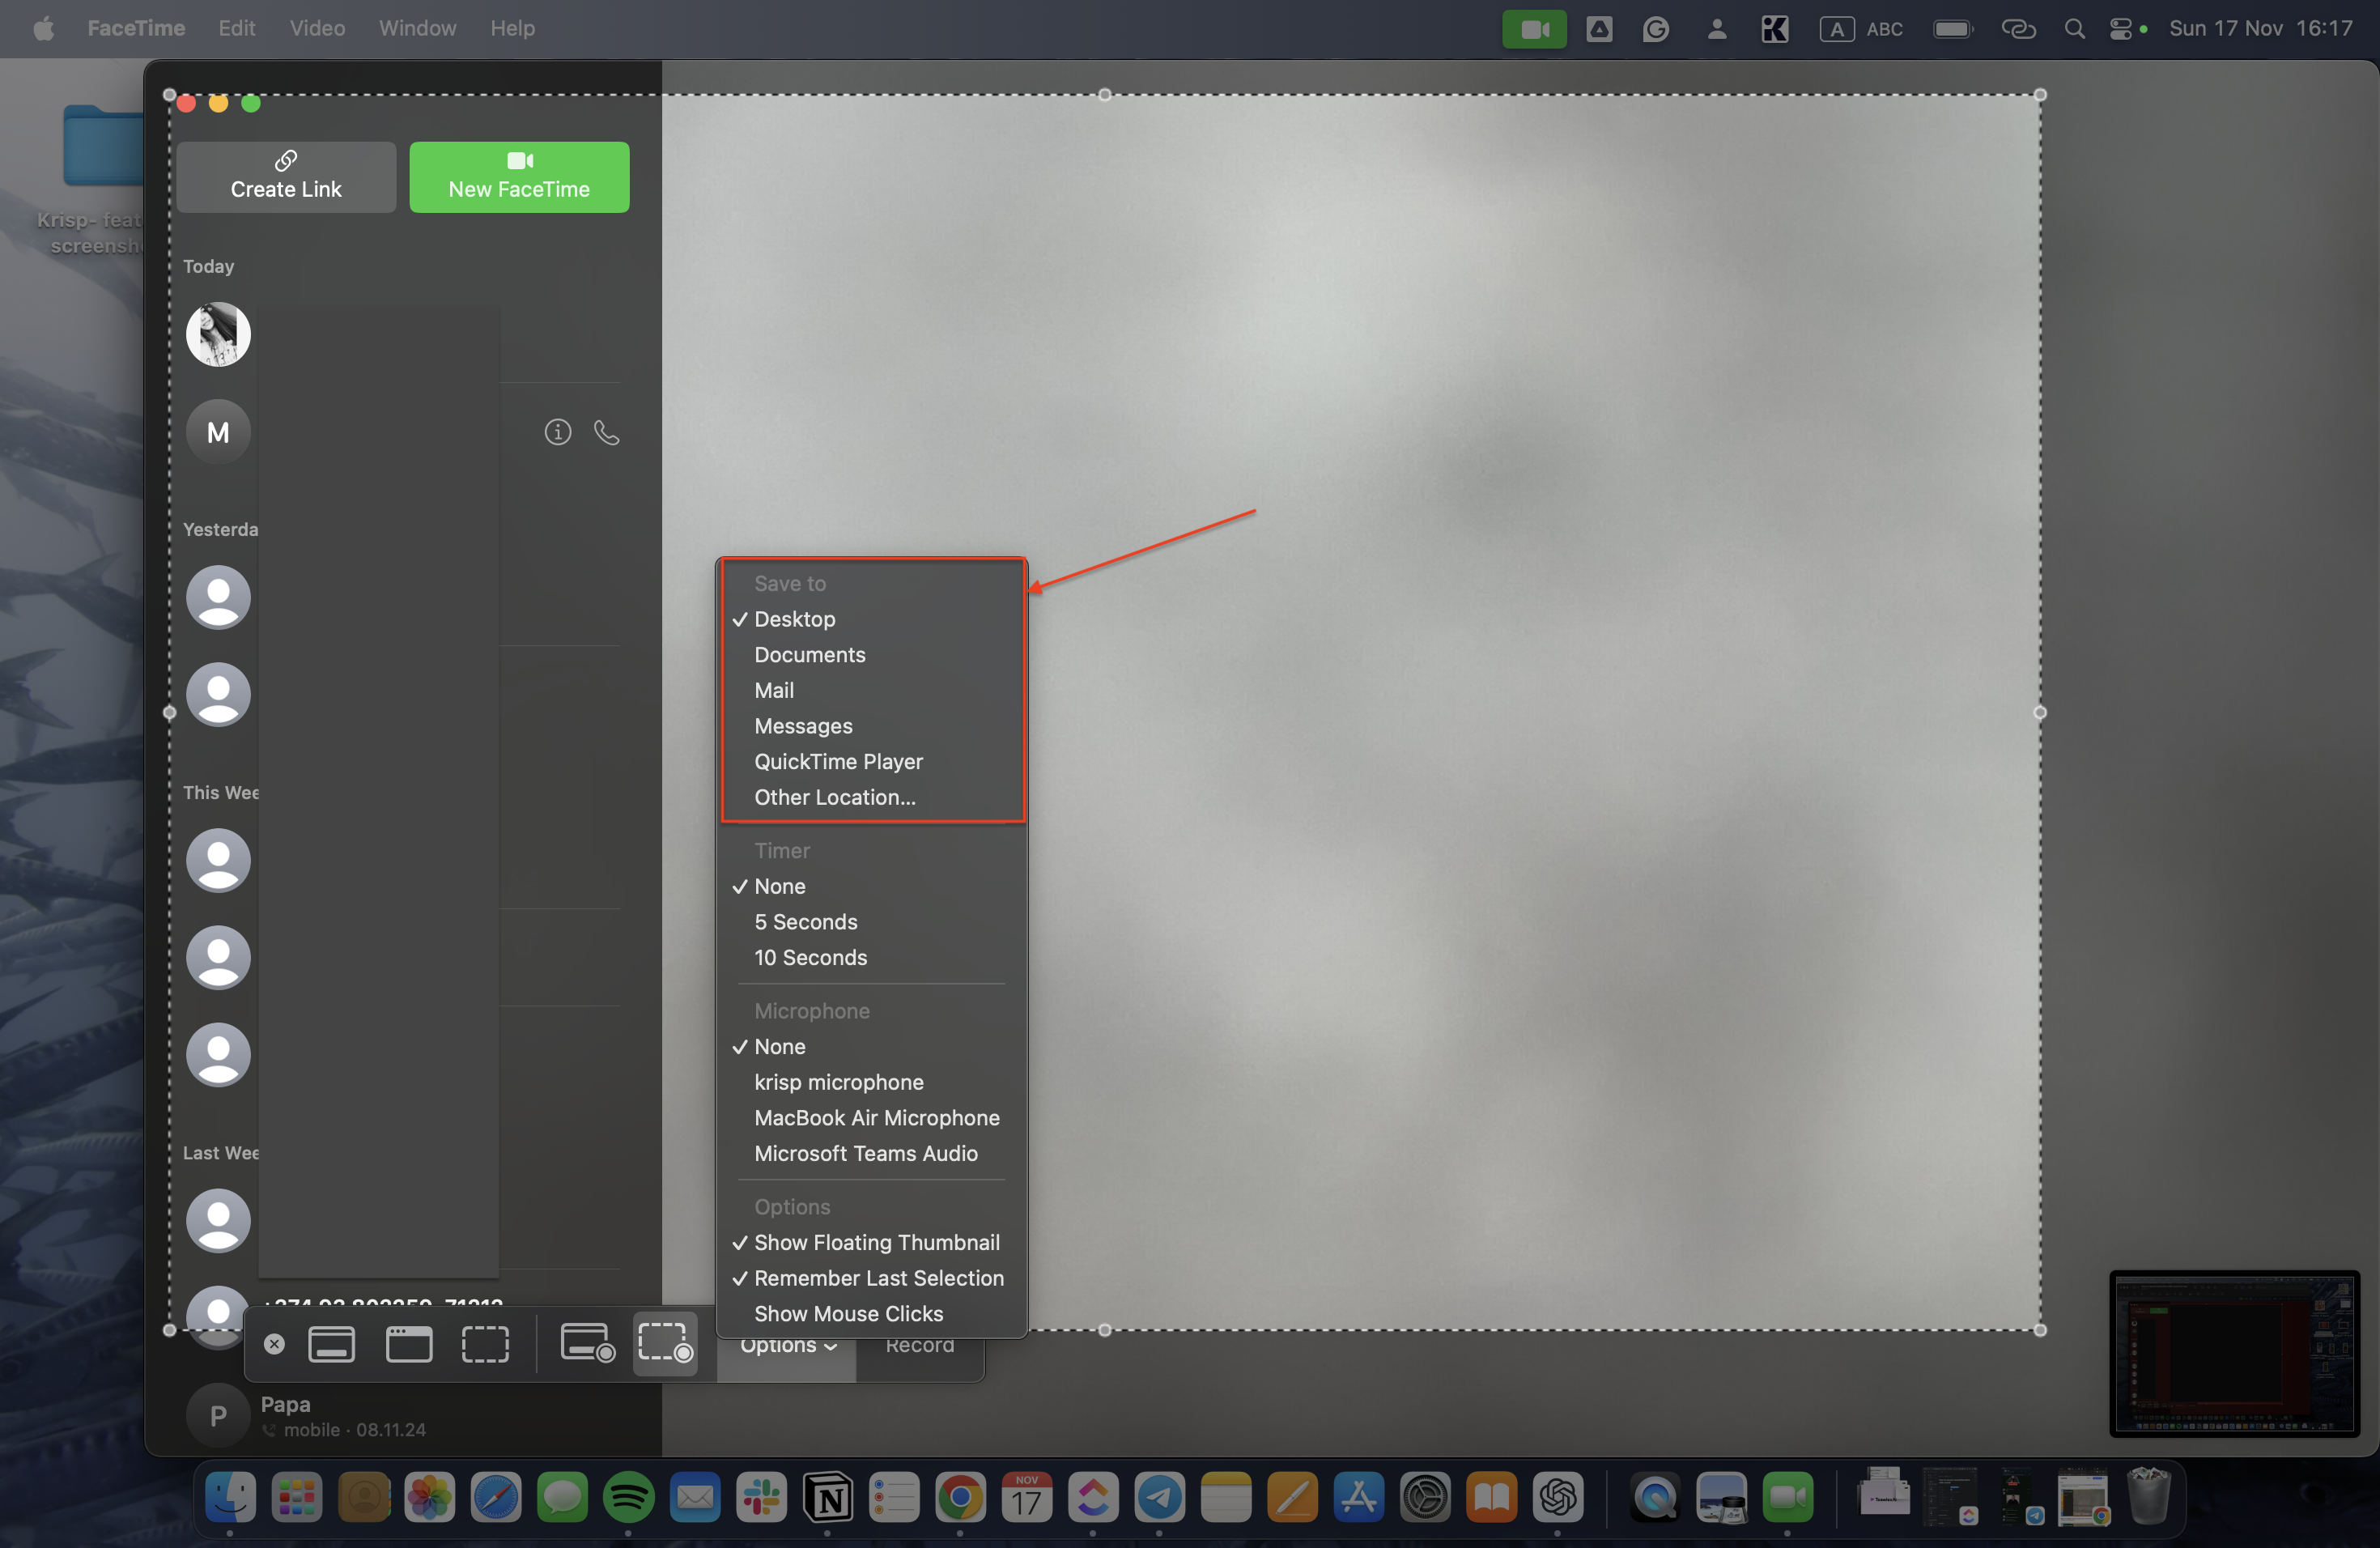
- Click Options on the recording toolbar.
- Under “Microphone,” select your preferred audio input (e.g., your Mac’s built-in microphone or an external one).
Note: This method will not capture internal audio from the other participant directly unless a loopback tool is used.
Step 5: Start Recording
- Click the Record button to begin recording.
- Conduct your FaceTime call as normal.
Step 6: Stop and Save the Recording
- When the call is finished, click the Stop button in the menu bar or press Command (⌘) + Shift + 5 again and select Stop Recording.
- Your recording will be saved automatically to your desktop or another designated folder.
Using Krisp for High-Quality Audio Recording
For crystal-clear audio and a professional recording setup, Krisp is an excellent tool. It eliminates background noise and enhances the quality of both your voice and the audio from your FaceTime call. Here’s how to use Krisp for recording FaceTime on your Mac:
Step 1: Install Krisp
- Download and install the Krisp app from the official website.
- Create an account or log in if you’re already a user.
Step 2: Set Up Krisp as Your Audio Tool
- Open the Krisp app and select it as your input and output device.
- Input: Krisp will filter your microphone’s noise.
- Output: Krisp will filter the noise from the other participant’s audio.
- In FaceTime, go to Preferences > Audio/Video and set Krisp as the microphone.
Step 3: Record the FaceTime Call
- Use the built-in screen recording tool (Method 1) or a recording app like QuickTime Player.
- When selecting the microphone in the recording settings, choose “Krisp” for both input and output to ensure clean audio.
Step 4: Enhance the Recording
- With Krisp, you’ll have a noise-free recording of your FaceTime call, making it perfect for professional use or preserving important conversations.
Step 5: Save and Share Your Recording
- Once the call is over, save your recording and share it as needed.
Why Use Krisp?
Using Krisp ensures your FaceTime recordings are not only free from distractions like background noise but also sound professional. This makes it a great choice for interviews, virtual meetings, or important personal calls where sound quality matters.
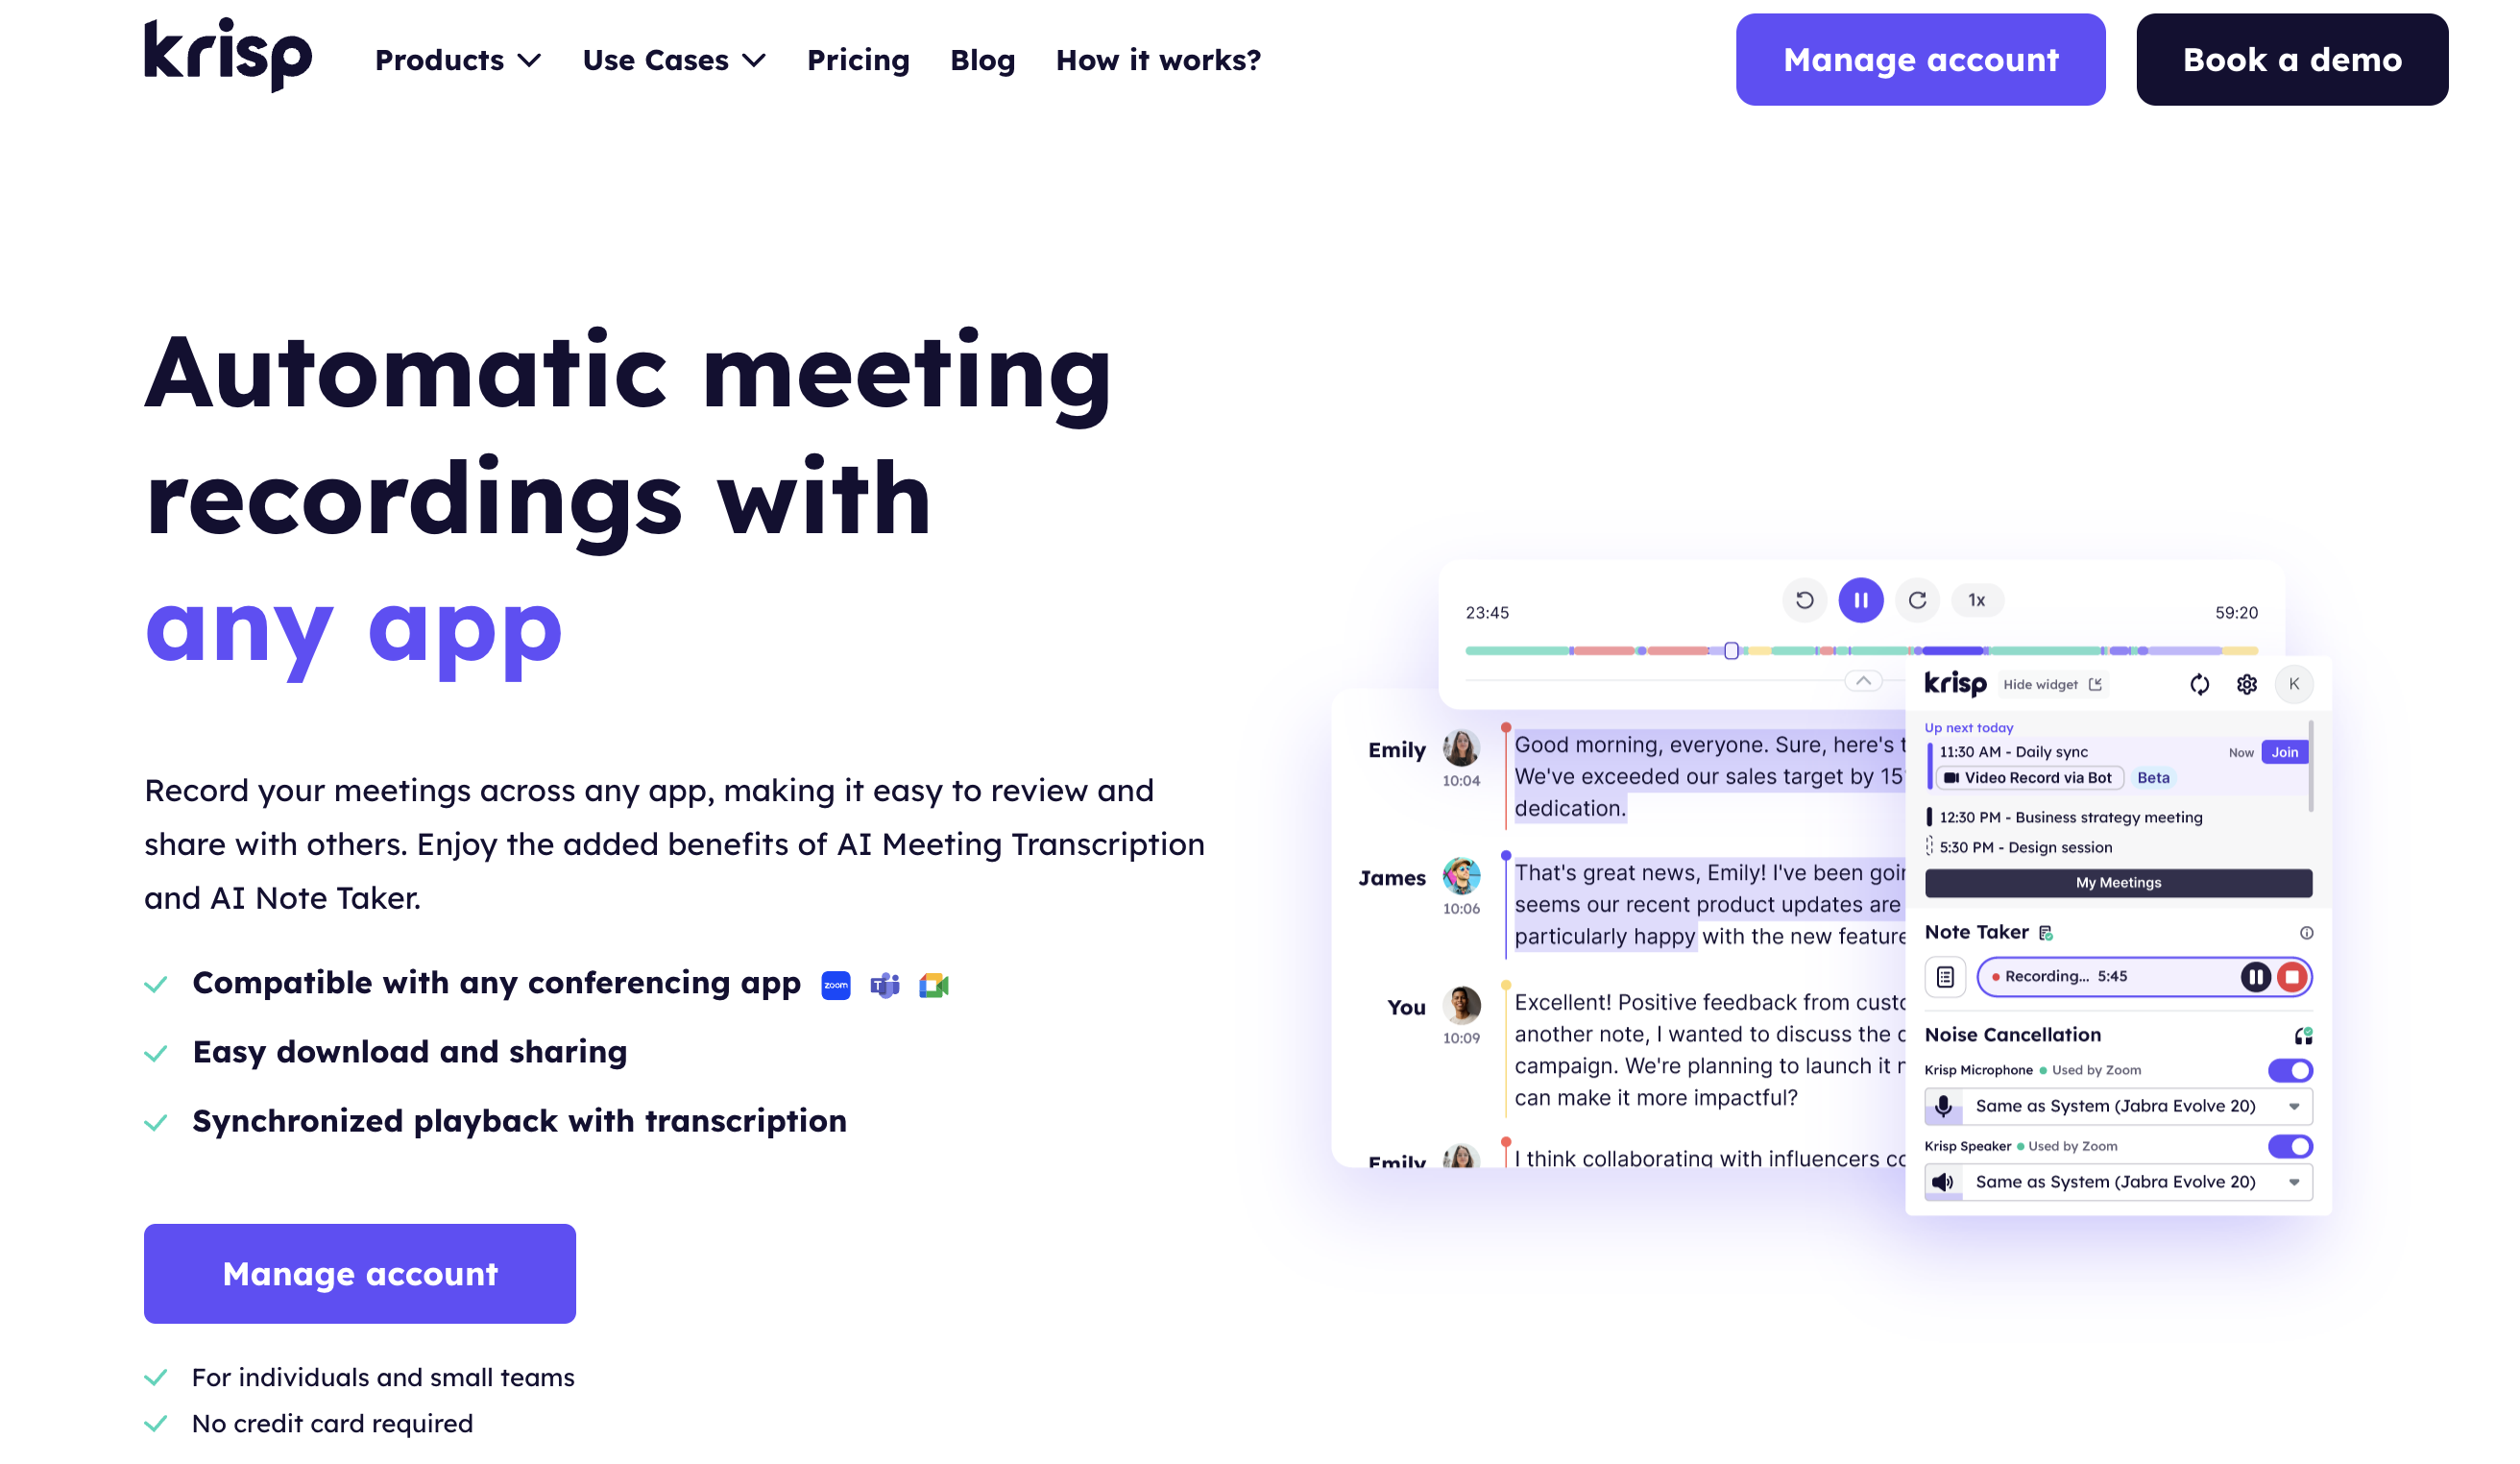
Screen recording FaceTime calls on a Mac can be effortless when you combine macOS’s built-in tools with Krisp’s powerful audio features. Choose the method that best suits your needs, and start creating high-quality recordings today!
How to use FaceTime on an Android
While FaceTime is an Apple-exclusive app, recent updates have made it possible for Android users to join FaceTime calls. You won’t get a standalone FaceTime app, but with a little help from an Apple device owner, you can still participate in FaceTime calls seamlessly. Here’s how to do it:
Step 1: Receive a FaceTime Link
FaceTime now supports web-based calls via a link, making it possible for non-Apple devices to join. To start, the person hosting the call (an Apple user) needs to:
- Open the FaceTime app on their iPhone, iPad, or Mac.
- Tap Create Link and share the link with you via email, text, or any messaging app.
Step 2: Open the FaceTime Link on Android
Once you’ve received the link:
- Open the message or email containing the FaceTime link on your Android device.
- Tap the link, which will open in your browser (Google Chrome or any modern browser is recommended).
Step 3: Join the FaceTime Call
- After clicking the link, you’ll be directed to a FaceTime web page.
- Enter your name when prompted and tap Continue.
- Allow browser permissions for your microphone and camera when requested.
- Tap Join to enter the FaceTime call.
Step 4: Host Admits You into the Call
The host (Apple user) will need to approve your request to join the call. Once they do, you’ll be part of the FaceTime conversation.
Legal and Ethical Considerations
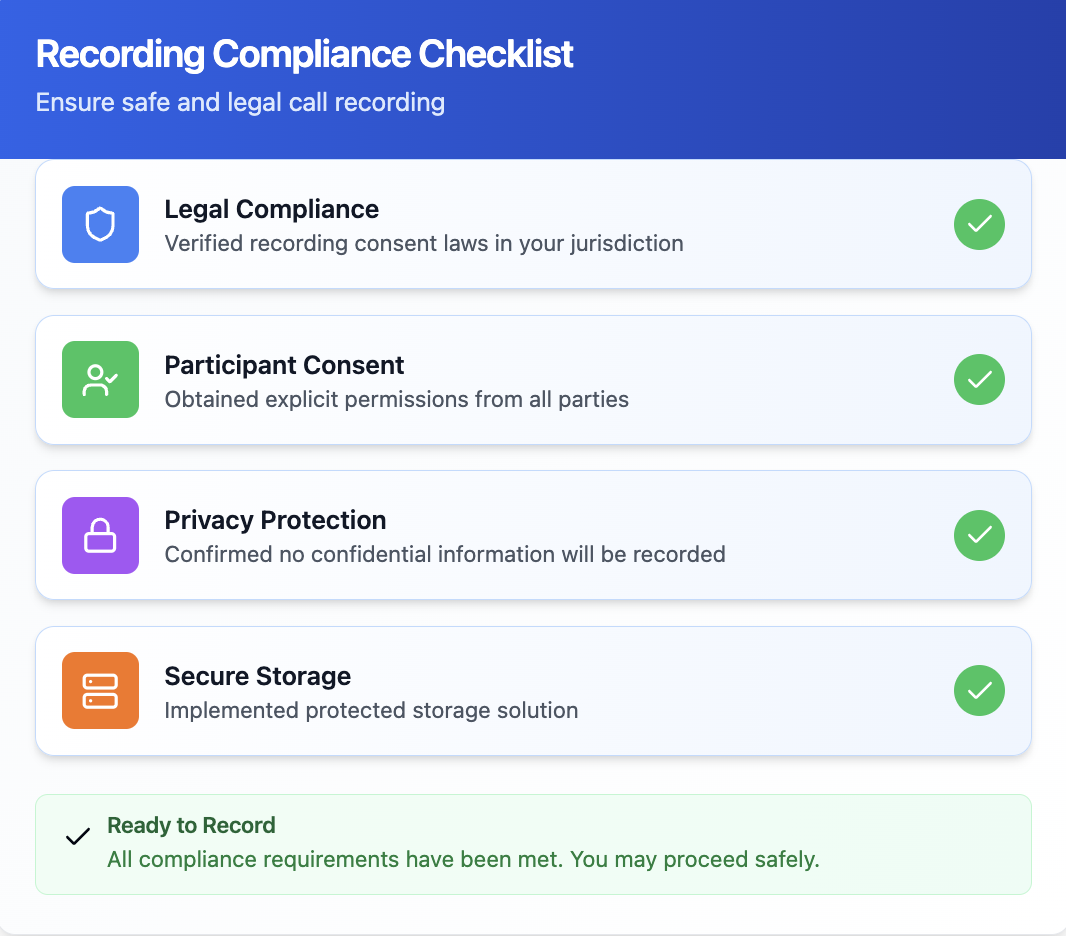
Recording calls, including FaceTime calls, is a helpful tool for personal, professional, and educational purposes. However, it’s crucial to approach this practice with both legal and ethical responsibility. Here’s what you need to keep in mind before pressing the record button:
1. Understand Local Laws
Laws regarding call recording vary depending on your location, and ignorance of these rules can lead to legal trouble. Here’s a quick breakdown:
- One-Party Consent: In some jurisdictions, only one party involved in the call (you) needs to give consent to record.
- Two-Party Consent: In other regions, all participants must explicitly agree to the recording.
- Global Differences: Outside of the U.S., laws can be stricter or more lenient depending on the country. Always check your local laws.
2. Get Consent
Even if the law in your area doesn’t require consent, obtaining it is a good ethical practice. Here’s how to do it:
- Inform all participants at the start of the call that you plan to record.
- Explain why you’re recording (e.g., for personal reference or documentation).
- Ask for verbal or written agreement before proceeding.
3. Respect Privacy
- Confidential Conversations: Avoid recording calls that involve sensitive information without clear and explicit consent.
- Workplace Policies: If recording a professional call or meeting, adhere to your company’s policies regarding call recordings.
4. Protect Recorded Content
Once a recording is made, it becomes your responsibility to safeguard it:
- Secure Storage: Store recordings in a secure location to prevent unauthorized access.
- Limit Sharing: Share recordings only with those who have a legitimate reason to access them and with the agreement of all participants.
FAQs


