“Can we record this meeting so others can watch it later?” We’ve all heard this question, whether in university lectures, team meetings, or big presentations. With over 35 million PowerPoint presentations delivered daily to more than 500 million people, the need to record and share presentations has never been greater. Recording a Zoom presentation has become essential—not just for those who missed it but also for creating a resource you can revisit, share, or archive. Whether it’s a crucial client pitch, a group project update, or a training session, having a recorded copy ensures nothing important slips through the cracks.
But here’s the thing: when someone asks you to record a presentation, it’s easy to feel a bit panicked if you’re unsure where to start. Do you need permission? What settings should you tweak? Where will the recording even be saved?
That’s where this guide on how to record a presentation on Zoom comes in. We’ll walk you through everything you need to know so you can feel confident hitting that record button next time. Let’s get started!
How to Record a Presentation on Zoom in a Few Easy Steps
Recording a presentation on Zoom is straightforward once you know the steps. Follow along, and you’ll be ready to confidently hit records next time!
Step 1: Start or Join Your Zoom Meeting
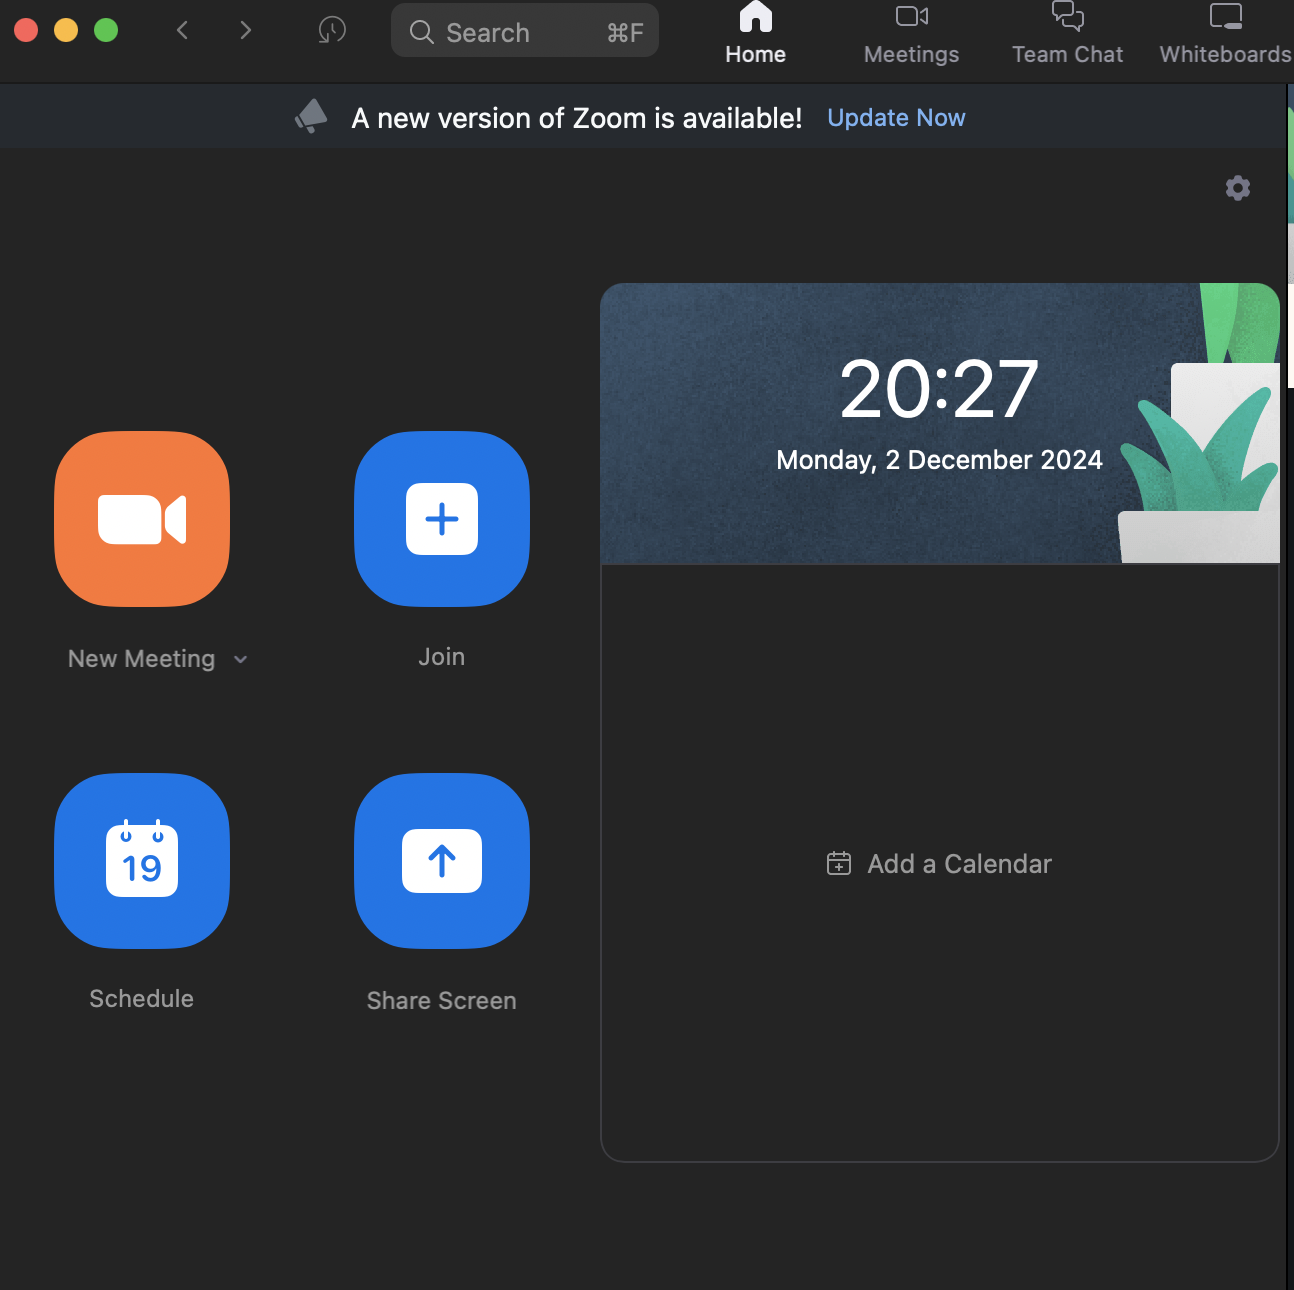
Either host the meeting where you’ll present or join as a participant if you’re the one presenting. Make sure your microphone, camera, and presentation slides are ready to go. If you’re hosting, you’ll automatically have permission to record. If you’re a participant, the host may need to grant you recording privileges.

Step 2: Check Your Recording Permissions
Before anything else, ensure you can record. If you’re the host, you’re good to go. If not, ask the host to allow recording by clicking on your name in the “Participants” list and selecting “Allow Record.”
Step 3: Click the Record Button
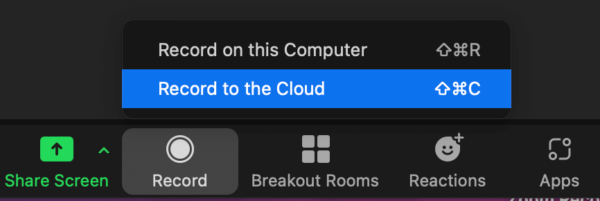
Once you’re ready, locate the Record button on the Zoom toolbar at the bottom of your screen. On the desktop, it looks like a small circle with the word “Record” underneath. Click it, and you’ll see two options:
- Record to this Computer: Saves the recording directly to your device.
- Record to the Cloud: Stores the recording in your Zoom account for easy sharing and downloading later.

Choose the option that works best for you.
Step 4: Begin Your Presentation
Now, start your presentation as you normally would. Speak clearly, share your screen if needed (click Share Screen on the toolbar), and navigate through your slides or materials. Zoom will record everything visible and audible during the session, so stay professional and organized.
Step 5: Pause or Stop Recording as Needed
Need to take a quick break or address something off-camera? Use the Pause Recording button to temporarily stop recording without creating multiple files. When you’re done presenting, click Stop Recording. A notification will confirm that the recording has stopped.

Step 6: Save and Access Your Recording
Once the meeting ends, Zoom will process the recording. If you select “Record to this Computer,” the file will save to your local device, typically in the Zoom folder. If you choose “Record to the Cloud,” you’ll find it in your Zoom account under the Recordings section.
Step 7: Edit Your Recording (Optional)
After accessing your recording, you can edit it to remove unnecessary parts or enhance its overall quality for a polished presentation.
How to Record a Presentation on Zoom as a Participant
Recording a Zoom presentation as a participant takes a little extra effort since Zoom’s recording feature is typically reserved for the host. But don’t worry—there are still ways to get the job done!
The simplest option is to ask the host for help. They can either record the session on your behalf or give you permission to record. It’s a quick process on their end, and you’ll get a notification once you are enabled to record.
If the host can’t assist, you might consider using external recording software as a workaround. Tools like screen recorders can capture the presentation along with the audio, but remember—transparency is key! Always inform everyone in the meeting and get their permission before recording with external software.
Alternative to Zoom for Recording Presentations
While Zoom is a popular choice for hosting and recording meetings, it’s not without its challenges. Low recording quality is a common issue, leading to muffled audio or grainy visuals. This can make your recordings seem less professional and even cause important details to be missed. If you’re looking for a more reliable solution, Krisp offers a fantastic alternative.
With Krisp, you can enjoy AI-powered noise cancellation that ensures clear recordings, free from background noise or distractions. Whether it’s a bustling office, a noisy café, or even a barking dog, Krisp filters out the chaos so only the important content shines through.
But Krisp doesn’t stop at noise cancellation. It provides a simple way to record meetings across any app, from Zoom and Microsoft Teams to Google Meet and more. Here’s why it stands out:
- Automatic Meeting Recordings: Forget about fumbling with record buttons. Krisp automatically captures meetings, letting you focus on the discussion.
- AI-Powered Transcriptions: With 96% accuracy, you’ll get synchronized playback with transcription, making it easy to review every detail.
- Meeting Summaries and Action Items: Use Krisp’s AI to generate concise summaries, assign tasks, and even set deadlines, streamlining your follow-up process.
- Unlimited Transcriptions on the Free Plan: No plugins or extensions are required—just download, record, and share.
With Krisp, you can effortlessly record, review, and share meetings with a professional touch. Whether you’re hosting a large team call or attending a one-on-one session, Krisp ensures you’ll never miss a moment and always leave a polished impression.
How to Record a Video Presentation with Krisp
Recording a video presentation has never been easier or more polished, thanks to Krisp. This powerful tool goes beyond standard recording options to ensure your presentation is clear, distraction-free, and professional. Here’s how you can record a video presentation with Krisp:
1. Set Up Krisp
Download and install Krisp on your device. Once installed, connect it to your preferred conferencing app, Zoom, Google Meet, or Microsoft Teams. Krisp works with all major platforms, so you can focus on your presentation, not the setup.
2. Enable Noise Cancellation
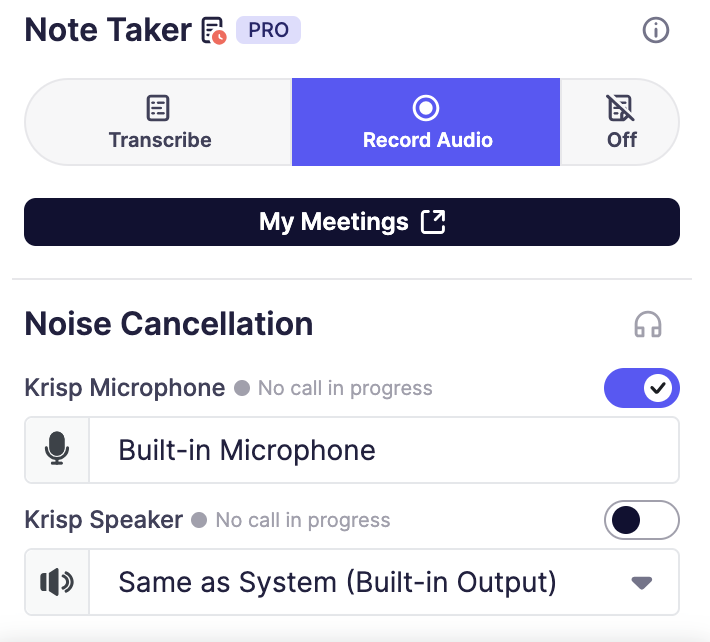
Before you start recording, turn on Krisp’s AI-powered noise cancellation feature. This eliminates background noise like keyboard typing, fan hum, or outside chatter, ensuring your audio is crisp and clear.

3. Start Your Presentation
Begin your video presentation on your chosen platform. Whether it’s a live meeting or a pre-recorded session, Krisp’s noise cancellation works in real time to keep your voice front and center.
4. Record the Session with Krisp
Use Krisp’s automatic meeting recording feature to capture the entire presentation. The tool records everything smoothly and stores the session in one convenient location, ready for playback or sharing.
5. Enjoy AI-Powered Transcriptions and Notes
Once your presentation is recorded, Krisp provides synchronized playback with AI-generated transcriptions, making it easy to review every detail. Need to share insights with your team? Krisp also creates ready-to-use meeting summaries and action items for seamless follow-ups.
6. Download and Share
After recording, Krisp lets you download and share the video effortlessly. The professional-quality recording ensures your presentation is as impactful during playback as it was live.
Conclusion
Recording a presentation on Zoom is straightforward once you understand the process. It’s a valuable skill, whether you need to capture important information for later, share it with others, or keep a record for yourself. Following these steps will help ensure that your recordings are clear and easy to access, making it easier to revisit your presentation whenever needed.


