Like everything else that you use often, noise-cancelling headphones get dirty – an effect amplified by the fact that you wear them on your body.
Whether it’s at home, on the commute to and from work, at the gym, or even for making conference calls at work, they seem to be magnets for everything from lint and dust to earwax and loose hairs.
This build-up of grime might just be seen as “gross” to many, and we’re all for good noise-cancelling headphones hygiene, but if you want to get the most out of your cans, and make them last for as long as possible, there is another important reason to keep your headphones clean.

The debris that accumulates around your headphones’ drivers (the part with the diaphragm that vibrates to produce sound) can begin to muffle the audio you hear, and if left for too long, can cause lasting damage to your headphones as well.
The oil from your skin reacts with the plastic and rubber components, causing them to become discoloured, and after long periods of exposure, to fall apart.
To help you prevent all of this happening, we’ve put together this handy guide for cleaning your wireless noise-cancelling headphones (don’t worry, these cleaning tips work for wired headphones too!).
We recommend that you repeat this cleaning process every once a month or so.
What You’ll Need To Get Started
Fortunately, everything you need to clean your wireless noise-cancelling headphones can be easily found around the house. For picking and scraping debris out of any hard to reach spots, you will need a paper clip, cotton buds, and a soft, clean toothbrush – if you have one spare.
For wiping muck off, we recommend unscented, alcohol-free baby wipes, but if you don’t have any of those, a warm, damp towel with a few tiny drops of washing-up liquid on it will also do the trick.
You also need to have a second towel to hand for drying, and ideally a microfibre cloth that won’t leave behind any dust or stray fibres.
In more extreme cases, a can of compressed air, rubbing alcohol or hydrogen peroxide might be necessary, but that is a situation that we hope you will avoid after reading this guide to cleaning your dirty headphones!
Important!
Before we begin, unless explicitly stated, no type of headphones should ever be submerged in water – even those models marketed as «water-resistant».
When cleaning your headphones, it’s also a good idea to consult some headset information and headset comparison guides to ensure you’re using the most suitable cleaning methods for your specific model.
Be sure to keep or apply any moisture to only the outer parts, be very careful not to let any interior/electrical parts to come into contact with any liquids.
The Outer-Casing/Headband
To clean the outer-casing and headband, use baby wipes or a warm, damp towel with a little bit of washing up liquid on it. Pay closest attention to the areas that rest on your hair or skin.
If your dirty headphones have removable ear pads, take them off and clean them separately.
Earpads
To clean your earpads, remove them and give them a gentle wipe down with a dry towel or a brush to remove any build-ups of dirt on the surface.
Then give them a once over with baby wipes or a damp soapy towel. Use a cotton bud to get to any hard-to-reach places in the folds, and around the stitching.
Rubbing alcohol or hand sanitiser can be used to clean the surface of the foam mesh. This helps to kill off bacteria that could have colonised your ear pads, and should dislodge any dirt or grime.
When you’re finished, dry your earpads with paper towel and leave them out to dry off properly before re-attaching them.
Most over-ear and on-ear noise cancelling headphones have screens protecting the drivers. If the screens look filthy, position them face-down and use a soft toothbrush to gently clean them off.
Be careful not to press to hard on the screens, you might damage them, or send the bristles from the brush into the drivers. If the screens are removable, take them out and clean them separately.
Dealing with Earwax/Grime
Wireless noise-cancelling headphones manufacturer Bose recommends the use of hydrogen peroxide to remove earwax from the driver screens.
Dab some 3% solution onto a cotton bud, and slightly dampen the surface. Make sure you don’t let the solution sit on your wireless headphones too long, as even at such a low concentration, hydrogen peroxide can cause bleaching and discolouration.
Further Cleaning Tips:
1) Cleaning headphone jacks
Most wireless noise cancelling headphones also have jacks to provide a “wired” option, and they easily get clogged by bits of fluff and dust.
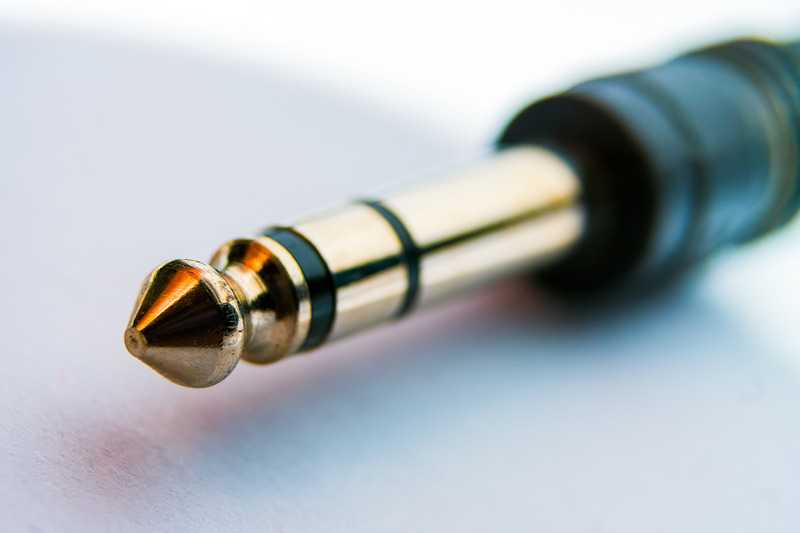
A short blast from a can of compressed air is the quickest and most pain-free way of clearing it all out. If you don’t have a can of compressed air lying around (who does?), you can also use a bent paper clip with some double-sided tape on it.
Insert it carefully and very lightly brush around the inside of the jack, until you are sure you have cleaned it out. Be as gentle as possible with this method, as you run the risk of damaging the headphone jack if you are too rough with it.
2) Smell ya later!
Ever had a whiff of that funky unwashed gym kit smell from your dirty headphones? This could be a result of mould growing on your cans after lots of use.
Placing silica gel packets in the ear cups when you put your headphones away can help reduce this issue. If this doesn’t help, it is definitely time to replace your earpads (don’t be afraid to dive into the third-party market to save cash, just make sure you read any product reviews carefully).
3) Wax on, wax off
If your ears are clean, not only will you be able to hear better, and your ears will itch less, but there will be less ear wax to potentially fall out onto your headphones, and that means less for you to clean in the future.
And there you have it! We hope this short guide to cleaning your wireless noise cancelling headphones will help you get the most out of them, and give their longevity a welcome boost.
Repeat these simple steps whenever you need to and your headphones will be sounding as good as new.
If you decide your current cans are far too dirty or dated, and are considering buying a new pair, our ultimate guide to the best noise-cancelling headphones will put you in good stead to ensure you buy the best noise-cancelling headphones for your needs and budget.
BONUS TIP:
Noise can have a drastic impact on productivity and concentration. If you regularly use (or plan on using) wireless noise-cancelling headphones when making calls over the Internet, then you should definitely check out Krisp.
This nifty noise cancelling app filters out pesky background noise at both ends, leading to a significant boost in the quality of your calls. Try it for yourself, and let us know how you get on in the comments!
How often do you clean your headphones? Do you have any handy tips to share about cleaning noise-cancelling headphones? Let us know in the comments section below…

![How to Clean Dirty Headphones [ANC Headphones too!]](https://krisp.ai/blog/wp-content/uploads/2019/04/How-to-Clean-Noise-Cancelling-headphones-April-26-1.jpg)