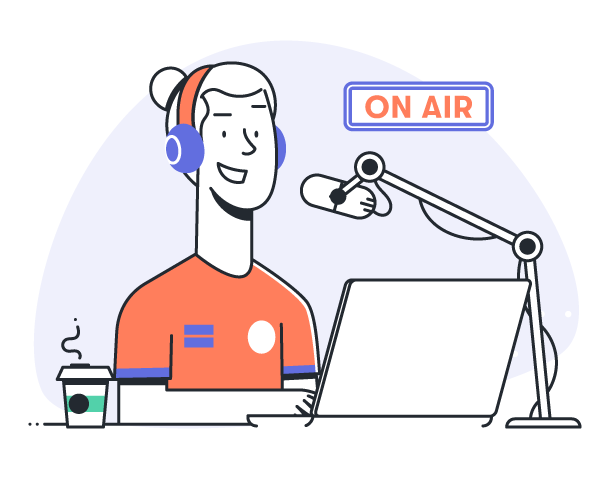
Nailing the quality of your audio recording from the start can guarantee the success of your podcast, online course, or presentation. After all, you’ll likely need audio snippets for any creative project you have, even if you’re just looking to start capturing audio for video purposes. And most often, relying on your equipment alone won’t do the trick.
If you’re just getting started with your first recording, we’ve got the best audio recording tips for you. Stick to all of them for a studio-like audio quality that requires minimal post-production editing.
Remove background noises and echoes as you record
Post-production audio editing can only go so far. So the first step to improve the audio quality is to record without interruptions and remove background noises during production.
Krisp is a noise-cancelling app that automatically blocks background sounds and echoes [both room and acoustic ones]. The built-in HD voice feature also ensures you’ll end up with a high-quality recording at the end that requires no further editing.
Here’s the tool in action:
Krisp works with any audio recording tool that allows you to set it as the audio input. Plus, you can use it during live meetings in your video conferencing tool of choice so you can record these without the distraction.
The right microphone can save the day
Examples of popular microphone choices for recording audio podcasts, interviews, and snippets include:
Samson Q2U Recording and Podcasting Pack – for beginners
Rode NT1-A – a complete package for all audio-recording purposes
Shure SM58-LC Cardioid Dynamic Vocal Microphone – your go-to pick for recording vocals
Note that all of these are directional microphones. These are preferred when recording yourself as they pick up the sound from a specific area, reducing the background noises they pick up.
Extra tip: Cover your mic with a cotton ball to remove the annoying “B” and “P” popping sounds that are much more difficult to remove during editing. You can also get just about any pop filter screen for a pro setting and no more worries.
From the various online course reviews I’ve read throughout my career, I can tell you one thing: people are annoyed by the sounds you make. And studies show the same importance of voice and audio quality for getting the listener’s trust.
While you can’t control the way your voice sounds, you can learn to adapt your breathing so listeners won’t be prompted to leave a video because they find it too annoying to stick through. Imagine reading a blog post with a bright neon background. This is the same experience breathing could create with audio.
Try a couple of test recordings to spot any breathing patterns that might influence the way your speech sounds. Change up your positioning and your distance from the mic throughout these trials to see when your breathing is affected.
Be aware of mic distance
The differences from sitting 12 or 3 inches away from your mic might not be noticeable at first. For professional recordings, try to keep the mic at around 3 inches though. What matters the most for your audience is keeping this distance consistent. So if you’re starting recording a podcast at 6 inches, keep that throughout the whole recording.
Proper mic distance will also prevent sibilance overload. The farther the mic, the lower the chance for the microphone to collect sibilant frequencies.
Also place your mic at the same height as your mouth. Even if you don’t have a unidirectional microphone, this will allow the mic to pick up only the sounds of your voice without background chatter.
Fun tip: Just like you’re keeping the mic distance similar, be wary of your voice tone too. You can have a specific style or tone for the narration sections and switch to a casual one for interviews and conversations. If you need a reminder for this, note down some cues in your script that will let you when to speak slowly or take a dramatic pause.
Pre-production time!
Set up the right environment, far from noises or open windows where the wind could cover up your words. Quiet surroundings ensure there are no noises to worry about throughout the recording.
As a last-resort solution, try to record your audio from a closet room. This is a temporary measure you can take if you don’t want to complicate your life with wall soundproof padding. The clothes will dampen the sound waves. You can get a similar effect if you place a soft material like a blanket on top of your desk and other hard surfaces in your “recording room”. Portable vocal booths will also do the trick and they’re easy to move around.
Find hidden noise sources
Beyond obvious background noises caused by children having fun on the street or your neighbor trying their hand at a new hobby, it’s the hidden noise sources that seed frustration during editing.
Keyboard typing
Computer fans
Random buzzing and cracking of your furniture or electronic devices
The sound of your mouse on the surface of a desk
Fluorescent lights
Water bottles randomly popping just because they can
Your backpack crashing all of a sudden just because you didn’t place it correctly
These are just a couple of neglected noise sources you can change up by switching your environment or replacing your water bottle with a glass one instead. I personally move to an entirely different room where there are no electronics to buzz around and create unnecessary white noise for my recordings.
Extra tip: You can record a sample before you start the official recording to spot any noises you might have missed. I always do this before recording my courses when there’s just too much noise around to see if it will be picked up by my mic.
Warm up your voice [and mood]
There’s a HUGE difference between recording when you’re excited to do so and just doing it for the sake of getting the task done. My best advice is to postpone your recording if you don’t feel like you’ll do a good job that day.
Feeling down or tired is normal and, as long as you’re not going to cancel your recording plans altogether, taking a break is a huge win for your final audio files. Once you’re eager to do the recording you’re more likely to give your best, go into the details of a topic, and avoid making mistakes like forgetting to record a section or mention an important aspect.
Even if you’re not a singer, warming up your voice changes the recording’s vibe and helps you maintain a similar tone throughout all recordings. I’ve tried recording as soon as I woke up and the difference, when compared to a regular audio file, is definitely there. So try a couple of tongue twisters or diction exercises, stretch a bit, and make sure you stay hydrated.
Add extra wind protection when recording outside
Need to interview someone on-location and the weather’s not helping you?
Here are some tricks professionals use when recording audio for movies in the cruelest of conditions:
Turn on your mic’s low-cut filter
Use your own body to block the wind
Get yourself a windscreen muff [works on lavaliers and camera mics too]
You can also try to conceal your mic or hold the interview from a place where the wind can’t directly impact the recording.
Keep an eye on the volume levels
This shouldn’t be a problem if you can maintain the same distance from your mic. However, keeping track of your volume is easy as most audio recording tools will display the volume level through a green-yellow-red scale.
I tend to test this before recording by having a test run and seeing if my usual tone will be too high. Note that most audio editing tools will have an option to restore audio. Problem is that if it’s too low, it’s almost impossible to bring it back to the same volume level as the rest of the recording. So you’ll have to re-record that part.
Put it all in your script
When I first got started with recording courses I would write my script with lots of abbreviations and symbols. Do you think I still knew what these meant by the time I had to record? Of course, not.
So besides cues on how to set your tone, make sure you note everything in the script. Things can get tricky though so here are my best tips for maintaining an audio recording-friendly script:
Establish different formatting for what you’re supposed to say and your cues. You can have the cues written in a smaller font size of a different color and within brackets.
Add enough white space. Write every new idea on a separate paragraph so you don’t jump from one point to another without breaks.
Practice your script beforehand and take notes of things you want to improve: breathing, tone, more breaks, phrasing, etc.
Record with headphones on
Got guests? If you’re recording a conversation via a video conferencing tool you’ll want to use headphones so your mic doesn’t pick up what they’re saying too. You can plug your headphones into a camera to hear what others are hearing. This lets you tell if your or your guest’s tone is ok or you need to speak louder — works as an audio self-check too.
Extra tip for recording with guests: Refrain from saying confirmatory words like “sure”, “yeah”, and “of course” when a guest is speaking. Make it a habit to just nod as a confirmation sign. You can even mute yourself when you’re not speaking. Saves you dozens of editing minutes.
Record separate tracks
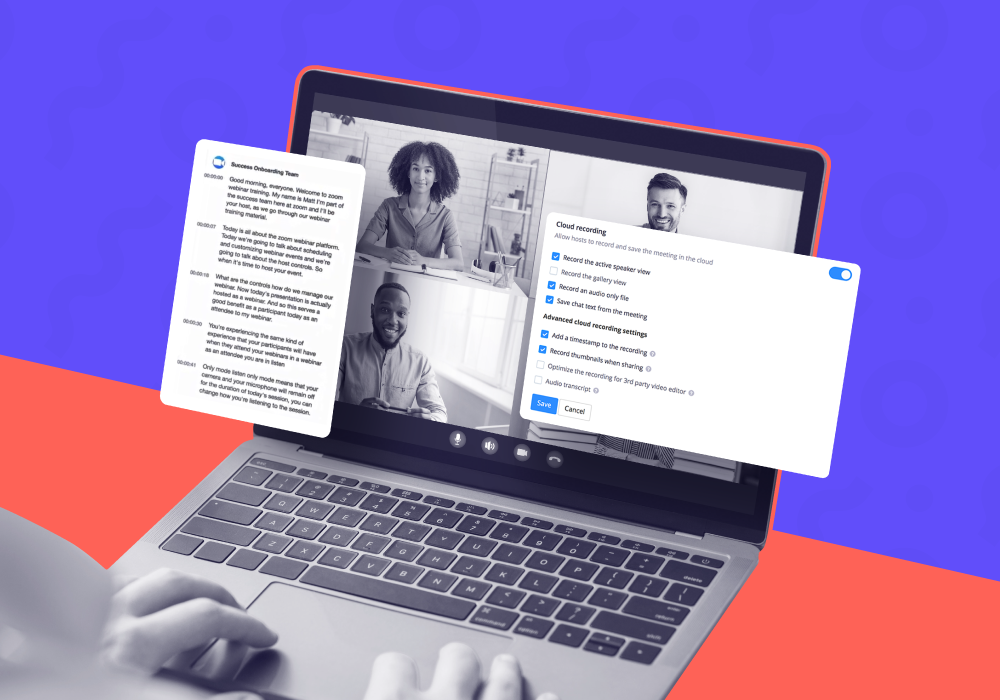
Have no choice but to record via Zoom?
Ideally, you should have two separate audios you record locally and sync these at the end. This ensures both the host and participants of a conversation are using the best equipment they have. Sticking to Zoom would result in lower audio quality and less power over the audio’s volume. So there’s no reason not to record each person independently.
Consider Zoom alternatives like Riverside.fm, SquadCast, or Zencastr. These act as a virtual studio where guests can join and have a quick tech check in the waiting room. Through these, hosts receive better insights on the status of a guest’s equipment, controlling the volume of someone’s audio so all final snippets are similar.
Add cues or silence time in-between sections
I personally find it ten times easier to edit audio when I’ve got some cues or just long silence time between certain sections. This lets you spot where a new section starts and prevents the audio from getting clipped. Plus, your speech won’t seem rushed after you edit the blank spaces because you’ve got enough silence time to work with. You can even copy this silence time and add it where it’s missing.
Made a mistake? I just take a longer break and restart the sentence or idea. Once I’m editing the audio I’ll know to keep an eye on the longer silence time.
Don’t worry too much
Forgot to record with noise cancelling on? You can always cover background buzzing with ambient sounds or a background song on low volume. Most people won’t be bothered by this as long as what you and your guests are saying is intelligible.
A podcast interview doesn’t end with the audio recording alone. Read more tips for recording a podcast to find out why boosting your bandwidth or using sound effects sparingly is important.