GoToMeeting desktop app is within the video conferencing vertical and regularly competes with Uberconference, WebEx, Zoom, and others for the love of remote teams and freelancers across the world.
As a reminder all conferencing applications available on Mac and Windows operating systems can be teamed with Krisp, a noise cancellation solution which mutes background noise during calls. The software is easy to use, free to download, and will ensure your team meetings go without avoidable distraction.
In this entry, we’ll go through how teams can get started with GoToMeeting. So, let’s get to it!
Signing Up
Once at the GoToMeeting website, head on over to pricing (which can be found on the upper right-hand portion of the screen) and select the option which best suits your team needs. You may also be prompted to try a two-week free trial. It never hurts to use a free trial, so have at it if you want to give the platform a test run.

After that, you’re ready to log in.
Logging In
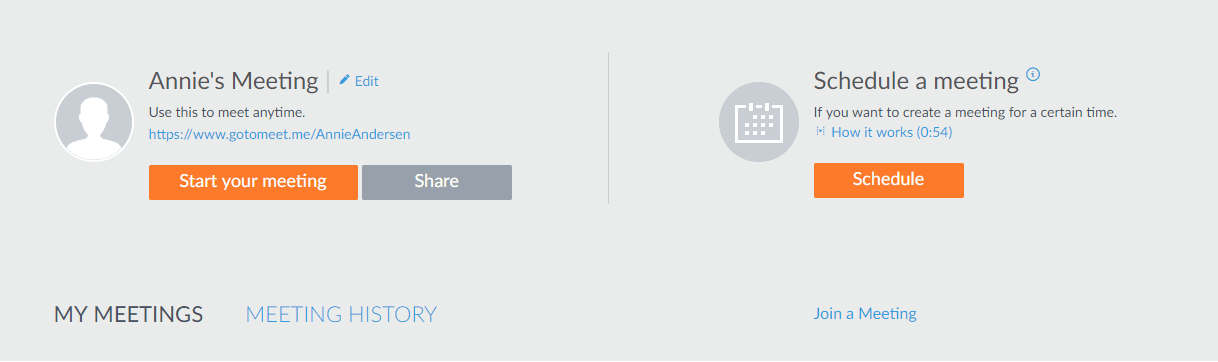
If you’re using a desktop or laptop, logging into GoToMeeting desktop app with your username and password will be necessary to launch a meeting.
You can do so by clicking ‘sign in now’ in the upper right-hand corner of the GoToMeeting website. Of note, meeting attendees will only need to sign in if a meeting is password protected.
Adjusting The Audio
Upon first joining, users will be prompted to choose the method in which they would like to listen to the meeting audio. Like other conferencing platforms the options are through your personal computer or a mobile device. Once inside the meeting, you can adjust the audio mode by using the ‘Audio’ tab.
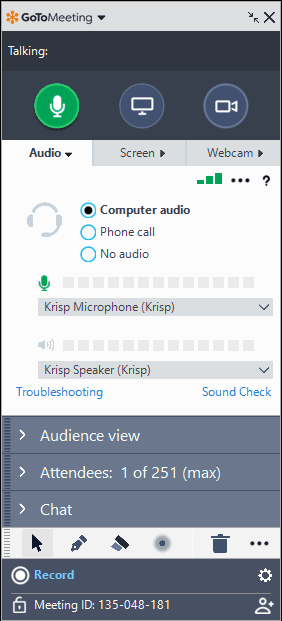
Users can mute and unmute themselves by using the Audio button at the top of their ‘Control Panel’ or ‘Grab Tab.’ Per usual, the button looks like a microphone when connected using the computer and a phone icon when using a mobile device.
Managing And Inviting Attendees
You can invite attendees by providing them with the ‘Join URL’ or the 9-digit meeting ID. By clicking the ‘invite’ button at the bottom right of the ‘Attendees’ panel hosts will be able to invite their team members by email or copying the ‘Join URL.’
The ‘Attendees’ panel allows hosts to see the participants currently within the meeting. Clicking the arrow icon next to a participant’s name allows the host to mute their audio, promote a user to co-organizer, allow them to use various tools, and other options.
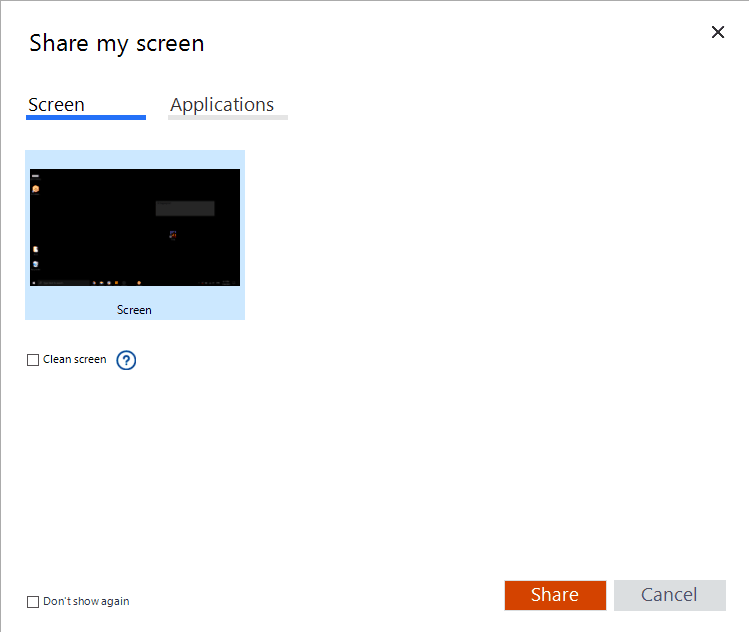
Screen Sharing
If a host needs to share their screen during a conference, GoToMeeting can make that happen. Simply click on the screen button in the ‘Control Panel’ or ‘Grab Tab’ to start (and stop) screen sharing. The ‘Start sharing my,’ ‘Change Presenter to,’ and ‘Share keyboard & mouse with’ menus to unlock further unique presentation options.
Record Meeting
GoToMeeting destkop app record feature also captures shared screens and all live audio captured during the meeting. Meaning, using Krisp to block out all background noise would be a pretty good option 😉
Any who clicking ‘Record this meeting’ at the bottom of the ‘Control Panel’ will begin the process. Once the meeting has ended, you will have the option to covert the recording to a playable format.
Minimize Control Panel To Grab Tab
What’s this ‘Grab Tab’ thing I’ve been talking about? Well, if you want to save space on your screen, choosing to minimize the full ‘Control Panel’ will transform the menu into what is called ‘Grab Tab’ which will attach itself to the sides of your screen. The arrow icons are used to collapse and expand the ‘Control Panel.’

‘Grab Tab’ allows easy access to Audi, Screen, and Webcam options, while you remain notified of new incoming messages.
There you go, you’re now all set with the basic understanding of GoToMeeting functions. Go run and take advantage of the free trial and run several test meetings to see if you enjoy it more than some of its competitors.