Meeting minutes for a nonprofit board are written records of what was discussed, decided, and done during board meetings. They act as the official log of the board’s work and help ensure that everything is clear and transparent to everyone involved, like donors, regulators, and the public. When learning how to take minutes for a nonprofit board meeting, it’s crucial to document decisions and actions accurately, as these records provide accountability and serve as an essential reference for future board governance.
Here’s why they’re important:
- Legal Requirement: In many places, nonprofits are required by law to keep accurate minutes. These can be useful if there’s ever a legal issue or if regulators need to review the organization’s activities.
- Accountability: Nonprofits handle donations and grants, so it’s important to show how they’re being used. Meeting minutes help keep everything transparent and demonstrate that the board is doing what it’s supposed to.
- Historical Record: Minutes offer a running history of the nonprofit’s decisions and actions, which can be helpful for new board members or if the organization is ever audited.
- Tracking Decisions: By recording votes and key decisions, minutes ensure there’s a clear reference for why things were done a certain way, making future decisions easier.
- Bylaws Compliance: Minutes also help show that the board is sticking to the nonprofit’s bylaws and legal obligations, protecting the organization from potential issues down the road.
For nonprofits, having solid meeting minutes builds trust and shows that they’re managing resources responsibly and staying true to their mission.
Step 1: Prepare Before the Meeting
Before the meeting, take some time to go through the agenda and any documents that come with it. This helps you get a good grasp of the main topics that will be covered, so you can stay on track and capture the important stuff. Knowing what’s on the agenda also lets you get a feel for how the meeting will flow and where big decisions or action items might pop up.
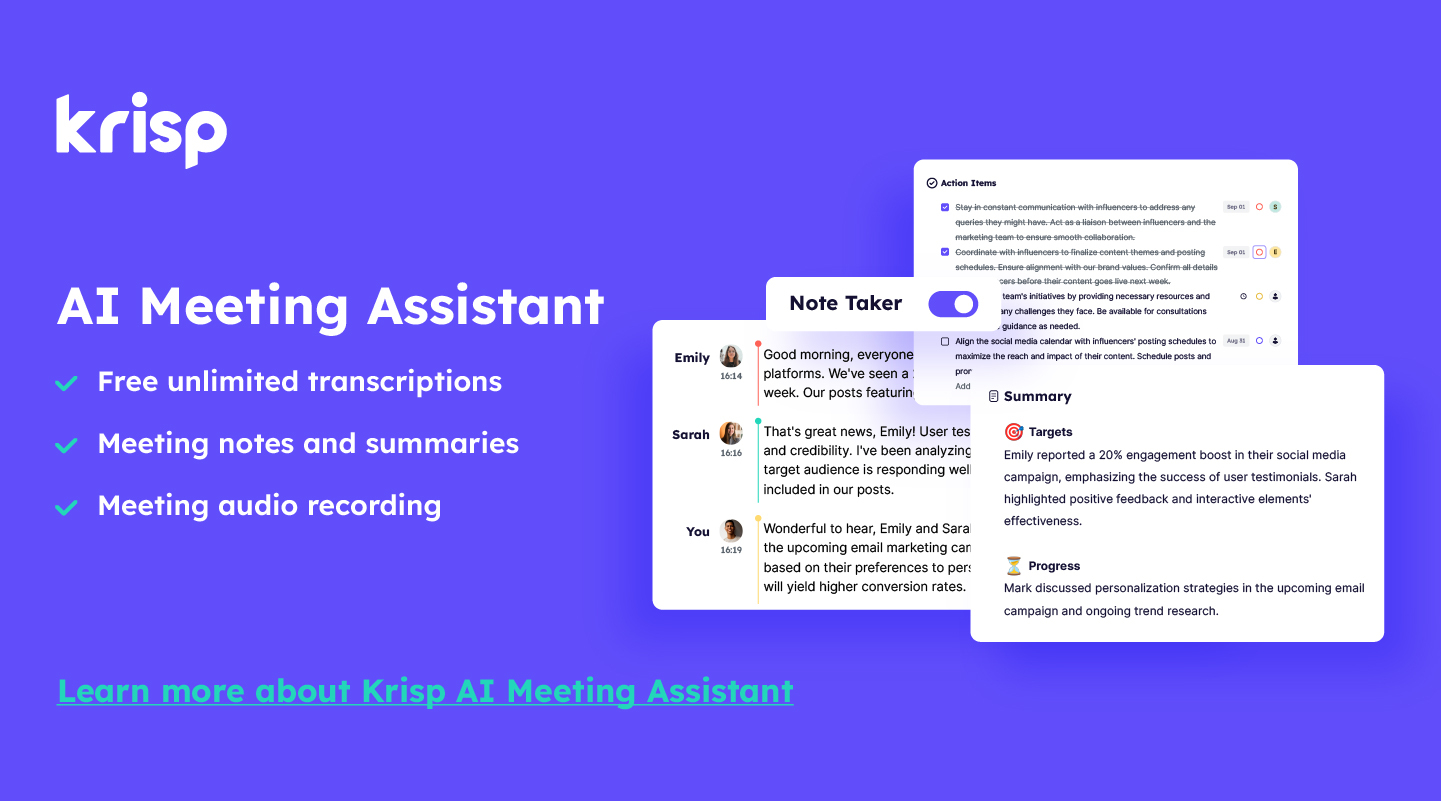
Well-prepared meeting minutes templates can make the process of note-taking significantly more efficient. If you want to go beyond templates, best AI meeting minutes apps can auto-structure minutes with decisions, motions, and action items. By using a structured format, you ensure that all critical points such as decisions, assigned tasks, and key discussions are consistently captured. A template helps avoid missing important details and makes it easier to organize the minutes in a clear and professional manner. However, it’s natural to feel uncertain about what to expect before the meeting, which is why using Krisp can track the meeting in real time.
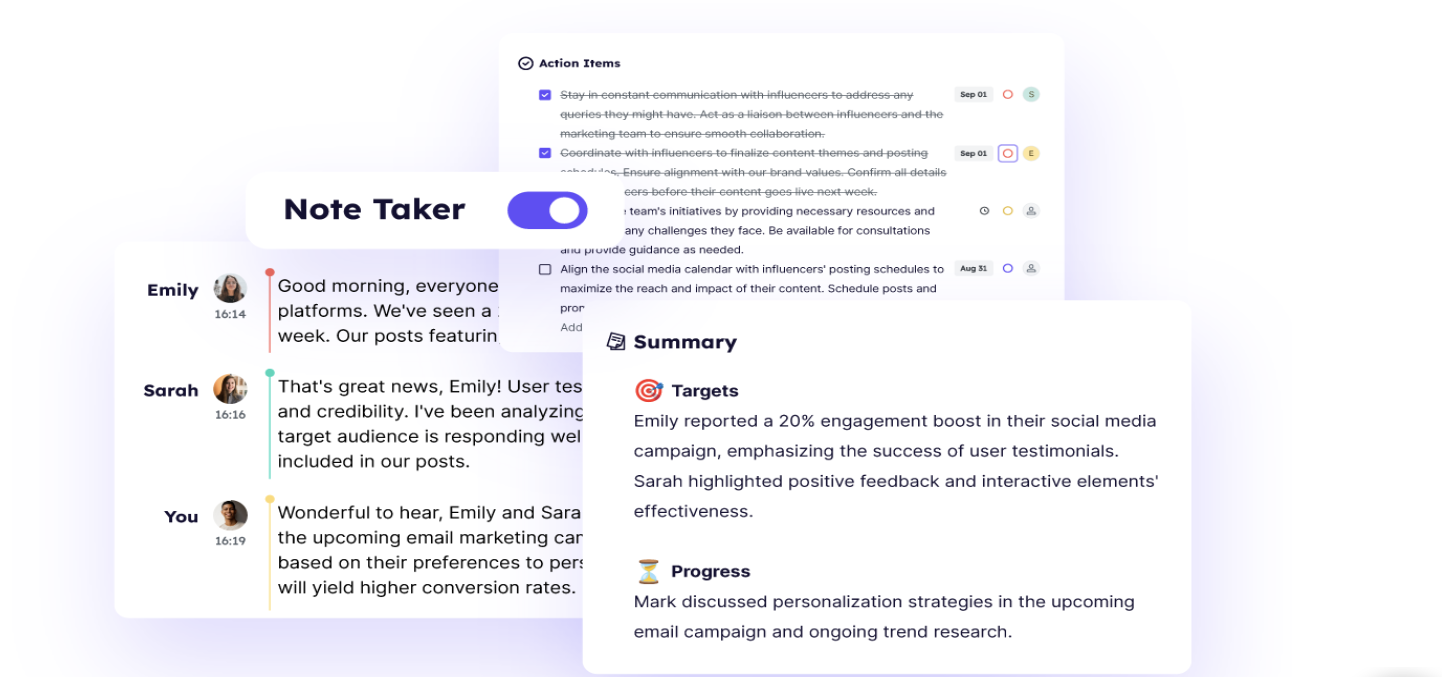
Krisp automatically generates minutes and outlines key points after the meeting, helping you organize discussions. This not only simplifies the minutes and note-taking process but also enhances the post-meeting study, as attendees and non-attendees alike will benefit from the clarity, uniformity, and AI-generated insights.
As for the attendees, it’s helpful to know who’s going to be there, including board members, key decision-makers, and guests. Understanding their roles can help you track the conversation better and make sure everyone’s contributions are accurately noted. Plus, knowing who’s attending can help you anticipate which areas they might focus on or where their expertise will come in handy, making it easier to attribute tasks or decisions.
Step 2: Record the Meeting Start Time
When the meeting officially begins, note the start time. Using Krisp for recording ensures that this crucial moment is accurately captured, with no distractions from background noise or missed details.
Why use Krisp for recording the meeting?
- Filters out background noise, ensuring clear and focused audio recordings.
- Isolates the speaker’s voice, eliminating unwanted background voices from the recording.
- Removes echoes, delivering crisp and clear audio that is easier to transcribe.
- Works seamlessly with various meeting apps. Maintains natural voice quality, crucial for accurate note-taking.
- Automatically generates meeting summaries, discussion points and action items you can share with other participants, ensuring everyone stays informed and aligned
- Easily automate note-taking by connecting Krisp with your Google Meet, Teams and Zoom calendar.
- Calendar access also enables automatic speaker identification, leading to more accurate transcripts.
Keeping track of who’s present at the meeting is a crucial part of the record-keeping process. Normally, this can involve manually checking names and taking notes, but Krisp simplifies this task by automatically identifying speakers and helping you keep accurate attendance records.
Step 3: Follow the Agenda
Once the meeting begins, it’s important to stay on track by following the agenda and accurately documenting key components, including the approval of previous minutes, reports, discussion points, and decisions or motions made. This ensures all important details are captured and any action items are clearly assigned.
- Approval of Previous Minutes: Make a note of whether the previous meeting’s minutes were approved or if any changes were made. If there are any amendments, document them clearly.
- Reports: Use AI tools to automatically summarize the key points of any reports presented during the nonprofit board meeting, such as financial reports, committee updates, or operational updates. Many top AI note taking apps also generate searchable transcripts and speaker-labeled notes, which makes board documentation easier to review later. AI Meeting Assistants such as Krisp, highlight essential information that reflects the board’s decisions or discussions, ensuring clarity and relevance for future reference. This approach ensures that the minutes remain concise and easy to review while capturing the core information from the reports.
- Decisions and Motions: Let the AI tools identify and note who proposed it, who seconded it, and the result (approved, rejected, or tabled). Krisp makes sure to clearly document what decisions were made and who is responsible for any follow-up action items or tasks assigned to individuals or committees
Step 4: Track Actions and Deadlines
As tasks come up during the meeting, it’s important to record them, along with who’s responsible for each one. Make sure to note any deadlines or timelines that were discussed so everyone knows when things need to get done. Krisp makes this easy by automatically generating meeting notes and action items after the meeting is done, so you can focus on the conversation without worrying about missing anything. With Krisp, everyone gets a clear summary of what they need to do and by when, making follow-ups a breeze and keeping everyone accountable.
When it comes to voting, make sure to clearly document the results. This means noting how many people voted for, against or chose to abstain. Keeping track of this helps make the decision-making process transparent, so everyone is clear on the outcome. Plus, it helps avoid any confusion later about what was agreed on during the meeting.
Step 5: Record the Meeting End Time
As the meeting concludes, make sure to record the exact time it ends, along with noting who moved to adjourn the session. This provides a clear and accurate record of the meeting’s duration and ensures that the conclusion is properly documented for future reference. Including these details helps maintain a complete and professional meeting log from beginning to end.
Step 6: Finalize the Draft
When learning how to take minutes for a nonprofit board meeting, it’s important to focus on objectivity, avoiding personal opinions or subjective interpretations. By reviewing the minutes with a fresh perspective, you’ll be able to identify any gaps or inconsistencies, ensuring that the minutes are a true and fair representation of the meeting. This step is key in maintaining professionalism and transparency in nonprofit board documentation.
Once your notes have been reviewed, the next step is to organize them clearly and logically.
- Use Clear Headings and Subheadings: Organize the minutes with clear headings, such as “Call to Order,” “Reports,” “Discussions,” and “Decisions,” to structure the document logically.
- Keep it Chronological: Arrange the minutes in the order the meeting followed, ensuring that all discussions, reports, and decisions flow naturally from start to finish.
- Highlight Key Points: Use bullet points or numbered lists for major decisions or action items to make them stand out and easy to reference.
- Consistent Formatting: Apply consistent formatting styles throughout, like bold or underlined text for headings, and standard fonts and sizes, to make the minutes look professional and easy to read.
- Include Timestamps: Adding time stamps for key sections, such as when the meeting started, when reports were presented, or when motions were made, helps track the flow and duration of the meeting.
- Attach Relevant Documents: If there were any presentations or reports shared during the meeting, make sure to attach or reference them in the minutes for easy access.
Before the next meeting, it’s a good idea to share the draft minutes with the board members or participants for their review. This gives everyone a chance to confirm that the notes capture what was discussed and suggest any corrections or changes if needed. Sending the minutes around in advance helps finalize them for the official record and ensures that everyone’s on the same page about decisions made and the next steps. It’s an easy way to keep things transparent and make sure the minutes are accurate for future reference.
An alternative to handling all these steps manually, you can streamline the process with Krisp. Its AI Meeting Assistant automatically captures discussions, organizes them with clear timestamps, identifies key action items, and generates structured summaries you can share instantly. This saves time, reduces errors, and makes meetings more productive and efficient.
Step 7: File and Store the Minutes
After the board minutes are reviewed and approved, they become the official record of the board’s decisions. It’s essential to store them securely for future reference, ensuring they can be easily retrieved for audits, reviews, or follow-up actions. Using a secure system—whether digital or physical—not only maintains the confidentiality and integrity of the records but also ensures the organization for quick access when needed.
In line with this, if audio recordings were part of the minute-taking process, tools like Krisp ensure privacy and security. Krisp processes audio locally on your device, meaning no audio data is stored or shared externally. Its use of advanced encryption protocols further ensures the security of audio data. By using such tools, both your written and audio records are safeguarded against unauthorized access, maintaining their confidentiality and integrity.
FAQ
1. Prepare a template based on the meeting agenda.
2. Record the meeting start time, attendee names, and any approvals of previous minutes.
3. Summarize reports, discussions, decisions, and motions, noting who proposed and seconded them.
4. Capture action items, including deadlines and responsible individuals.
5. Record voting results and ensure the meeting end time is noted.
6. Review and finalize the draft, ensuring it’s organized and objective.