Are you tired of juggling multiple apps just to schedule a Zoom meeting? We’ve all been there—constantly switching between Google Calendar and Zoom, trying to keep everything organized. Wouldn’t it be easier if you could add Zoom directly to Google Calendar? Well, good news! Integrating Zoom with Google Calendar not only saves you time but also keeps everything in one place, so scheduling becomes a breeze.
In this guide, we’ll walk you through exactly how to set up Zoom in Google Calendar. By the end, you’ll be able to create Zoom meetings right from your calendar with just a few clicks. Plus, if you’re looking to elevate your meetings even further, we’ll show you how Krisp can step in to boost your Zoom experience with noise cancellation, transcription, and free AI meeting note taker features. Imagine having seamless scheduling and high-quality, distraction-free meetings at your fingertips.
So, whether you’re managing a packed schedule or simply want a more efficient way to organize your virtual meetings, this guide has got you covered. Let’s dive into the steps and get your Google Calendar set up for easy Zoom meetings!
Adding Zoom to Google Calendar: Step-by-Step Guide
Step 1: Install the Zoom for Google Calendar Add-On
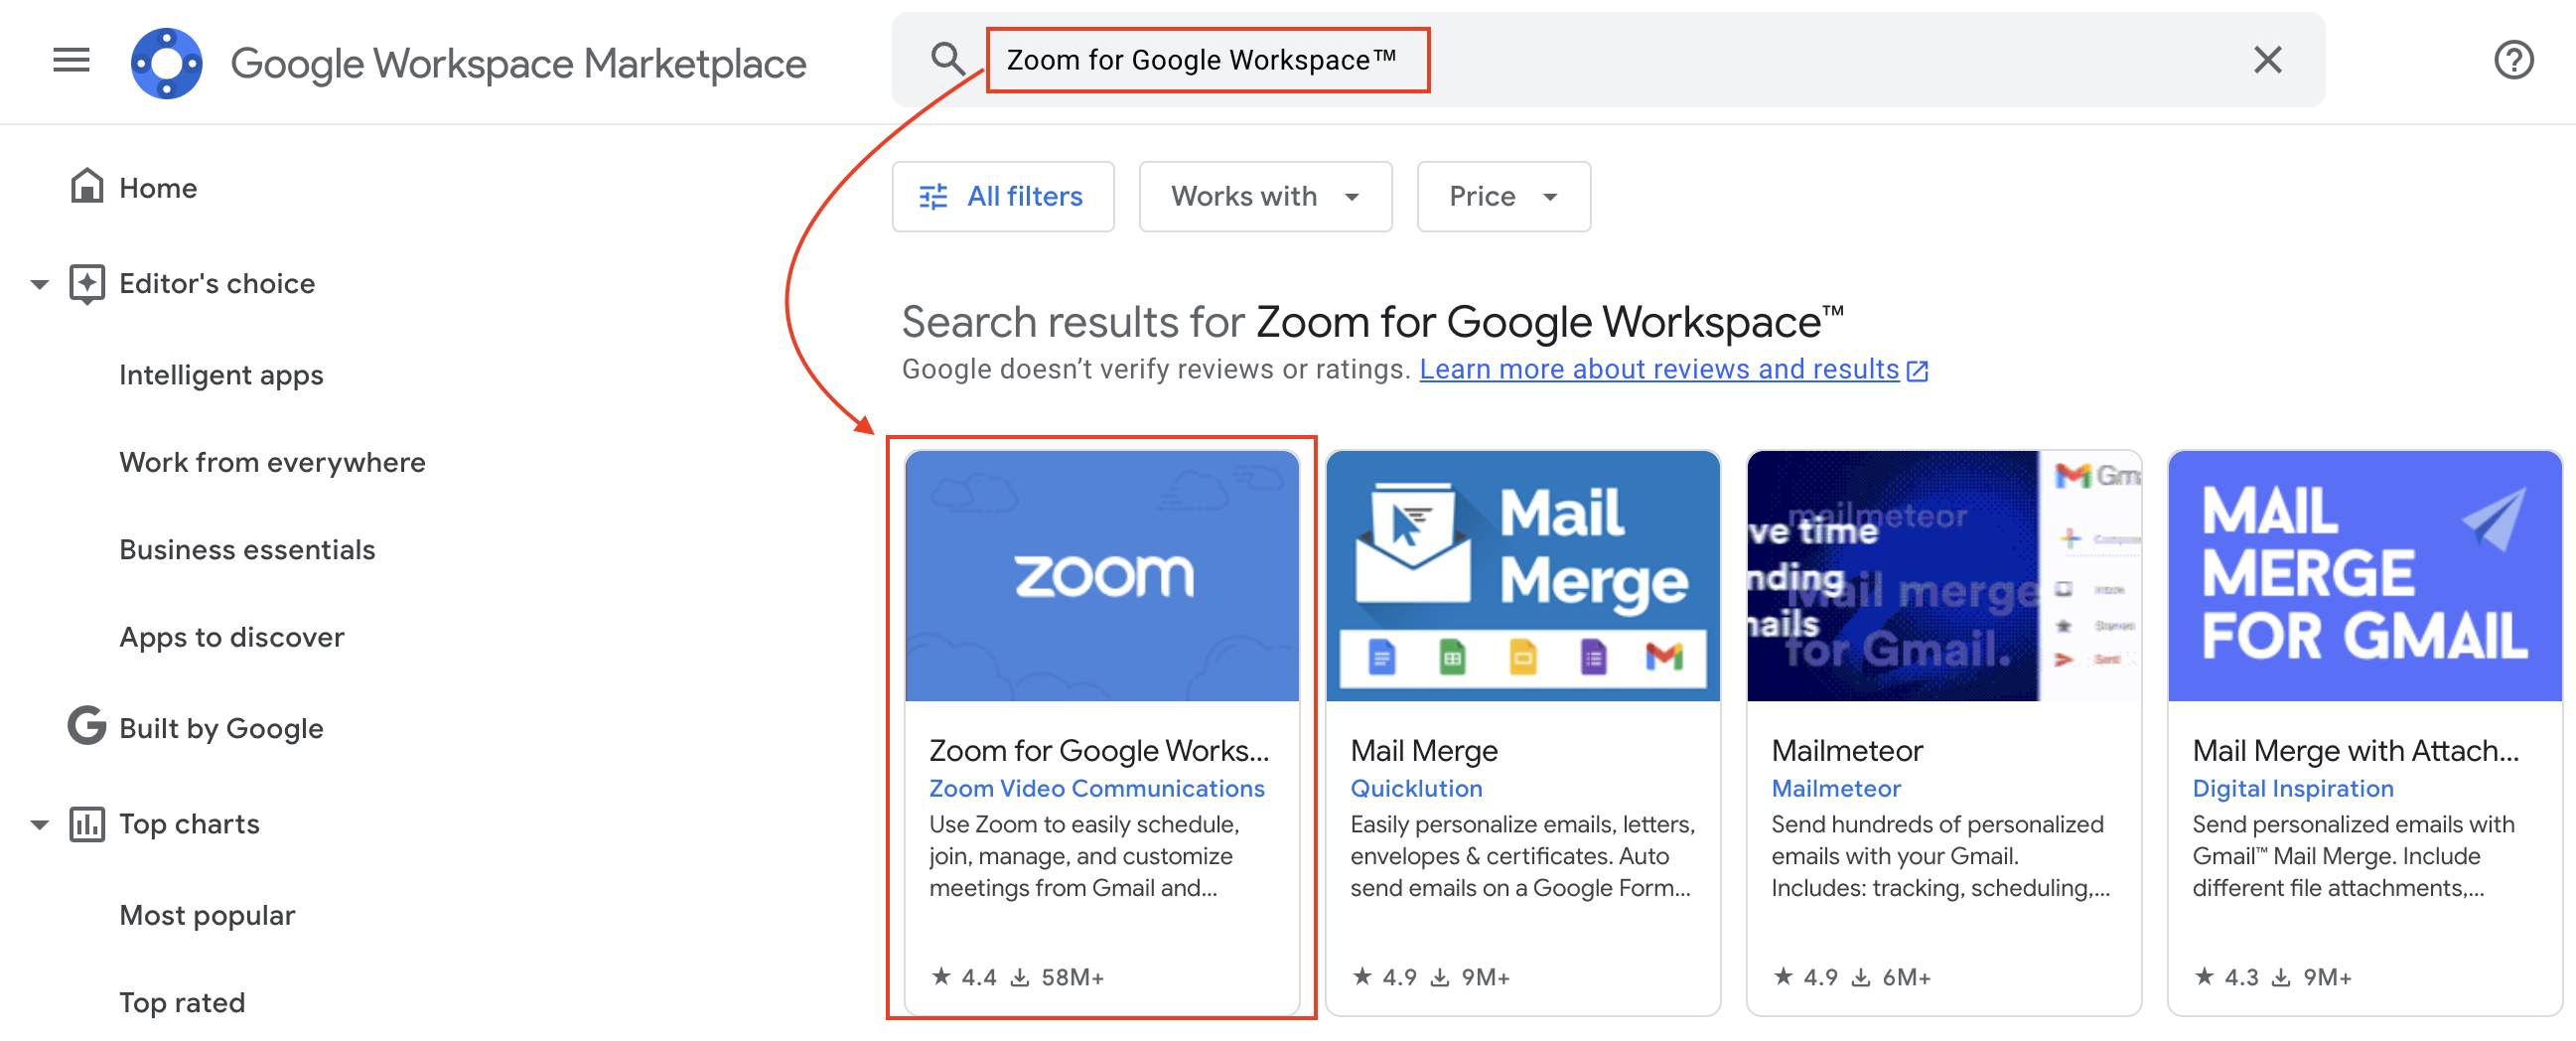
- Go to the Google Workspace Marketplace and search for “Zoom for Google Calendar.”
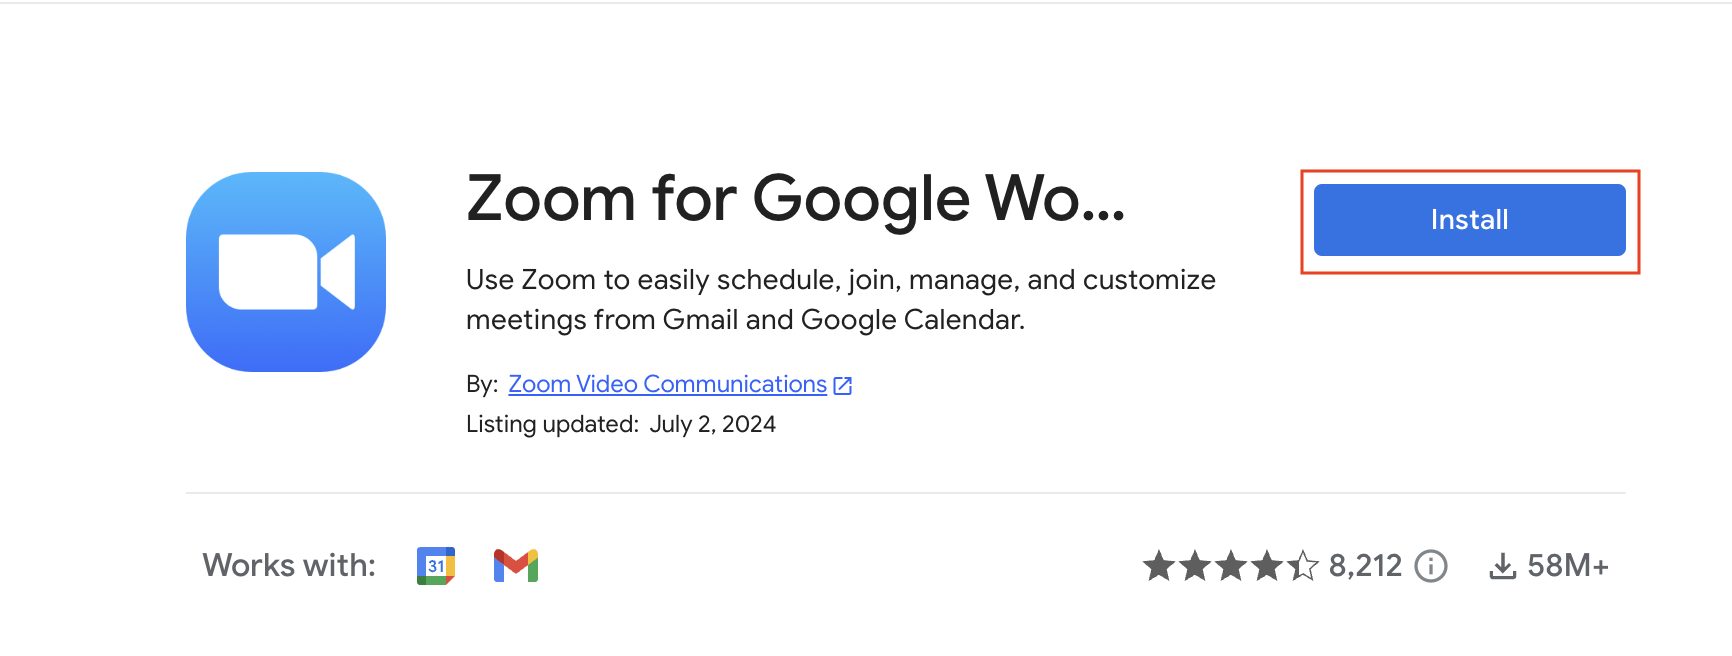
- Click on the Zoom add-on and select Install. Follow the prompts to give the necessary permissions.

Step 2: Sign In to Your Zoom Account
- After installing, go to Google Calendar and open a new or existing event.
- Click on the Zoom icon in the event details.
- When prompted, sign in to your Zoom account, and authorize the connection between Google Calendar and Zoom.
Step 3: Set Up Zoom Meeting for Google Calendar Events
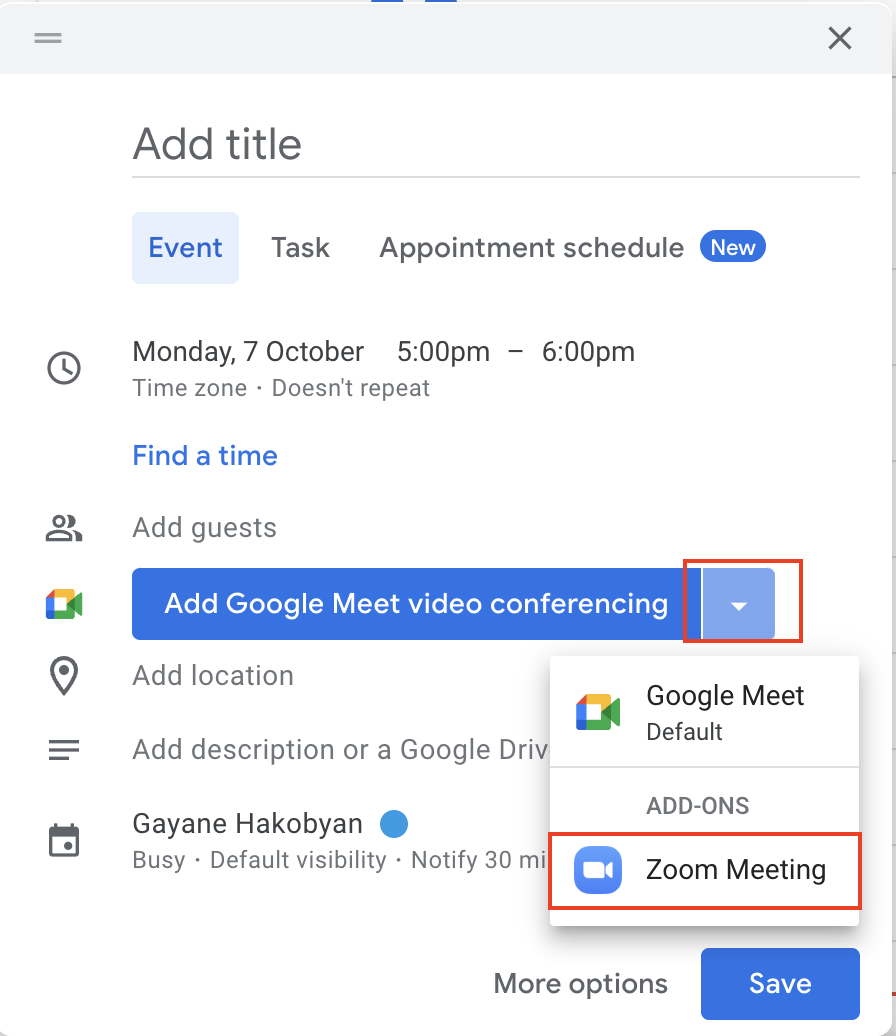
- In your Google Calendar event, click Add Conferencing and select Zoom Meeting to schedule the event.
- Zoom will automatically generate a meeting link that gets added to the event.
- Adjust meeting details (like meeting time, description, and participants).

Step 4: Save and Share the Event
- Click Save once all details are set up. Google Calendar will send invitations to all participants with the Zoom link included.
- When the event time arrives, simply click the Zoom link in Google Calendar to join the meeting.
Manage Zoom Meetings in Google Calendar
Once you’ve got Zoom linked with Google Calendar, managing your meetings is a breeze! Here’s how to make the most of it:
- Edit Meeting Details: Just open any event that has a Zoom link, and you can adjust the time, date, or participants directly from Google Calendar. It’ll update automatically in Zoom as well.
- Set Reminders: Use Google Calendar’s reminder features to stay on top of your schedule. You can set up notifications to give you a heads-up before your meetings start.
- Make It Recurring: If you have regular meetings, set them up to repeat by customizing the Recurrence settings in Google Calendar. Zoom will automatically link each instance of the meeting, so you don’t have to set it up every time.
Troubleshooting Zoom and Google Calendar Integration
Sometimes, things don’t go as smoothly as planned. If you’re having trouble, here are a few common issues and fixes:
- Issue: Zoom Doesn’t Show Up in Google Calendar
Try re-installing the Zoom add-on from the Google Workspace Marketplace. Make sure you’re signed in to the right Google account and have granted all necessary permissions.
- Issue: Authorization Errors
If you’re seeing authorization issues, double-check that you’re signed in to Zoom with the correct account. Sometimes, logging out and back in can help reset things.
- Issue: Zoom Meeting Links Not Syncing
Make sure your internet connection is stable. If that’s not the issue, disconnect and re-authorize the Zoom integration from Google Calendar. This can often solve syncing problems.
How to make Zoom the default in Google Calendar
If you’re constantly using Zoom for meetings, it might save you a ton of time to set it as your default conferencing option in Google Calendar. Here’s how to do it:
1. Install the Zoom Add-On: Make sure you’ve got the Zoom add-on installed in Google Calendar from the Google Workspace Marketplace. This is the first step to making it your default.
2. Open Google Calendar Settings:
- Go to Google Calendar and click the gear icon in the top-right corner.
- Select Settings from the drop-down menu.
3. Set Zoom as Your Default Conferencing Provider:
- In the settings menu, scroll down to Event settings.
- Find the Add conferencing section. Here, you’ll see a default option for adding conferencing to events.
- Select Zoom from the drop-down menu. Now, every time you create a new event, Zoom will automatically be added as the conferencing option.
4. Save Your Settings: After selecting Zoom, simply save your settings. Google Calendar will now automatically include Zoom links in your future events, so you won’t need to add it manually every time.
How Krisp Enhances Zoom Meetings
Adding Zoom to Google Calendar makes scheduling easy, but if you want to take your virtual meetings to the next level, Krisp is here to help! Krisp isn’t just about crystal-clear audio—it offers a whole suite of tools to make every Zoom meeting better and more productive.
Noise Cancellation Magic
Krisp’s AI-powered noise cancellation is like having a mute button for all those annoying background sounds. From the barista making coffee to dogs barking, Krisp filters it all out so you can focus on your conversation without distractions. It works for both sides of the call, so everyone benefits from a quieter, clearer meeting.

Real-Time Transcription
Need to capture everything said in your meeting? Krisp has you covered with real-time transcription. It creates an instant, accurate transcript of your Zoom calls, which is perfect for reviewing discussions later or sharing key points with your team. No more anxious note-taking!
Note-Taking Made Easy
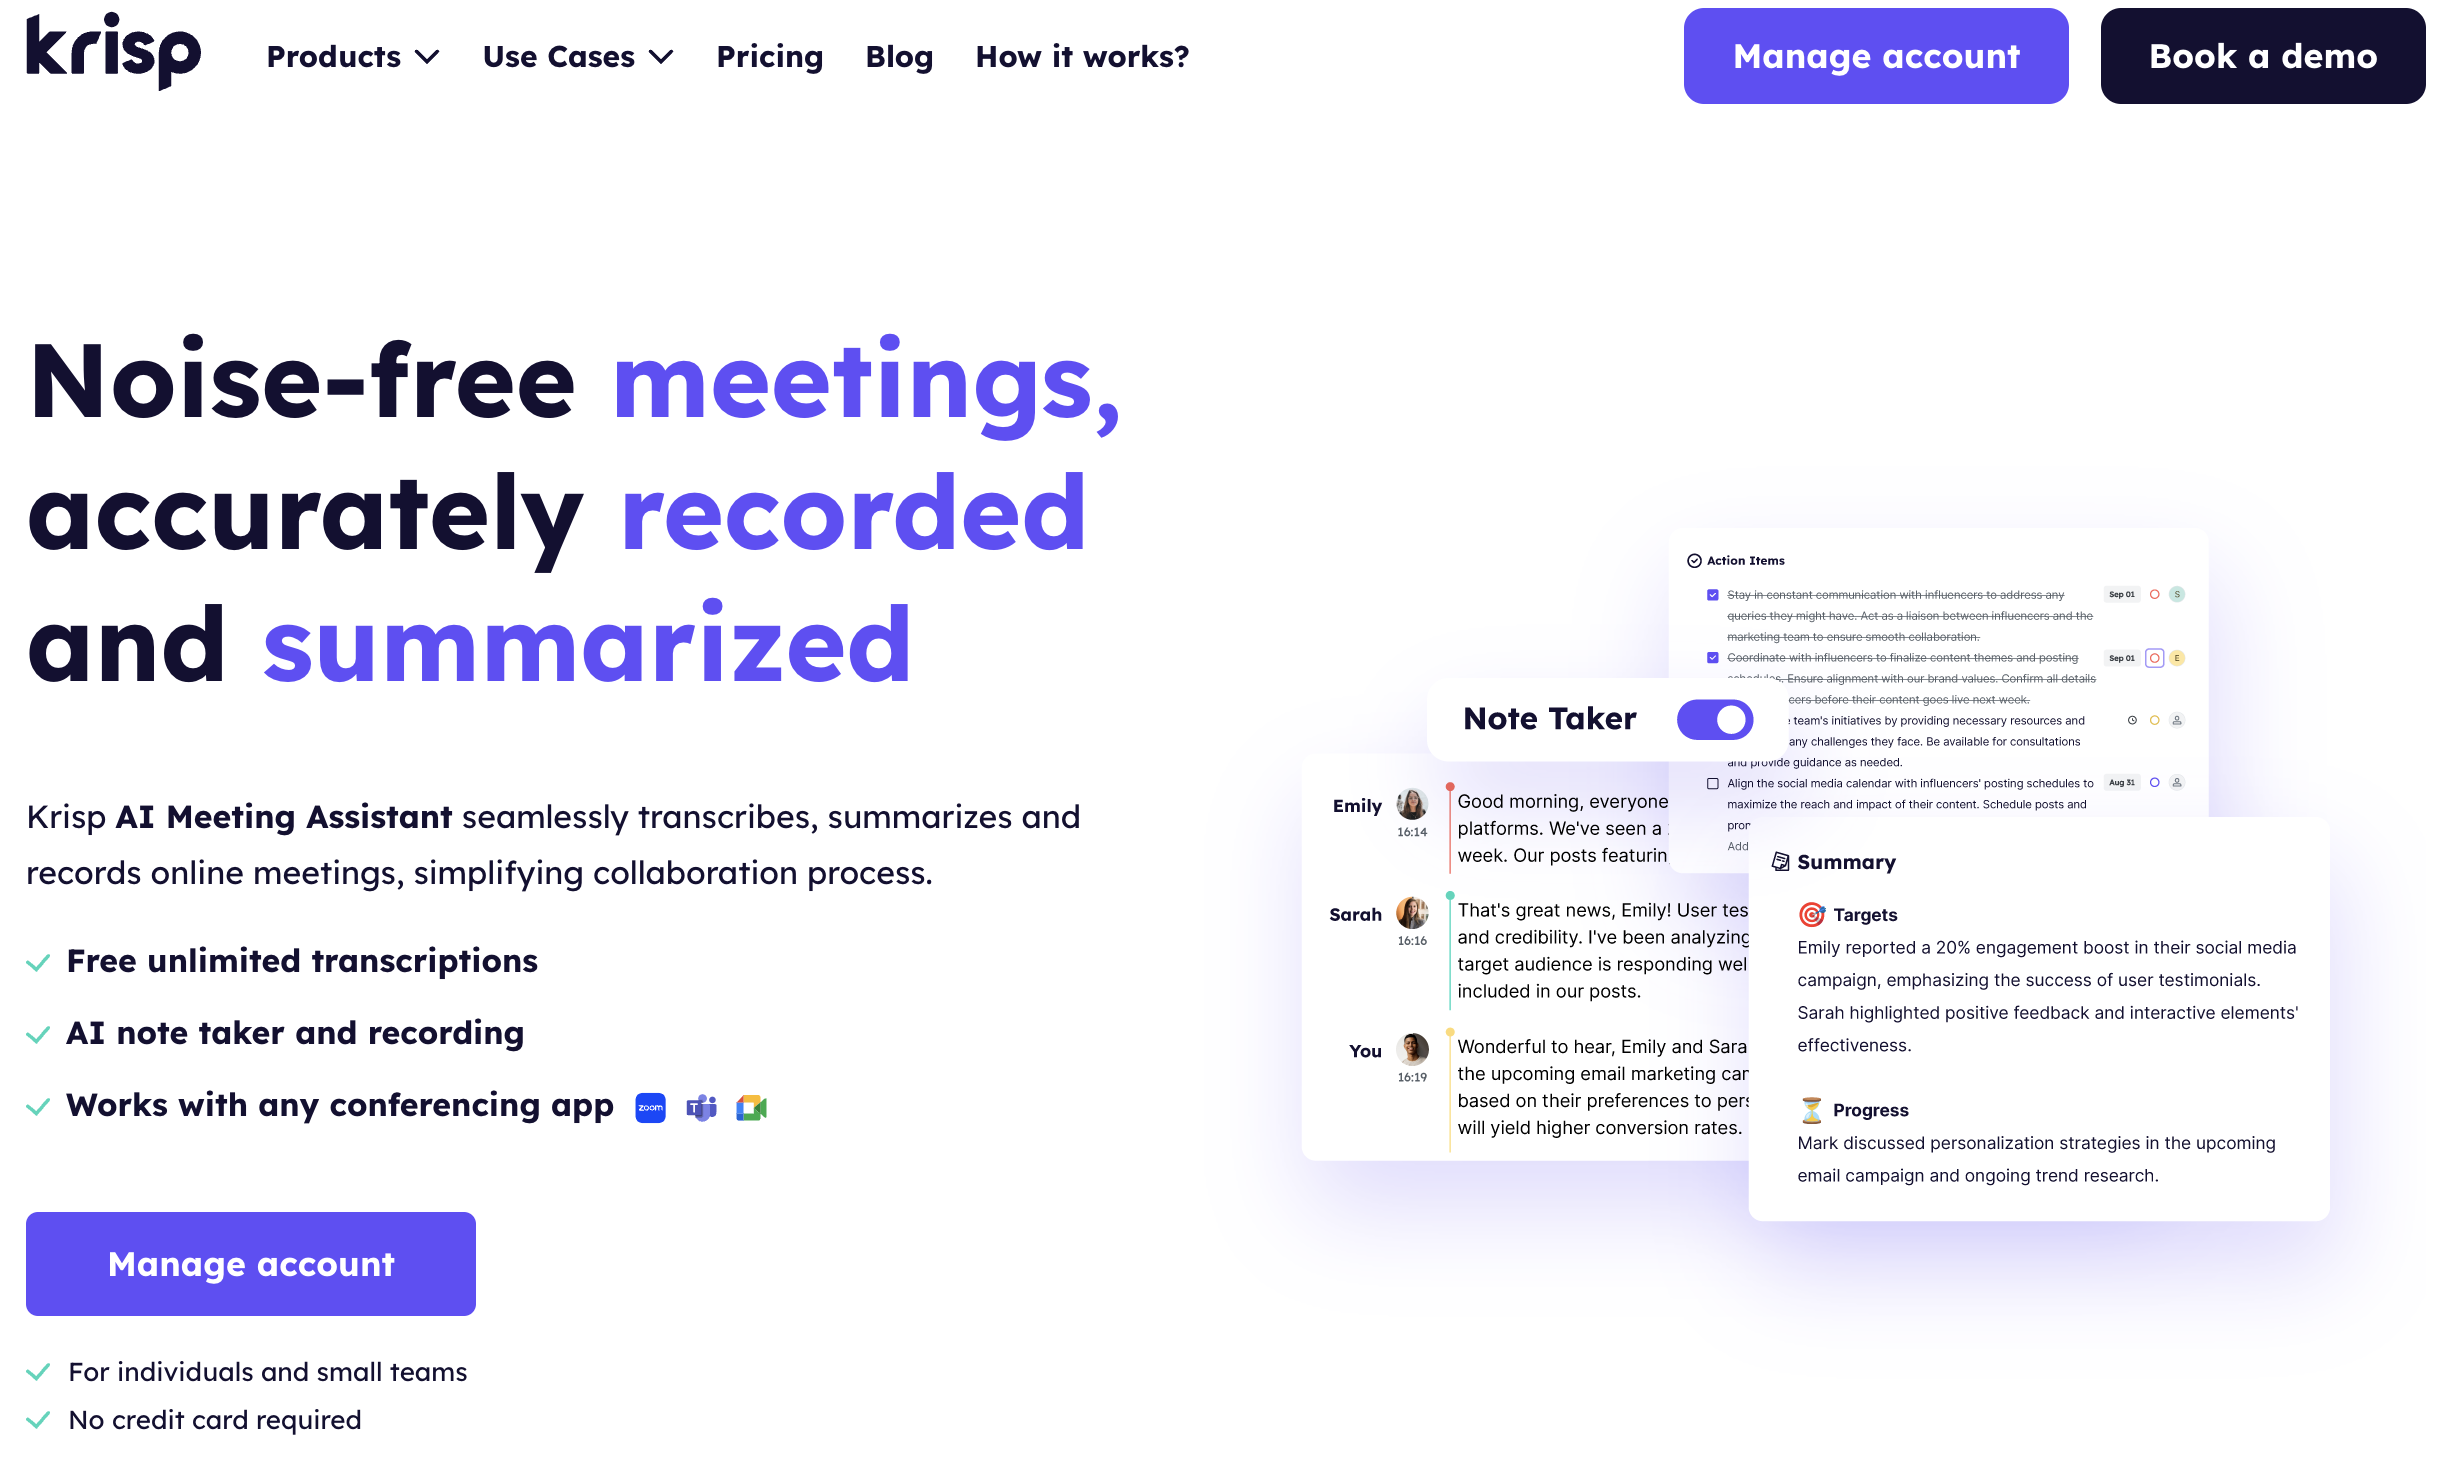
Speaking of notes, Krisp’s AI Meeting Assistant does more than just transcribe. It can also help you with note-taking, so you don’t miss any important details. You can stay fully engaged in your meeting while Krisp captures action items and essential info for you.
With Krisp, you get more than just noise cancellation—you get a full suite of tools to make Zoom meetings as productive and smooth as possible. Give it a try, and you’ll wonder how you ever managed meetings without it!
FAQs


