Do you want to know how to use speech to text on Google Docs to simplify your writing process? The Voice Typing feature in Google Docs offers an efficient solution to convert your spoken words into text seamlessly. Whether you’re tackling writer’s block or trying to avoid the strain of traditional typing, this powerful tool makes content creation faster and easier.
Speak naturally, and watch your words appear instantly on the screen, minimizing typos and streamlining your workflow. In this guide, we’ll explore the simple steps to start using Voice Typing and how it can transform your productivity with effortless speech to text capabilities.
How Voice Typing Helps?
So, Voice Typing in Google Docs is a built-in speech to text feature that allows users to dictate their words instead of manually typing them. By using this tool, you can speak naturally, and Google Docs will convert your spoken words into written text in real time. This feature not only captures what you say but also recognizes commands for formatting, such as adding punctuation or creating new paragraphs, making it a versatile tool for drafting and editing documents.
Voice Typing works directly within Google Docs on the Chrome browser and supports multiple languages, offering flexibility for a global audience. To use it, you simply activate the tool through the “Tools” menu and start speaking into your device’s microphone. Whether you’re a student, a professional, or someone looking to simplify their writing process, Voice Typing in Google Docs provides a fast, accessible, and efficient way to create content without relying on traditional typing methods.
How to Use Speech to Text on Google Docs?
With the Voice Typing feature in Google Docs, you can convert your speech into text effortlessly. In the steps below, you’ll see how to activate and use this powerful feature, along with tips to get the best results. Get ready to transform the way you write with just your voice!
Preparing for Voice Typing in Google Docs
Before you start using voice typing on Google Docs, follow these simple steps to make sure it works smoothly:
- Set up your microphone: Use your device’s built-in microphone or a good-quality external one. Check that it’s properly connected and working.
- Use the right browser: Voice typing works best with Google Chrome. Make sure your browser is updated and supports this feature.
- Allow microphone access: Grant permission for Google Docs to use your microphone so it can capture your voice correctly.
- Pick a quiet spot: Find a quiet place with minimal noise or distractions to ensure your speech is recorded clearly and accurately.
Getting started
Step 1: Head to the Google Docs website and open a document with your Google account logged in. Click ‘Tools’ on the menu options at the top of the window.

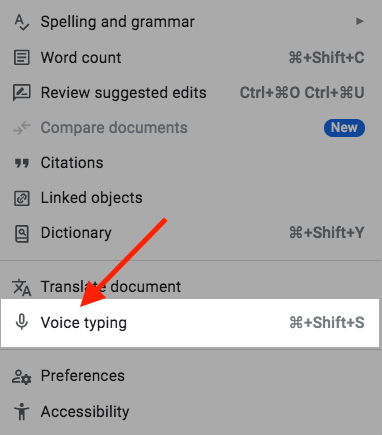
Step 2: Click ‘Voice typing’. You can also use the keyboard shortcut Command+Shift+S (for Mac) or Ctrl+Shift+S (for Windows).
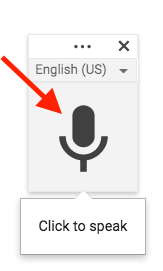
Step 3: Click the ‘Microphone’ button and choose the right language you will speak.
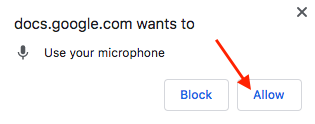
Note: If you’ve never used Google’s speech to text tool before, you’ll need to grant permission to your microphone. You will see a pop-up shown as the below image and click “Allow” when prompted.
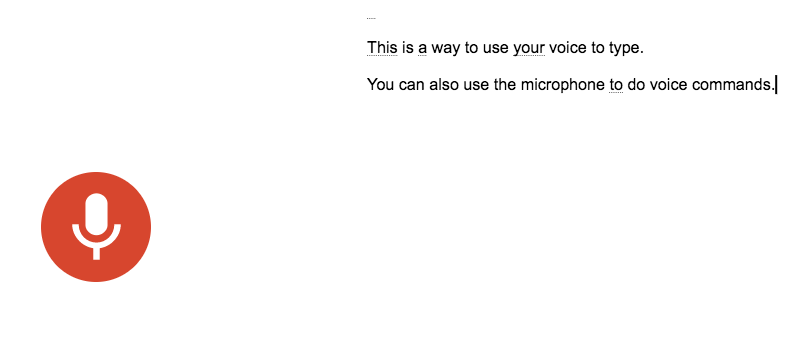
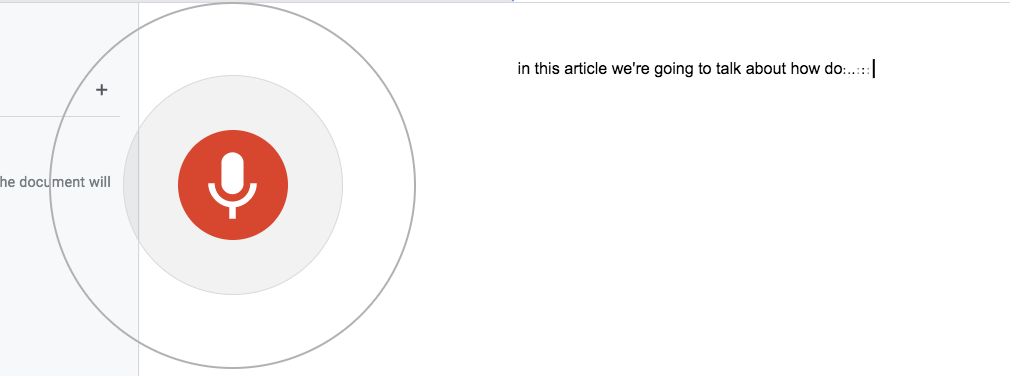
Step 4: The mic icon becomes red. Now you can start to speak and watch Google Docs transcribe your voice to text.
Tips: When using voice typing, try to speak clearly and enunciate your words to enhance accuracy. You should avoid speaking too quickly or mumbling, as it can impact the transcription quality.
Step 5: Add punctuation by saying different phrases like “Comma” or “Period” when appropriate.

Use voice commands
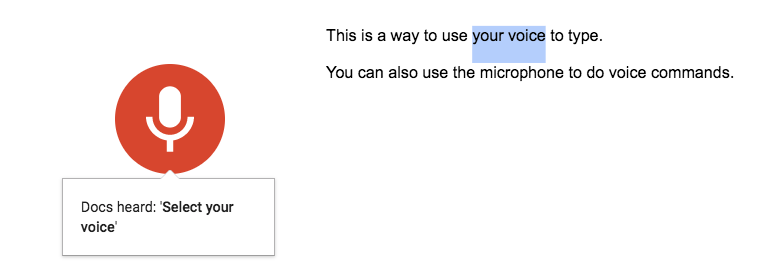
You can use a variety of voice commands to do many different functions in Google Docs. Now the voice commands are available only in English. The account language and document language must both be English. Here I’ll go over the most basic ones.
Basic Voice Commands
- Say “New Paragraph” to start a new paragraph and keep speaking.

- Say “New Line” and continue speaking.

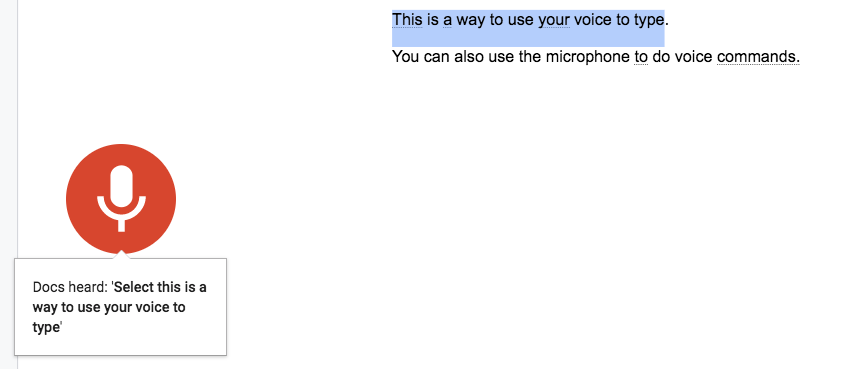
- Say “Select This a way to use your voice to type” to select that sentence.

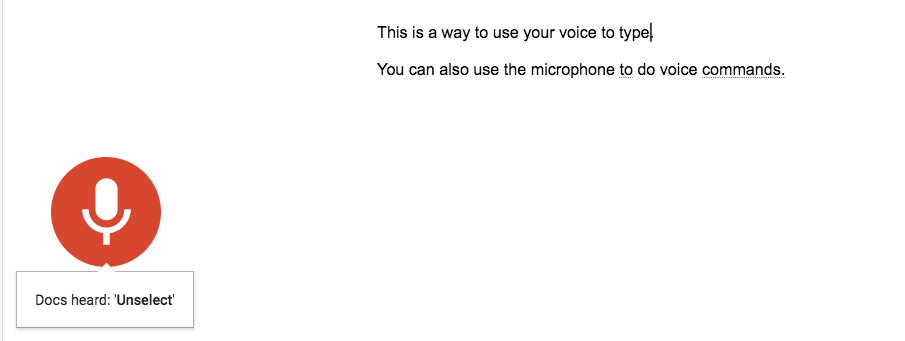
- Say “Unselect” to unselect the text.

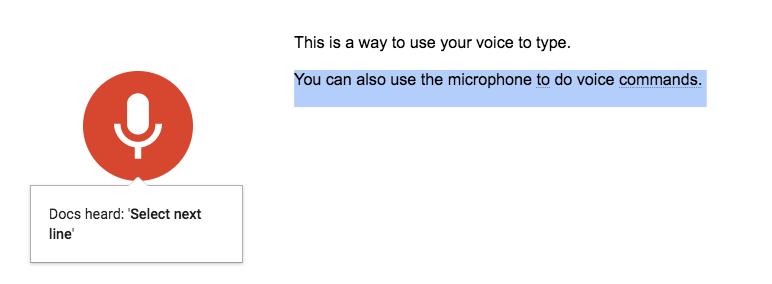
- Say “Select next line” to select the next line. You can also select paragraphs and list items.

- Say “Unselect” then say “Select your voice” to select different words or phrases.

Transcribe Audio/Video to Text in Minutes with Krisp
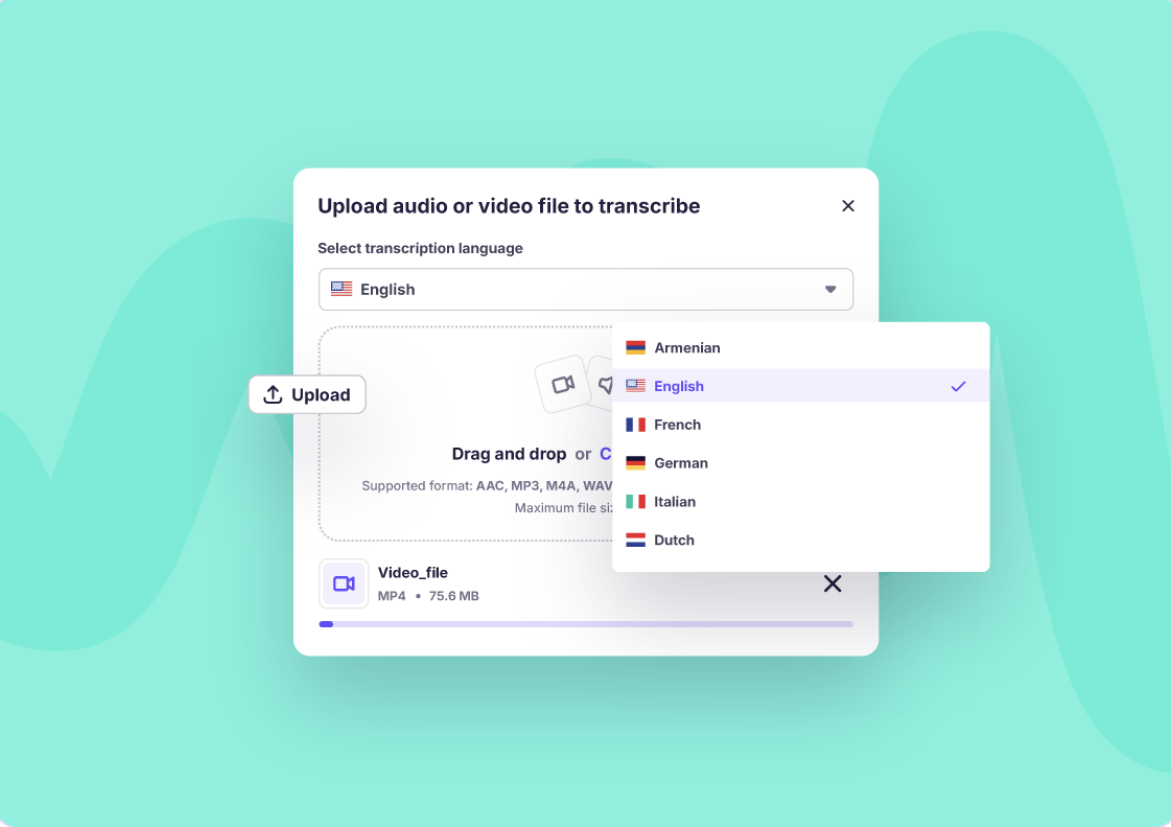
Converting audio or video files into text can often be time-consuming, but Krisp makes it fast and hassle-free. With its advanced AI-powered technology, Krisp allows you to transcribe meetings, interviews, podcasts, or any other audio and video content into accurate text in just a few minutes.
Here’s why Krisp is perfect for transcription:
- Noise and Echo Cancellation: Krisp eliminates background noise and echo, ensuring crystal-clear audio for more accurate transcription results. This is especially helpful for recordings with multiple participants or in noisy environments.
- Time-Saving: Forget about manually typing out long audio recordings. Krisp’s transcription feature automates the process, saving you hours of work.
- Easy to Use: Upload your audio or video file, and Krisp does the rest. The user-friendly interface makes it simple for anyone to generate a transcript quickly.
- High Accuracy: Thanks to Krisp’s advanced AI, it captures speech with impressive precision, even in recordings with multiple speakers or different accents.
- Versatile for Professionals: Whether you’re a content creator, journalist, researcher, or student, Krisp’s transcription tool can help you turn spoken words into actionable text for documentation or analysis.
- Supports Various Formats: Krisp works with a wide range of audio and video formats, giving you flexibility no matter where your recordings come from.
With Krisp, transcribing your audio or video files to text becomes effortless and efficient. Whether you’re preparing meeting notes, analyzing interview data, or creating content, Krisp helps you focus on the meaningful aspects of your work while it handles the heavy lifting of transcription.
How to Transcribe Audio/Video to Text with Krisp

Krisp makes transcribing audio or video files simple and quick. Follow these easy steps to get started:
- Sign Up or Log In to Krisp: Create an account on Krisp or log in if you already have one.
- Upload Your Audio/Video File: Navigate to the transcription feature and upload the audio or video file you want to transcribe. Krisp supports various file formats, so you can upload recordings from meetings, interviews, podcasts, or other sources.
- Enable Noise and Echo Cancellation (Optional): Before transcription begins, ensure Krisp’s noise and echo cancellation feature is turned on. This will clean up your audio for better accuracy.
- Start the Transcription: Once the file is uploaded, click the “Transcribe” button to begin the process. Krisp’s AI will analyze the audio and start converting it into text.
- Review the Transcript: After transcription is complete, review the text for any adjustments. Krisp provides a highly accurate transcription, but you can make edits if needed.
- Export or Share: Save the final transcript in your preferred format (e.g., Word, PDF, or plain text). You can also share the file directly with your team or clients.
With these simple steps, Krisp transforms your audio or video recordings into text in minutes, making your workflow more efficient and productive!
Pro Tips for Using Speech to Text on Google Docs
Voice Typing can save you time and effort, but using it effectively takes a little practice. Here are some simple tips to get the most out of it:
- Speak clearly and at a steady pace: Talk slowly and clearly so the tool can understand your words and commands.
- Focus on ideas first: Write a whole paragraph by speaking, then go back to fix any errors or edit phrases later.
- Use a good microphone: A high-quality microphone will help the tool pick up your voice more accurately.
- Practice makes perfect: Spend some time learning how to use voice commands and practicing them before using the tool for important tasks.
- Use Krisp for noise cancellation: Krisp can block out background noise and echo, making your voice clearer and helping Voice Typing work more effectively.
- Stay patient: If a word or command doesn’t work, repeat it more slowly and clearly.
- Use the “Undo” command often: This command can quickly fix mistakes and save you time.
- Learn “Select” and “Unselect” commands: These commands help you highlight or unhighlight text while voice typing.
- Combine voice and typing: While learning, challenge yourself to use only voice typing. Later, you can find a balance between voice typing and regular typing to suit your style.
FAQ
1. Open a document in Google Docs on the Chrome browser.
2. Click on the Tools menu and select Voice typing.
3. Click the microphone icon that appears on the left side of your document.
4. Speak clearly into your microphone, and Google Docs will transcribe your words into text.
5. Use voice commands like “period,” “comma,” or “new line” to format your text as you go.
1. Ensure your microphone is properly connected and functional. If you’re using an external microphone, plug it in before starting.
2. Go to Google Docs and open a document.
3. Click on the Tools menu, then select Voice typing.
4. When prompted, grant microphone access to Google Docs by clicking “Allow” in the pop-up.
5. Click the microphone icon to start speaking, and your words will be converted to text.
1. Open Google Docs in the Chrome browser on your Mac.
2. Click Tools > Voice typing to activate the feature.
3. Make sure your Mac’s microphone is set up and allowed to access Google Docs.
4. Speak into the microphone, and your speech will be converted into text in the document.
•Ensure you’ve granted microphone permissions in your browser settings.
•Voice typing works best with Google Chrome. Make sure you’re using an updated version.
•Check that your microphone is properly connected and configured in your device’s settings.
• Excessive noise can interfere with voice typing. Move to a quieter environment for better accuracy.
• Some organizations or networks may restrict access to Google Docs features. Ensure your account settings allow voice typing.


